Great Sphinx Of Giza Drawing: Unveiling The Secrets Of An Iconic Masterpiece
Art has a way of capturing the essence of history, culture, and wonder. When it comes to the Great Sphinx of Giza, drawing it is like stepping into a time machine that transports you back to ancient Egypt. This majestic monument has inspired countless artists, historians, and enthusiasts around the world. So, why not pick up your pencil and dive into the world of sphinx art? Let’s explore the magic together.
There’s something truly mesmerizing about the Great Sphinx of Giza. It’s not just a sculpture; it’s a symbol of mystery, strength, and resilience. Whether you’re a beginner or a seasoned artist, learning how to draw the sphinx can be both challenging and rewarding. It’s like creating your own version of history on paper.
But hold up, before we dive into the nitty-gritty of great sphinx of giza drawing, let’s talk about why this ancient wonder is such a big deal. The sphinx isn’t just a random rock carving; it’s a masterpiece that has stood the test of time, and understanding its significance can make your drawing journey even more meaningful. Let’s get started!
Read also:Viga Movie Your Ultimate Destination For Entertainment
Why the Great Sphinx of Giza is a Global Icon
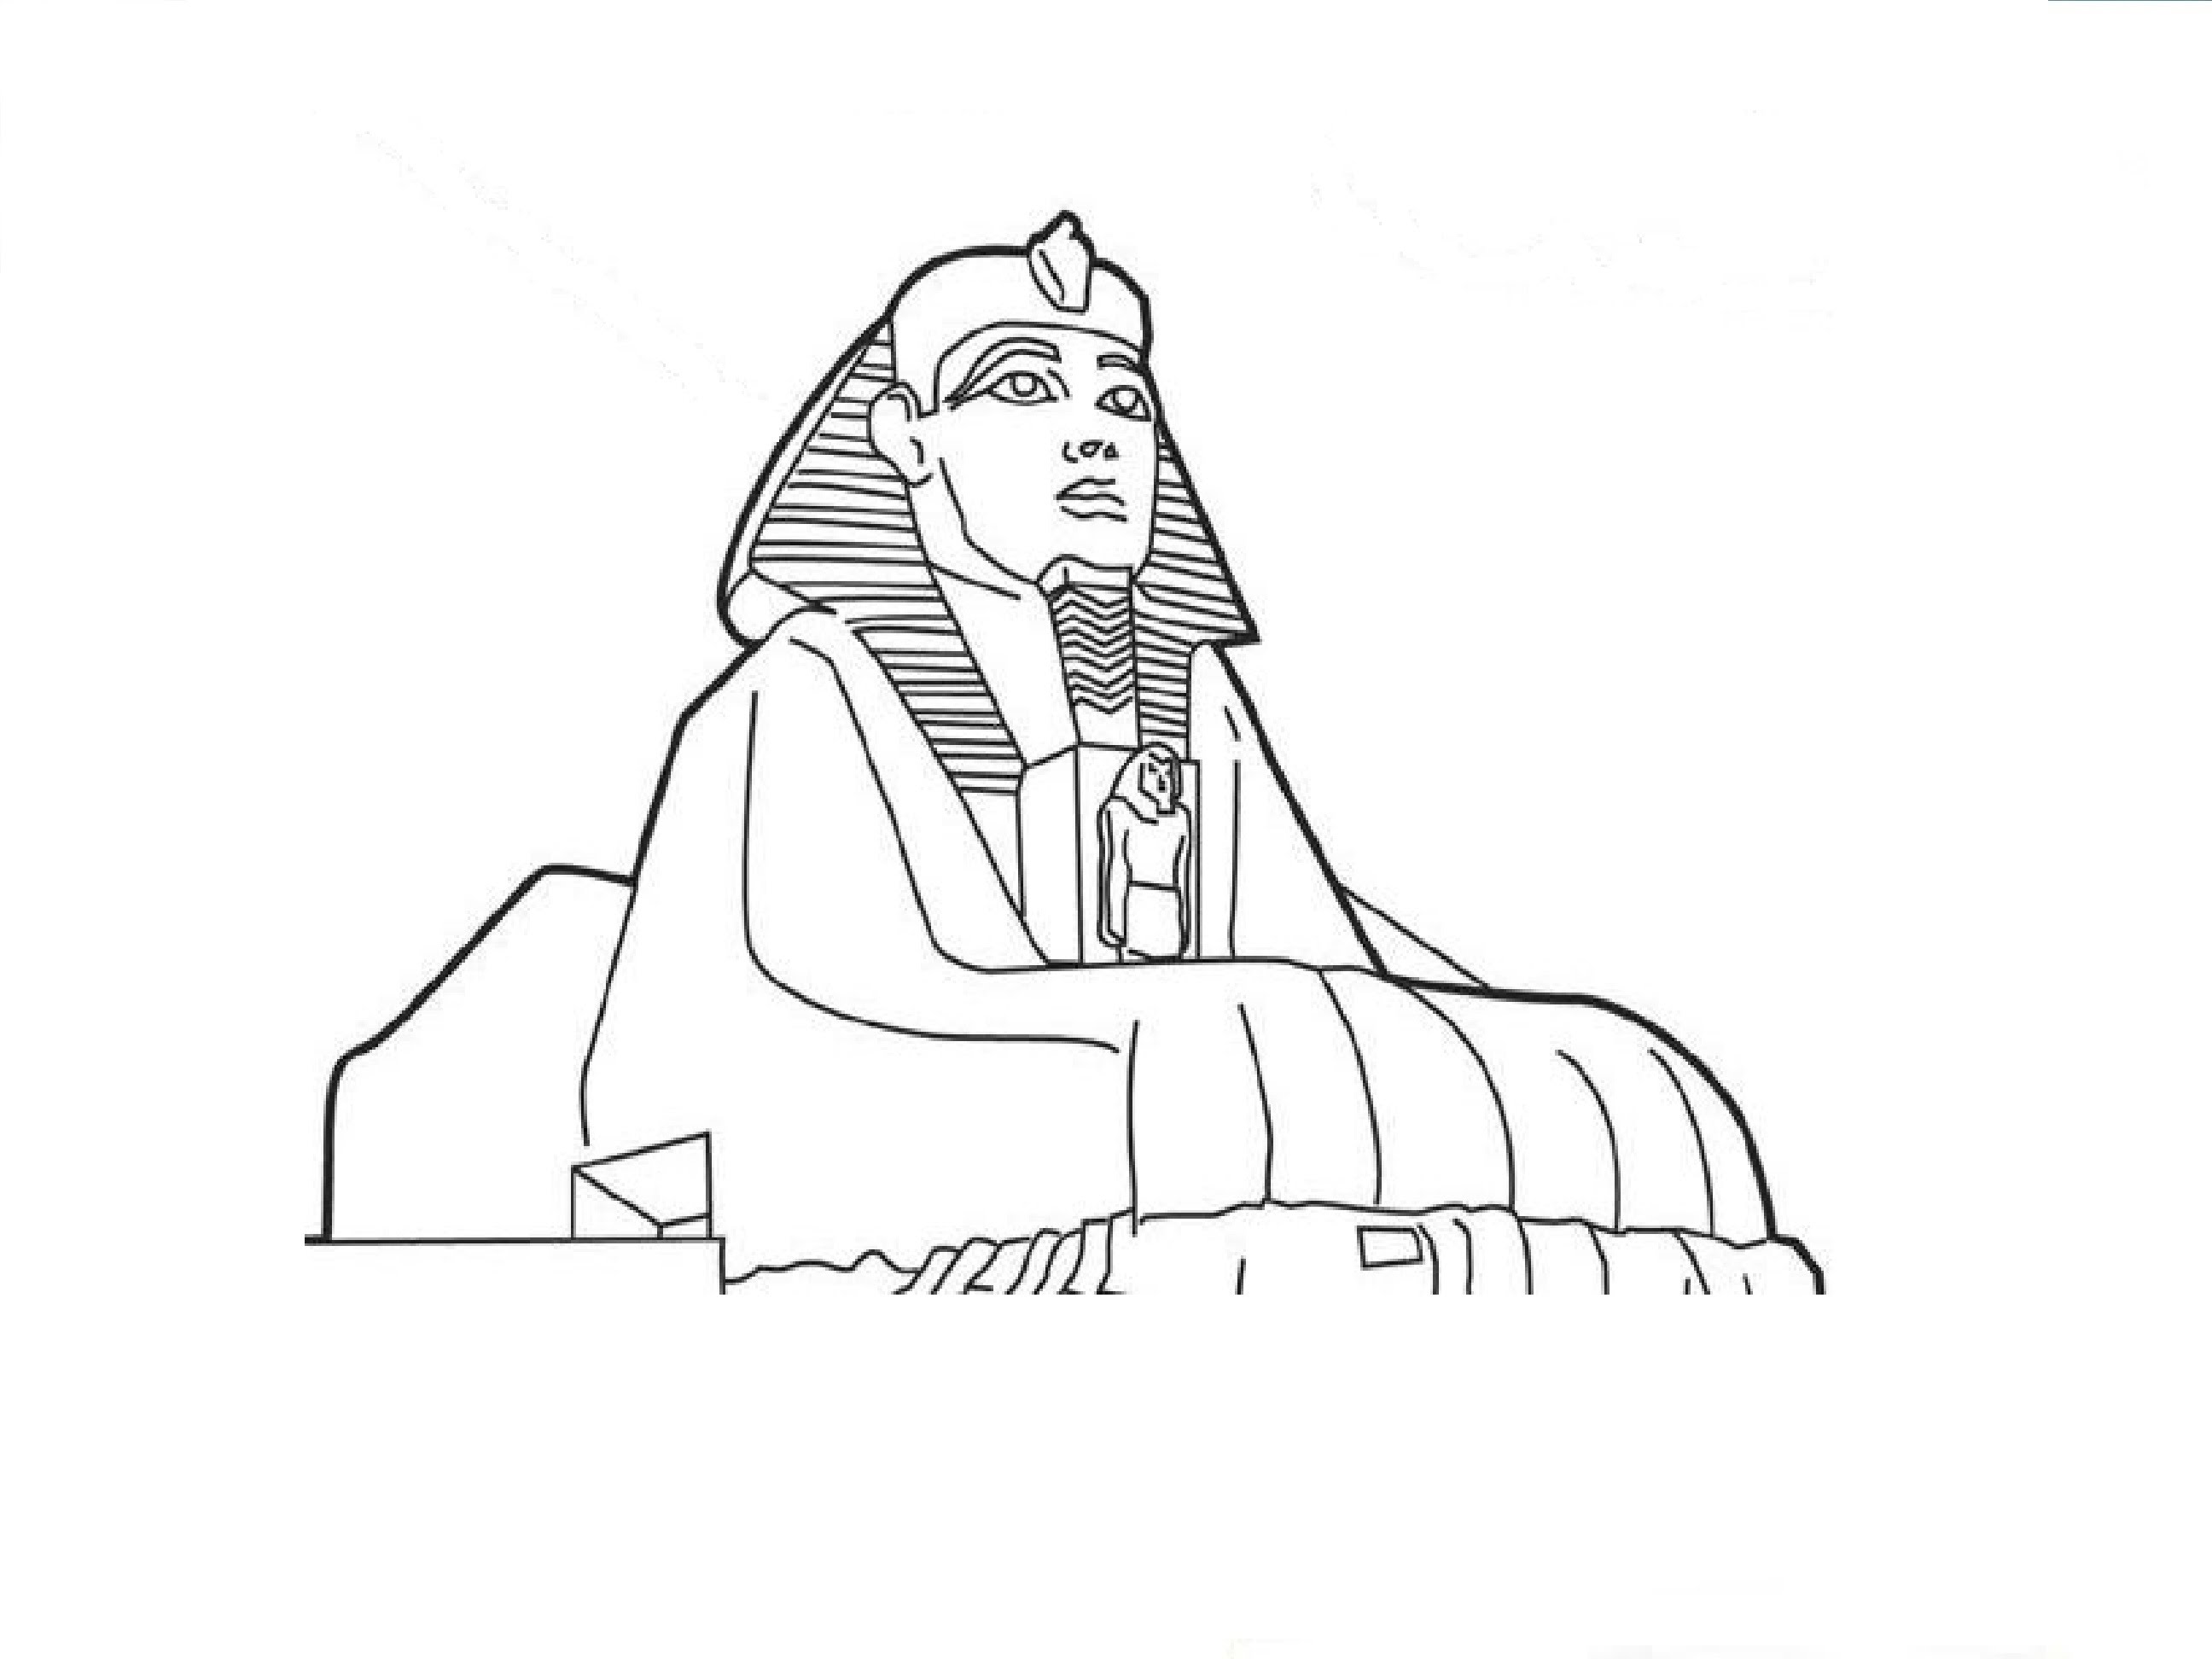
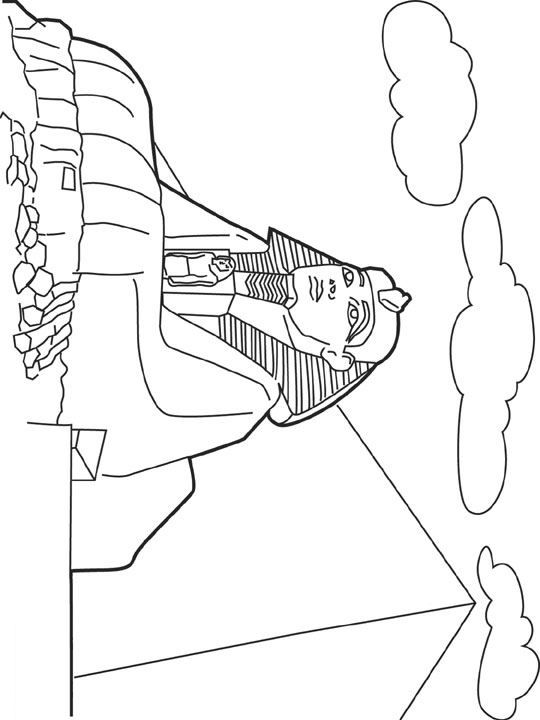
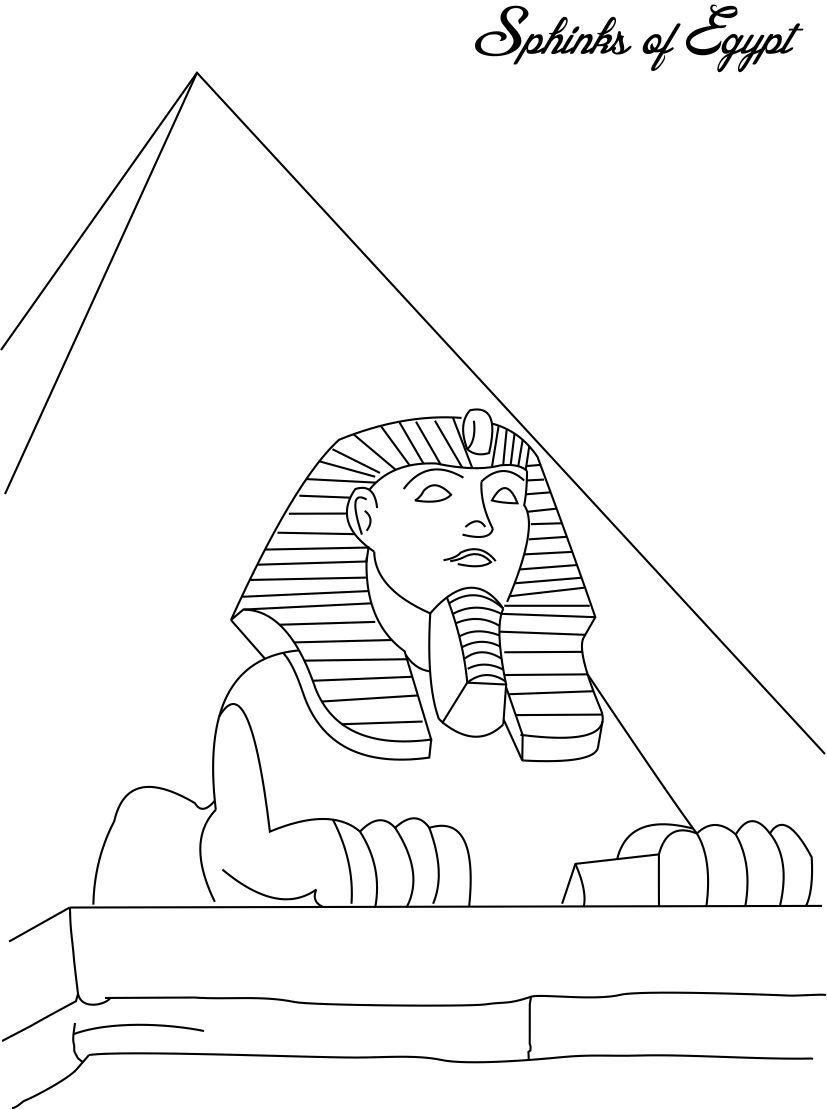
The Great Sphinx of Giza isn’t just any old statue. It’s a cultural icon that represents the ingenuity of ancient Egyptian civilization. Standing at an impressive 73.5 meters long and 20 meters high, this limestone marvel is a true testament to human creativity. So, what makes it so special?
First off, the sphinx combines the body of a lion with the head of a pharaoh, symbolizing strength and wisdom. This fusion of animal and human traits tells a story of ancient beliefs and values. Plus, its weathered face has become a symbol of mystery, sparking countless debates about its origins and purpose.
When you draw the sphinx, you’re not just copying a picture; you’re connecting with thousands of years of history. It’s like having a conversation with the past, where every line and curve tells a story. And who doesn’t love a good story, right?
Understanding the Great Sphinx of Giza
Biography of the Sphinx
Before we get into the drawing part, let’s take a quick look at the biography of the Great Sphinx of Giza. Here’s a rundown of some key facts that will help you appreciate its grandeur:
| Attribute | Detail |
|---|---|
| Location | Giza Plateau, Egypt |
| Construction Period | Estimated to be around 2500 BC |
| Dimensions | Length: 73.5 meters, Height: 20 meters |
| Material | Limestone |
| Purpose | Guardian of the pyramids |
These details aren’t just random facts; they’re the building blocks of understanding what makes the sphinx so iconic. Knowing its history can add depth to your drawing, making it more than just a pretty picture.
Getting Started with Great Sphinx of Giza Drawing
Alright, now that you’ve got the backstory, let’s talk about the fun part—drawing! Whether you’re sketching for fun or working on a serious art project, here are some tips to get you started:
Read also:Unveiling The Secrets Of Masa49in Your Ultimate Guide
- Start with basic shapes: Begin by sketching the overall outline of the sphinx using simple geometric shapes like rectangles and ovals.
- Focus on proportions: Pay attention to the size of the head compared to the body. Remember, the sphinx’s head is relatively small compared to its massive body.
- Work on details: Once you’ve got the basic structure down, add details like the facial features, paws, and the texture of the limestone.
Don’t worry if your first attempt doesn’t look perfect. Art is all about practice, and every stroke brings you closer to mastering the craft.
Tools You’ll Need for Great Sphinx of Giza Drawing
Choosing the Right Materials
Having the right tools can make a big difference in your drawing experience. Here’s a list of essentials you’ll need:
- Pencils: A range of graphite pencils (2H to 6B) will give you the flexibility to create different shades and textures.
- Eraser: A good quality eraser will help you clean up mistakes and add highlights.
- Sketchbook: Choose a sketchbook with thick, high-quality paper to handle multiple layers of shading.
- Reference Image: Having a clear photo of the sphinx will help you capture its intricate details accurately.
Investing in quality materials might seem like a small thing, but trust me, it makes a world of difference. Plus, who doesn’t love the smell of a fresh sketchbook, right?
Step-by-Step Guide to Drawing the Great Sphinx of Giza
Now that you’ve got your tools ready, let’s dive into the step-by-step process of drawing the Great Sphinx of Giza:
Step 1: Sketch the Basic Outline
Start by lightly sketching the basic shape of the sphinx. Focus on the overall proportions, making sure the head, body, and paws are in the right places. Remember, this is just a rough outline, so don’t stress too much about perfection at this stage.
Step 2: Refine the Shape
Once you’ve got the basic outline, start refining the shape. Add curves to the body and define the facial features. Pay attention to the angle of the head and the position of the paws. This is where your drawing starts to take shape.
Step 3: Add Details
Now it’s time to add the details that bring your sphinx to life. Focus on the texture of the limestone, the contours of the face, and the intricate carvings. This is where your drawing starts to look like the real deal.
Step 4: Shade and Highlight
Use your pencils to add shading and highlights to your drawing. This will give it depth and make it look more realistic. Pay attention to the way light hits the surface of the sphinx and use that to guide your shading.
And there you have it—a step-by-step guide to drawing the Great Sphinx of Giza. It might take some practice, but with time and patience, you’ll be creating masterpieces in no time!
Common Mistakes to Avoid in Great Sphinx of Giza Drawing
Even the best artists make mistakes, but learning from them is what makes you better. Here are some common mistakes to watch out for:
- Ignoring proportions: Make sure the head isn’t too big or too small compared to the body.
- Skipping details: Don’t rush through the details; they’re what make your drawing stand out.
- Over-shading: Too much shading can make your drawing look messy. Start light and build up gradually.
Remember, practice makes perfect. Every mistake is a learning opportunity, so don’t be too hard on yourself.
Great Sphinx of Giza Drawing Techniques
There are several techniques you can use to enhance your sphinx drawing. Here are a few to try:
1. Cross-Hatching
This technique involves using parallel lines to create shading and texture. It’s great for adding depth to the limestone surface.
2. Stippling
Stippling uses tiny dots to create shading and texture. It’s a time-consuming technique, but it can produce stunning results.
3. Blending
Blending involves using a blending tool or your fingers to smooth out pencil strokes. It’s perfect for creating soft transitions between light and shadow.
Experiment with these techniques to find what works best for you. Mixing and matching can lead to some truly unique results.
Great Sphinx of Giza Drawing Inspiration
Looking for some inspiration? Check out these amazing artists who have taken the sphinx to new heights:
- Leonardo da Vinci: His sketches of ancient monuments are a masterclass in detail and proportion.
- Georgia O’Keeffe: Known for her bold use of color and form, her work can inspire you to think outside the box.
- Escher: His intricate designs can help you explore the possibilities of texture and perspective.
Don’t be afraid to draw inspiration from different sources. After all, art is all about creativity and expression.
Great Sphinx of Giza Drawing FAQs
Got questions? Here are some frequently asked questions about drawing the Great Sphinx of Giza:
1. How long does it take to learn to draw the sphinx?
It depends on your skill level and how much time you dedicate to practice. Some people pick it up quickly, while others take longer. The key is consistency and patience.
2. Can I use digital tools for drawing the sphinx?
Absolutely! Digital tools can be a great way to experiment with different techniques and styles. Plus, you can always undo mistakes, which is a huge bonus.
3. Where can I find good reference images?
There are plenty of resources online, but make sure to use high-quality images that clearly show the details of the sphinx. Websites like National Geographic and Smithsonian Institution are great places to start.
Now that you’ve got all the info you need, it’s time to put pencil to paper and let your creativity shine!
Conclusion: Your Journey with Great Sphinx of Giza Drawing
We’ve covered a lot of ground, from understanding the history of the Great Sphinx of Giza to mastering the techniques of drawing it. Remember, art is a journey, not a destination. Every stroke you make is a step towards becoming a better artist.
So, what are you waiting for? Grab your pencils, fire up your creativity, and start drawing the sphinx. And don’t forget to share your masterpiece with the world. Who knows, you might just inspire someone else to pick up a pencil and join the adventure.
Until next time, keep drawing, keep exploring, and keep making history come alive!
Table of Contents:
- Why the Great Sphinx of Giza is a Global Icon
- Understanding the Great Sphinx of Giza
- Getting Started with Great Sphinx of Giza Drawing
- Tools You’ll Need for Great Sphinx of Giza Drawing
- Step-by-Step Guide to Drawing the Great Sphinx of Giza
- Common Mistakes to Avoid in Great Sphinx of Giza Drawing
- Great Sphinx of Giza Drawing Techniques
- Great Sphinx of Giza Drawing Inspiration
- Great Sphinx of Giza Drawing FAQs
- Conclusion: Your Journey with Great Sphinx of Giza Drawing
