How To Access IoT Device Remotely On Mac Free Without Complications
Are you tired of being stuck in the same room just to control your IoT devices? What if I told you there’s a way to access them remotely from your Mac, completely free, without any hassle? In this digital age, connecting and controlling smart devices from afar has become easier than ever. Whether you're managing a smart home or monitoring an IoT project, the ability to access these devices remotely is game-changing. Let’s dive into how you can make it happen without breaking the bank.
Imagine this: you’re at work, and suddenly you remember you left your smart thermostat on full blast at home. Or maybe you want to check the security footage from your IP camera while enjoying coffee at a café. With the right setup, you can easily access your IoT devices from your Mac, no matter where you are. The best part? You don’t need to spend a dime to get started.
In this article, we’ll walk you through the steps to access your IoT devices remotely using your Mac. We’ll cover everything from setting up your network to using free tools that make remote access a breeze. By the end, you’ll have the knowledge and confidence to take control of your smart devices from anywhere in the world. So, let’s get started!
Read also:Bolly4u Skymovieshd Your Ultimate Guide To Streaming Bollywood Movies
Table of Contents
- Introduction to Remote IoT Access
- Understanding IoT Devices
- Why Remote Access Matters
- Tools You Need for Free Remote Access
- Setting Up Your Network
- Port Forwarding Basics
- Using SSH for Secure Connections
- Exploring Free Third-Party Apps
- Common Issues and How to Fix Them
- Security Tips for Remote Access
- Conclusion and Next Steps
Introduction to Remote IoT Access
Accessing IoT devices remotely is one of those modern conveniences that makes life so much easier. But let’s be honest, not everyone knows where to start, especially if you’re trying to do it on a budget. The good news is, with a little bit of tech-savviness, you can set up remote access for your IoT devices without spending a cent.
Think about it—remote access isn’t just about convenience; it’s also about efficiency. Whether you’re a homeowner managing a smart home or a developer testing IoT projects, having the ability to control your devices from afar can save you time and effort. And who doesn’t love saving money while doing it?
What Exactly Are We Talking About?
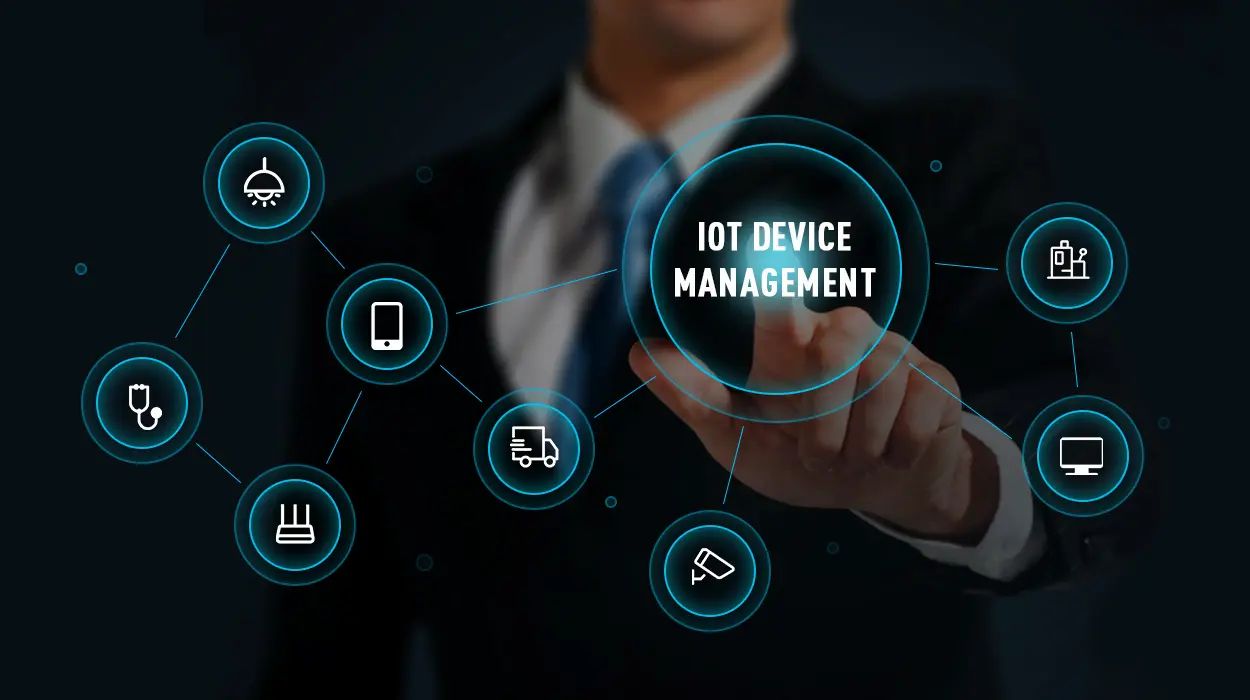
When we say "IoT devices," we’re referring to any smart devices connected to the internet. This could be anything from smart bulbs and thermostats to security cameras and even industrial sensors. The key here is that these devices are internet-enabled, which means they can communicate over the web.
Understanding IoT Devices
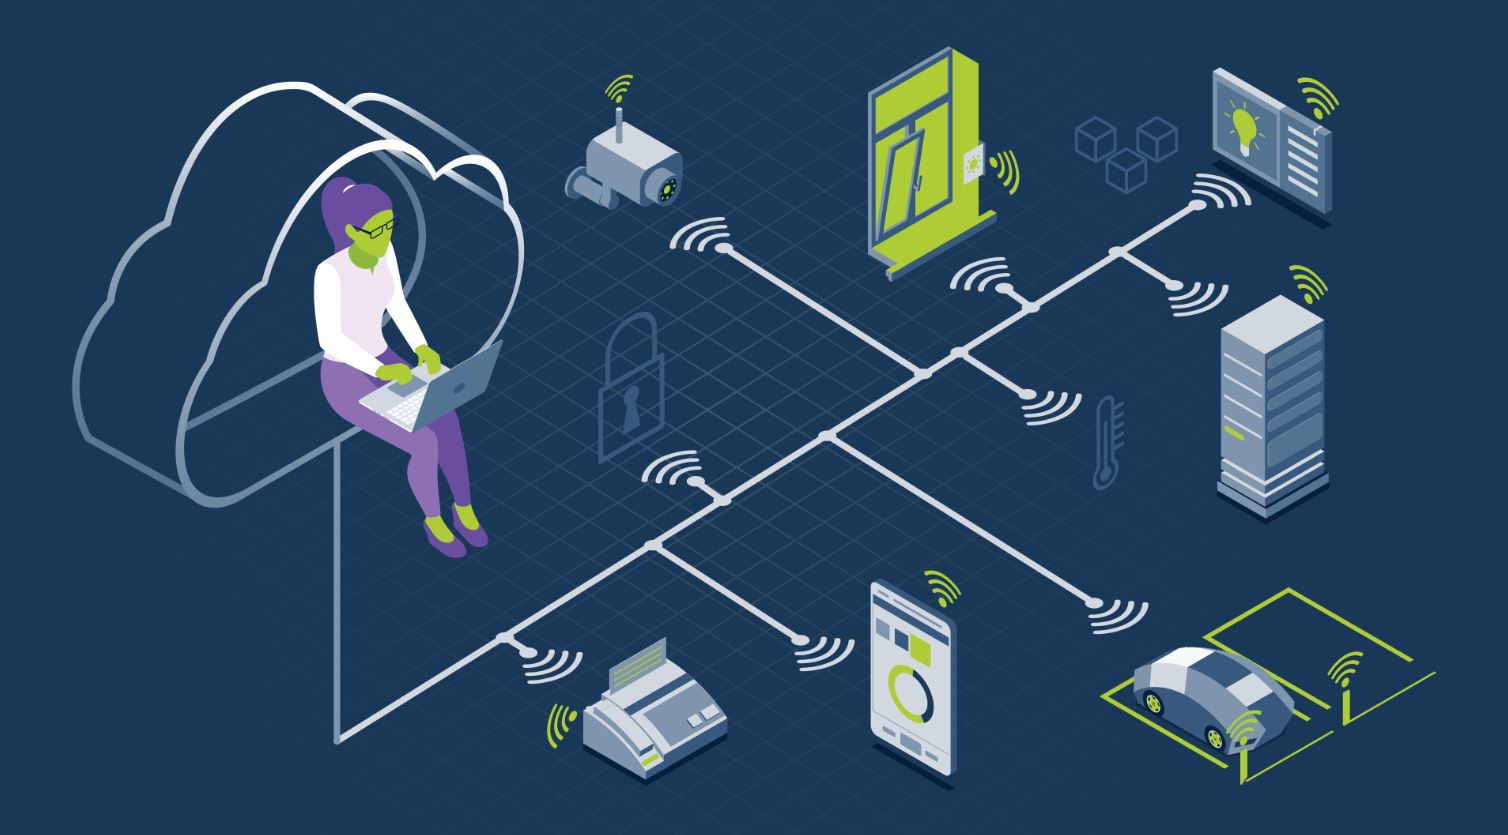
Before we dive into the nitty-gritty of remote access, it’s important to understand what IoT devices are and how they work. IoT stands for the Internet of Things, and it refers to the network of physical objects embedded with sensors, software, and connectivity that allow them to exchange data.
For example, your smart thermostat is an IoT device because it connects to your home Wi-Fi and allows you to control it via an app. Similarly, your IP camera is an IoT device because it streams live footage over the internet. The beauty of IoT is that it makes our lives more connected and automated.
Key Features of IoT Devices
- Internet connectivity
- Ability to send and receive data
- Compatibility with apps or web interfaces
- Often controlled via Wi-Fi or Bluetooth
Why Remote Access Matters
Now that we’ve established what IoT devices are, let’s talk about why remote access is so important. In today’s fast-paced world, being able to control your devices from anywhere is more than just a luxury—it’s a necessity. Here are a few reasons why remote access matters:
Read also:Movie Rules Telugu Your Ultimate Guide To Navigating The World Of Telugu Cinema
First, it saves time. Instead of driving back home to check if you turned off the smart lights, you can simply log in remotely and do it from your laptop. Second, it enhances security. If you have a smart security system, remote access allows you to monitor your property even when you’re not physically there.
Benefits of Remote Access
- Increased convenience
- Improved security
- Cost savings
- Flexibility in managing devices
Tools You Need for Free Remote Access
Alright, let’s get practical. To access your IoT devices remotely on your Mac for free, you’ll need a few tools. Don’t worry; most of these are already built into your system or can be downloaded for free. Here’s what you’ll need:
Essential Tools
- A Mac with macOS installed
- A stable internet connection
- Your IoT devices set up and connected to your home network
- A router with port forwarding capabilities
Additionally, you might want to consider using free software like SSH clients or third-party apps designed for remote access. We’ll talk more about these later in the article.
Setting Up Your Network
One of the first steps in accessing your IoT devices remotely is setting up your home network correctly. This involves configuring your router and ensuring that your devices are connected to the same network. Here’s how you can do it:
Start by logging into your router’s admin panel. This is usually done by typing the router’s IP address into your browser. Once you’re in, check the settings for your Wi-Fi network and make sure that your IoT devices are connected to it.
Steps to Set Up Your Network
- Log into your router’s admin panel
- Check Wi-Fi settings
- Ensure all IoT devices are connected
Port Forwarding Basics
Port forwarding is a crucial step in allowing remote access to your IoT devices. Essentially, it involves directing incoming traffic from the internet to a specific device on your local network. Without port forwarding, your router won’t know which device to send the data to.
Here’s how you can set up port forwarding on your router:
How to Set Up Port Forwarding
- Log into your router’s admin panel
- Find the port forwarding section
- Add a new rule, specifying the port number and the IP address of your IoT device
Using SSH for Secure Connections
SSH, or Secure Shell, is a protocol that allows you to securely connect to remote devices. It’s especially useful for accessing IoT devices that support SSH connections. Here’s how you can use SSH on your Mac:
Open the Terminal app on your Mac and type the following command:
ssh username@your_device_ip
Replace "username" with the username for your IoT device and "your_device_ip" with the actual IP address. This will establish a secure connection to your device.
Exploring Free Third-Party Apps
While SSH is a great option, there are also free third-party apps that can simplify the process of remote access. Apps like TeamViewer and AnyDesk offer user-friendly interfaces and additional features that make managing your IoT devices a breeze.
Popular Free Apps
- TeamViewer
- AnyDesk
- ngrok
Common Issues and How to Fix Them
Even with the best setup, things can sometimes go wrong. Here are some common issues you might encounter and how to fix them:
Problem: Can’t connect to the device. Solution: Check your router settings and ensure that port forwarding is configured correctly.
Problem: Slow connection. Solution: Optimize your network settings and consider using a wired connection for your IoT devices.
Security Tips for Remote Access
Security should always be a top priority when setting up remote access. Here are a few tips to keep your IoT devices safe:
- Use strong passwords
- Enable two-factor authentication
- Keep your software and firmware up to date
Conclusion and Next Steps
Accessing IoT devices remotely on your Mac for free is not only possible but also relatively easy with the right setup. By following the steps outlined in this article, you can take control of your smart devices from anywhere in the world. Remember to prioritize security and always keep your systems updated.
Now that you’ve learned how to do it, why not share your newfound knowledge with others? Leave a comment below and let us know how your remote access setup is going. And don’t forget to check out our other articles for more tech tips and tricks!

