How To Use Remote IoT Behind Firewall Using Mac Server
So, here's the deal. If you're reading this, chances are you're trying to figure out how to tap into the power of IoT devices from afar while keeping them secure behind a firewall. And trust me, it's not as complicated as it sounds. In today's hyper-connected world, remote access to IoT devices is becoming more critical than ever. But how do you make it work with a Mac server? Let’s dive right in and break it down step by step.
Now, before we get into the nitty-gritty, let's talk about why this matters. Whether you're a tech enthusiast, a small business owner, or someone managing a home automation system, knowing how to securely access your IoT devices remotely is a game-changer. It's all about convenience, efficiency, and keeping your data safe. And with a Mac server in the mix, you’ve got some powerful tools at your disposal.
But here's the thing—firewalls are there for a reason. They keep unwanted traffic out and protect your network from potential threats. So, balancing security with accessibility is key. Don't worry, though. By the end of this guide, you’ll have everything you need to set up remote IoT access without compromising on safety.
Read also:Movierulz Telugu 2023 Download Your Ultimate Guide To Safe And Legal Movie Streaming
Let’s jump into the details, shall we?
Understanding the Basics of IoT and Firewalls
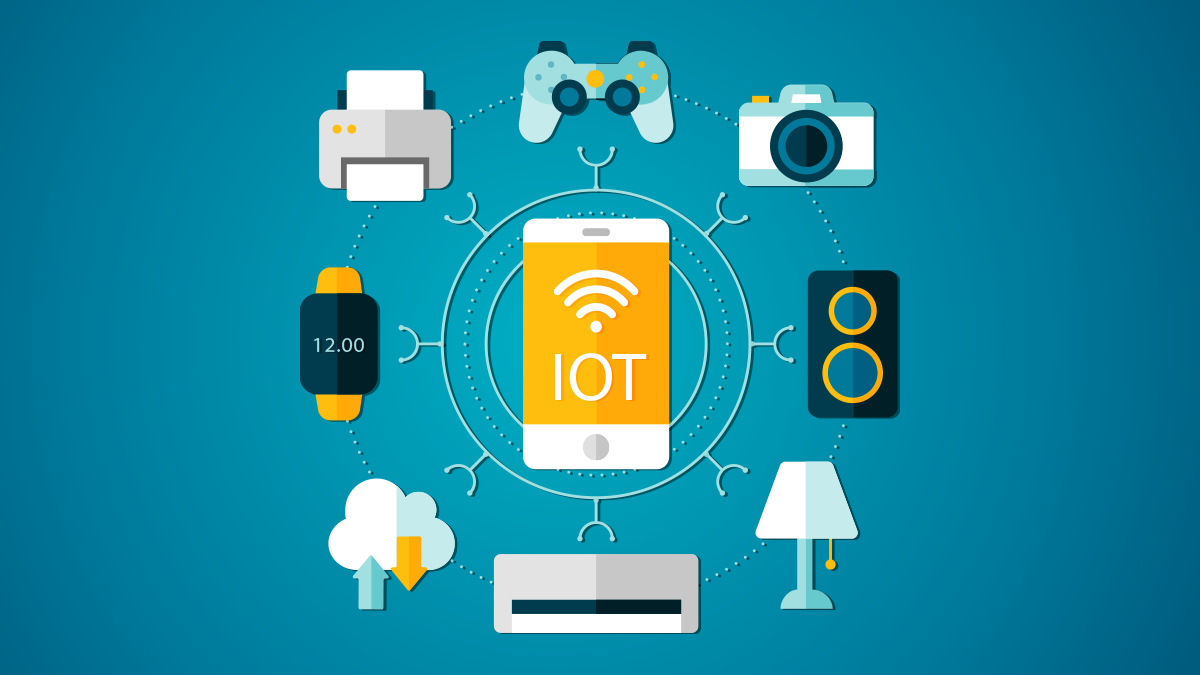
First things first, let’s get our terms straight. IoT, or the Internet of Things, refers to the growing network of devices that connect to the internet and can communicate with each other. Think smart thermostats, security cameras, or even industrial sensors. But when you want to access these devices from outside your local network, you run into a little something called a firewall.
A firewall is like a digital bouncer. It monitors incoming and outgoing traffic and blocks anything that doesn’t meet its rules. While firewalls are essential for security, they can sometimes make remote access a bit tricky. That’s where your Mac server comes in—it can act as a bridge between your IoT devices and the outside world.
Now, here’s the cool part: with the right setup, you can configure your Mac server to allow secure access to your IoT devices while keeping everything else locked down tight. It’s all about finding the sweet spot between convenience and security.
Why Use a Mac Server for IoT?
There are plenty of reasons why a Mac server is a great choice for managing IoT devices. For starters, macOS comes with a bunch of built-in tools that make setting up and maintaining a server a breeze. Plus, Apple’s focus on security means you can trust that your data is protected.
Here are a few key benefits:
Read also:Telugu Rulz The Undeniable Power Of A Language Thats Taking The World By Storm
- Easy Setup: macOS Server is straightforward to configure, even for those who aren’t tech wizards.
- Built-in Security Features: From encryption to firewalls, macOS has everything you need to keep your network safe.
- Seamless Integration: If you’re already in the Apple ecosystem, integrating your IoT devices with a Mac server is a no-brainer.
- Reliability: Mac servers are known for their stability, so you can count on them to keep your IoT devices running smoothly.
Setting Up Your Mac Server for Remote IoT Access
Alright, let’s get our hands dirty. Setting up your Mac server for remote IoT access involves a few key steps. Don’t worry if it sounds overwhelming—we’ll break it down into manageable chunks.
Step 1: Install macOS Server
The first step is installing macOS Server on your Mac. This app gives you access to a bunch of server-related features, including the ability to set up remote access. You can download it from the Mac App Store. Once installed, open the app and follow the on-screen instructions to set up your server.
Step 2: Configure Firewall Settings
Next, you’ll need to adjust your firewall settings to allow remote access. Head over to System Preferences > Security & Privacy > Firewall. Click on “Firewall Options” and make sure the necessary ports are open. For most IoT devices, you’ll need to allow traffic on ports 80 (HTTP) and 443 (HTTPS).
Pro tip: If you’re not sure which ports to open, check the documentation for your specific IoT devices. Some may require additional ports for optimal performance.
Step 3: Set Up Port Forwarding
Port forwarding is where the magic happens. It allows traffic from the internet to reach your IoT devices through your firewall. To set this up, log into your router’s admin interface and configure port forwarding rules. You’ll need to specify which ports to forward and the IP address of your IoT devices.
Here’s an example:
- External Port: 80
- Internal Port: 80
- IP Address: 192.168.1.100
Repeat this process for each IoT device you want to access remotely.
Securing Your Remote IoT Access
Security should always be a top priority when setting up remote access. Here are a few tips to keep your IoT devices safe:
Use Strong Passwords
Weak passwords are a hacker’s best friend. Make sure you use strong, unique passwords for all your IoT devices and your Mac server. A good password should include a mix of uppercase and lowercase letters, numbers, and symbols.
Enable Two-Factor Authentication
Two-factor authentication (2FA) adds an extra layer of security by requiring a second form of verification, such as a code sent to your phone. It’s a simple yet effective way to protect your devices from unauthorized access.
Keep Software Up to Date
Software updates often include important security patches. Make sure you regularly update your Mac server and IoT devices to ensure they’re protected against the latest threats.
Using SSH for Secure Connections
SSH, or Secure Shell, is a protocol that allows you to securely connect to your Mac server from anywhere. Here’s how to set it up:
Step 1: Enable SSH on Your Mac
Head to System Preferences > Sharing and check the box for “Remote Login.” This will enable SSH on your Mac server.
Step 2: Connect Using an SSH Client
To connect to your Mac server remotely, you’ll need an SSH client. If you’re on a Mac, you can use the built-in Terminal app. On Windows, you can use a tool like PuTTY. Here’s the basic command to connect:
ssh username@your-server-ip
Replace “username” with your Mac server’s username and “your-server-ip” with its IP address.
Managing IoT Devices with Homebridge
Homebridge is a popular open-source tool that allows you to integrate non-Apple smart devices with Apple’s HomeKit. It’s perfect for managing IoT devices on a Mac server. Here’s how to get started:
Step 1: Install Homebridge
You can install Homebridge using Homebrew, a package manager for macOS. Open Terminal and run the following commands:
brew install homebrew/cask homebridge
Step 2: Add Your IoT Devices
Once Homebridge is installed, you can add your IoT devices using plugins. There are plugins available for a wide range of devices, from smart lights to security cameras.
Monitoring and Troubleshooting
Even the best setups can sometimes run into issues. Here’s how to monitor your IoT devices and troubleshoot common problems:
Check Logs for Errors
Your Mac server keeps logs of all activity, including errors. You can view these logs using the Console app. Look for any messages related to your IoT devices and address any issues as needed.
Test Your Connections
Regularly test your remote connections to ensure everything is working as expected. Try accessing your IoT devices from different locations to confirm that the setup is stable.
Best Practices for Remote IoT Access
To get the most out of your remote IoT setup, here are a few best practices to keep in mind:
Limit Access to Trusted Devices
Only allow trusted devices to access your IoT network. This reduces the risk of unauthorized access and keeps your data safe.
Use a Dedicated Network
Consider setting up a separate network for your IoT devices. This isolates them from your main network and adds an extra layer of security.
Regularly Review Your Security Settings
Security threats evolve over time, so it’s important to regularly review and update your security settings. Stay informed about the latest threats and take steps to protect your devices accordingly.
Future Trends in IoT and Remote Access
The world of IoT is constantly evolving, and so are the tools and technologies for remote access. Here are a few trends to watch:
Edge Computing
Edge computing involves processing data closer to the source, reducing latency and improving performance. As IoT devices become more powerful, edge computing will play an increasingly important role in remote access.
Artificial Intelligence
AI is revolutionizing the way we interact with IoT devices. From predictive maintenance to smart automation, AI-powered tools are making remote access faster, smarter, and more efficient.
Conclusion
And there you have it—a comprehensive guide to using remote IoT behind a firewall with a Mac server. By following the steps outlined in this article, you can set up a secure and efficient system for accessing your IoT devices from anywhere in the world.
Remember, security is key. Always use strong passwords, enable two-factor authentication, and keep your software up to date. And if you’re looking for an easy way to manage your IoT devices, tools like Homebridge can make your life a whole lot easier.
So, what are you waiting for? Get out there and start setting up your remote IoT access today. And don’t forget to share your experiences in the comments below. Happy tinkering!
Table of Contents
- Understanding the Basics of IoT and Firewalls
- Why Use a Mac Server for IoT?
- Setting Up Your Mac Server for Remote IoT Access
- Securing Your Remote IoT Access
- Using SSH for Secure Connections
- Managing IoT Devices with Homebridge
- Monitoring and Troubleshooting
- Best Practices for Remote IoT Access
- Future Trends in IoT and Remote Access
- Conclusion


