Unlocking The Potential Of RemoteIoT Behind Router With Raspberry Pi
Hey there tech enthusiasts and gadget freaks! Are you ready to dive deep into the world of remote IoT (Internet of Things) using a Raspberry Pi? This isn't just about setting up a cool device; it's about creating smart solutions that can change the way we interact with technology. In this article, we'll explore everything you need to know about remoteIoT behind router Raspberry Pi setups, step by step, from beginner to pro. So buckle up and get ready for a ride through the fascinating realm of IoT.
Let’s start by asking ourselves: Why is remoteIoT behind router Raspberry Pi so important? It’s not just a buzzword anymore. It’s a game-changer. Whether you're controlling smart home devices, monitoring remote sensors, or even running a server from your living room, Raspberry Pi offers endless possibilities. This tiny yet powerful device can handle tasks that would otherwise require expensive hardware, making it an affordable solution for hobbyists and professionals alike.
But hold up! Before we dive into the nitty-gritty, let’s clarify something. If you’ve been hearing about IoT but aren’t sure what it means, don’t worry. We’ve got you covered. IoT refers to the network of physical devices embedded with sensors, software, and connectivity, enabling them to exchange data. And when we talk about remoteIoT behind router Raspberry Pi, we’re talking about managing these devices remotely, even from the other side of the world. Cool, right?
Read also:Hdhub4u List Bollywood Movies Your Ultimate Guide To Streaming Blockbusters
Why Raspberry Pi Is the Perfect Fit for RemoteIoT
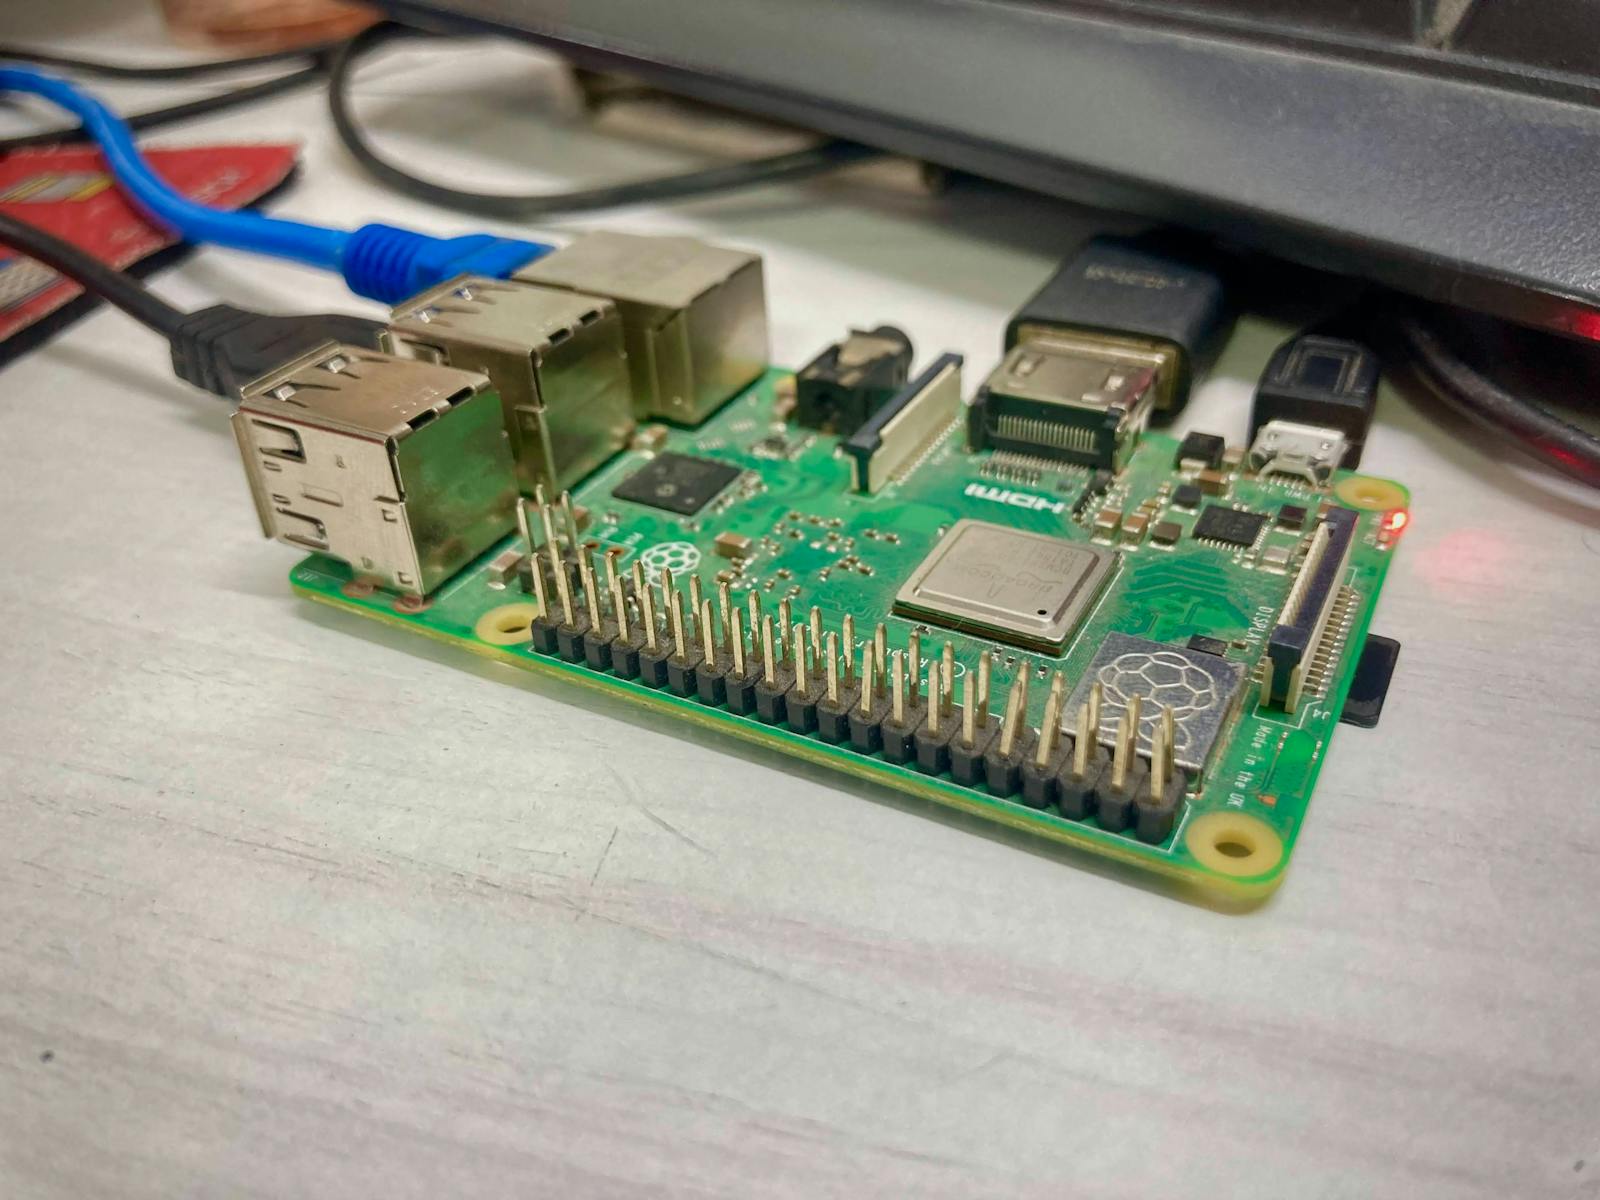
First things first, why Raspberry Pi? Well, it’s not just about being trendy. The Raspberry Pi is a compact, affordable, and super versatile single-board computer. It’s like having a full-fledged PC in the palm of your hand. With its GPIO pins, it’s perfect for connecting sensors and actuators, making it ideal for IoT projects.
Let’s break it down:
- Cost-effective: You can get a Raspberry Pi for as little as $35.
- Community support: A massive community of developers and enthusiasts means tons of resources and tutorials.
- Flexibility: From running servers to controlling home automation systems, the possibilities are endless.
- Power efficiency: It consumes minimal power, making it perfect for long-term projects.
And when it comes to remoteIoT behind router Raspberry Pi setups, the device shines even brighter. Its ability to connect to networks and run lightweight operating systems makes it a top choice for remote monitoring and control.
Setting Up Your Raspberry Pi for RemoteIoT
Alright, let’s get our hands dirty. Setting up your Raspberry Pi for remoteIoT isn’t as complicated as it sounds. Here’s a quick guide to get you started:
Step 1: Gather Your Essentials
You’ll need the following:
- A Raspberry Pi (preferably the latest model).
- A microSD card (minimum 16GB).
- A power adapter.
- An Ethernet cable or Wi-Fi dongle.
- A keyboard and monitor (optional if you’re using SSH).
Once you’ve got everything, it’s time to move on to the next step.
Read also:5movierulz Kannada 2025 Your Ultimate Guide To Kannada Movies And Beyond
Step 2: Install the Operating System
Raspberry Pi OS is the go-to choice for most users. You can download it from the official Raspberry Pi website. Use a tool like Balena Etcher to flash the OS onto your microSD card. Easy peasy!
Connecting Your Raspberry Pi Behind a Router
Now, here’s where things get interesting. Connecting your Raspberry Pi behind a router requires some network configuration. Don’t worry; it’s not rocket science. Follow these steps:
Assign a Static IP Address
Assigning a static IP address ensures that your Raspberry Pi always has the same network address, making it easier to connect remotely.
Port Forwarding
Port forwarding allows you to access your Raspberry Pi from outside your local network. You’ll need to configure your router to forward specific ports to your Raspberry Pi’s IP address. Common ports used for SSH are 22, but you can choose others depending on your application.
Securing Your RemoteIoT Setup
Security is crucial when setting up remoteIoT behind router Raspberry Pi. You don’t want random strangers accessing your devices, do you? Here are some tips to keep your setup secure:
- Change the default SSH password.
- Use SSH keys instead of passwords for authentication.
- Enable a firewall to block unauthorized access.
- Regularly update your Raspberry Pi OS to patch vulnerabilities.
By following these best practices, you can ensure that your remoteIoT setup remains secure and protected.
Exploring RemoteIoT Applications
So, what can you do with remoteIoT behind router Raspberry Pi? The answer is: a lot! Here are some popular applications:
Home Automation
Control your smart home devices remotely. From adjusting the thermostat to turning on lights, Raspberry Pi can be the brain behind your smart home.
Remote Monitoring
Set up sensors to monitor temperature, humidity, or even security cameras. Access the data from anywhere in the world.
Web Server
Host your own website or application using Raspberry Pi as a server. It’s a great way to learn about web hosting and server management.
Troubleshooting Common Issues
Even the best setups can face issues. Here are some common problems and how to fix them:
SSH Connection Issues
If you’re having trouble connecting via SSH, double-check your port forwarding settings and ensure that the Raspberry Pi is reachable from your network.
Network Connectivity Problems
Ensure that your Raspberry Pi is properly connected to your router. Check the Ethernet or Wi-Fi settings and restart your router if necessary.
Data and Statistics: The Power of Raspberry Pi in IoT
Did you know that over 40 million Raspberry Pi units have been sold worldwide? That’s a lot of potential for innovation! According to a survey by the Raspberry Pi Foundation, 60% of users use their Raspberry Pi for educational purposes, while 40% use it for personal projects, including IoT.
These numbers highlight the growing popularity of Raspberry Pi in the IoT space. With its affordability and versatility, it’s no wonder that so many people are choosing this tiny device for their remoteIoT projects.
Best Practices for RemoteIoT Behind Router Raspberry Pi
Here are some best practices to keep in mind:
- Always back up your data regularly.
- Document your setup process for future reference.
- Test your setup thoroughly before deploying it in a real-world scenario.
- Stay updated with the latest trends and technologies in the IoT space.
By following these guidelines, you can ensure that your remoteIoT behind router Raspberry Pi setup is efficient, reliable, and secure.
Future Trends in RemoteIoT
The future of remoteIoT behind router Raspberry Pi looks bright. With advancements in AI, machine learning, and edge computing, the possibilities are endless. Imagine a world where your devices not only collect data but also analyze it and make decisions on their own. That’s the future we’re heading towards.
Conclusion: Take Action!
So, there you have it, folks! Everything you need to know about remoteIoT behind router Raspberry Pi. From setting up your device to exploring its applications, we’ve covered it all. Now it’s your turn to take action. Start experimenting, building, and creating. The world of IoT is waiting for you!
Don’t forget to share your experiences and projects in the comments below. And if you found this article helpful, why not share it with your friends and fellow tech enthusiasts? Together, let’s build a smarter, more connected world.
Happy tinkering!
Table of Contents
Why Raspberry Pi Is the Perfect Fit for RemoteIoT
Setting Up Your Raspberry Pi for RemoteIoT
Connecting Your Raspberry Pi Behind a Router
Exploring RemoteIoT Applications
Data and Statistics: The Power of Raspberry Pi in IoT
Best Practices for RemoteIoT Behind Router Raspberry Pi
And there you have it, a comprehensive guide to remoteIoT behind router Raspberry Pi. Let’s make the world a smarter place, one project at a time!