Free SSH Access To IoT Devices: Unlocking The Power Of Remote Management
So, you're here because you want to dive into the world of SSH access for IoT devices and how it can be done for free, right? Let's be honest, the Internet of Things (IoT) has become a game-changer in how we interact with technology. From smart homes to industrial automation, IoT devices are everywhere. But here's the deal—managing these devices remotely can be tricky unless you have the right tools. And that's where SSH comes in. Secure Shell (SSH) is like the superhero of remote device management, offering secure access and control over your IoT setup without exposing your network to unnecessary risks. Let's explore how you can harness this power without breaking the bank.
Now, before we dive deep into the nitty-gritty, let's talk about why SSH matters so much. In the world of IoT, security is king. You don't want someone snooping around your smart fridge or hacking into your smart thermostat, do you? SSH provides an encrypted channel that ensures your data stays safe while you manage your devices from anywhere in the world. Plus, it's free! There are plenty of open-source tools and methods that make SSH access not only possible but also easy to set up.
So, whether you're a tech enthusiast looking to tinker with your smart home setup or a small business owner trying to streamline your operations, this guide has got you covered. We'll walk you through everything you need to know about setting up free SSH access for your IoT devices, from the basics to advanced tips. Let's get started!
Read also:Telugu Movierulz 2025 Ndash Download Your Ultimate Guide To Telugu Movies
Here's a quick rundown of what we'll cover in this article:
- What is SSH and why it matters for IoT devices
- Setting up SSH on different IoT platforms
- Best practices for secure SSH access
- Free tools and resources for SSH management
- Troubleshooting common SSH issues
Ready? Let's jump in!
Understanding SSH: The Backbone of Secure IoT Device Management
Alright, let's break it down—what exactly is SSH, and why is it such a big deal for IoT devices? Simply put, SSH (Secure Shell) is a protocol that allows you to remotely connect to and manage devices over a network. It's like having a secret tunnel that lets you securely access your IoT devices from anywhere without exposing them to the dangers of the internet. Think of it as a digital Swiss Army knife for remote management.
Now, here's the kicker—SSH isn't just about convenience; it's about security. Unlike other protocols that transmit data in plain text (which means anyone can intercept it), SSH encrypts all communication between your device and the server. This means that even if someone tries to eavesdrop on your connection, they won't be able to make sense of the data. That's why SSH is a go-to choice for managing IoT devices, especially when you're dealing with sensitive information.
Why SSH is Essential for IoT Devices
Here's the thing—IoT devices are everywhere, and they're only going to become more prevalent. According to a report by Statista, the number of connected IoT devices worldwide is expected to surpass 29 billion by 2030. That's a lot of devices to manage! And with so many devices out there, the need for secure remote access has never been greater.
SSH offers several advantages that make it the perfect solution for IoT device management:
Read also:5movierulz Telugu 2024 Your Ultimate Guide To Telugu Movies
- Security: SSH encrypts all data transmitted between your device and the server, keeping your information safe from prying eyes.
- Flexibility: SSH works across a wide range of platforms and devices, making it easy to integrate into your IoT setup.
- Cost-effectiveness: Many SSH tools are open-source and free to use, which means you can set up secure remote access without spending a dime.
Setting Up SSH Access for IoT Devices: A Step-by-Step Guide
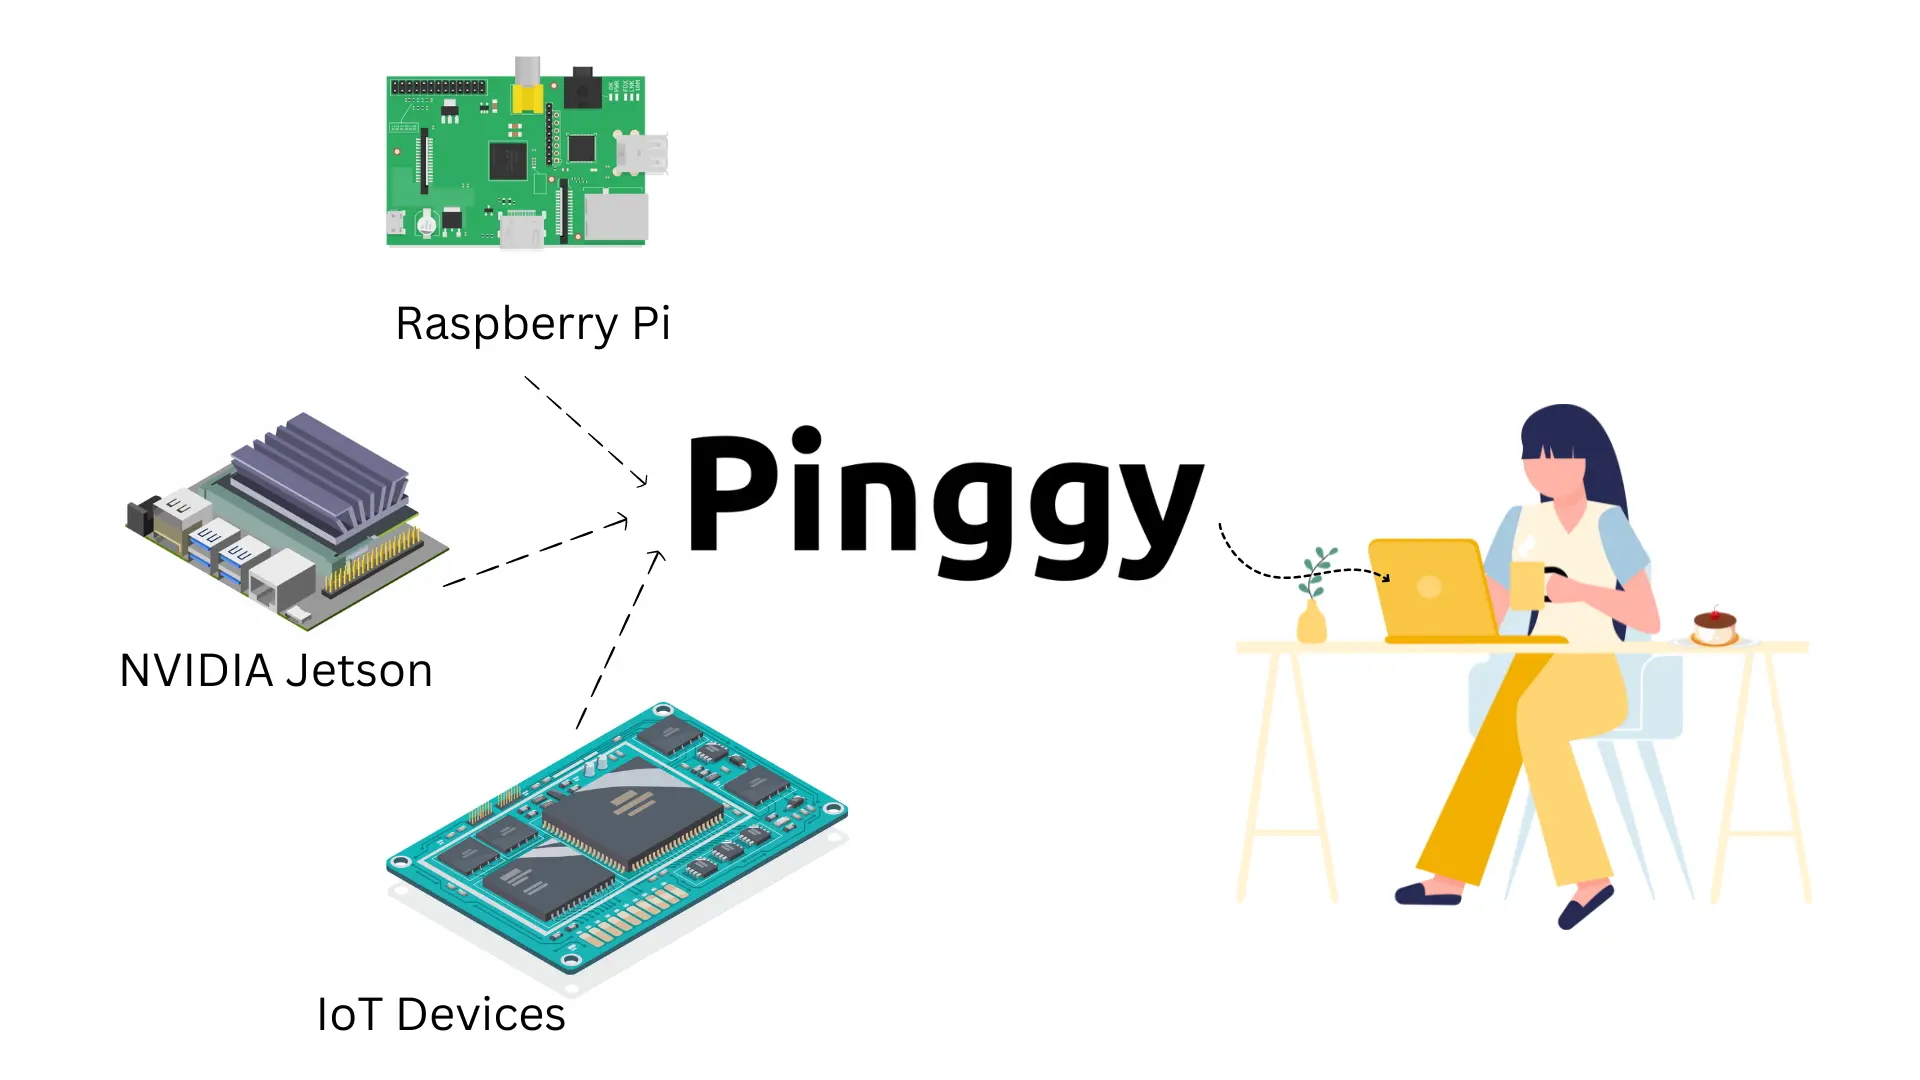
Alright, let's get practical. How do you actually set up SSH access for your IoT devices? Don't worry—it's easier than you think. Whether you're working with a Raspberry Pi, an Arduino, or any other IoT platform, the process is pretty straightforward. Here's a step-by-step guide to help you get started:
Step 1: Enable SSH on Your IoT Device
First things first, you need to enable SSH on your IoT device. Most modern IoT platforms come with SSH pre-installed, but you might need to activate it manually. For example, if you're using a Raspberry Pi, you can enable SSH by running the following command in the terminal:
sudo raspi-config
From there, navigate to "Interfacing Options," select "SSH," and enable it. Boom—SSH is now active on your device.
Step 2: Install an SSH Client
Next, you'll need an SSH client to connect to your device remotely. There are plenty of options out there, but some popular choices include:
- PuTTY: A free and easy-to-use SSH client for Windows users.
- Terminal: Built into macOS and Linux, making it a great option for users on those platforms.
- MobaXterm: A powerful SSH client that offers advanced features like file transfer and remote desktop access.
Choose the one that works best for you and install it on your computer.
Step 3: Connect to Your IoT Device
Now that SSH is enabled on your device and you have a client installed, it's time to connect. Open your SSH client and enter the IP address of your IoT device. If you're not sure what the IP address is, you can usually find it in your device's settings or by running the following command in the terminal:
ifconfig
Once you've entered the IP address, hit "Connect," and you'll be prompted to enter your username and password. And just like that, you're in!
Free Tools for SSH Access: Making Remote Management a Breeze
One of the best things about SSH is that there are tons of free tools available to help you manage your IoT devices. From open-source clients to cloud-based solutions, you have plenty of options to choose from. Here are a few of our favorites:
1. OpenSSH
OpenSSH is one of the most popular SSH tools out there, and for good reason. It's free, open-source, and works across a wide range of platforms. Whether you're managing a single IoT device or a whole fleet of them, OpenSSH has got you covered.
2. Bitvise SSH Client
Bitvise is another great option for SSH access. It's free for personal use and offers a user-friendly interface that makes it easy to connect to your IoT devices. Plus, it supports advanced features like SFTP (Secure File Transfer Protocol), which is perfect for transferring files between your device and your computer.
3. Cloudflare Tunnel
Cloudflare Tunnel is a cloud-based solution that allows you to securely expose your IoT devices to the internet without opening up your network to potential threats. It's free to use and offers advanced features like automatic updates and DDoS protection. If you're looking for a hassle-free way to manage your IoT devices remotely, Cloudflare Tunnel is definitely worth checking out.
Best Practices for Secure SSH Access
Now that you know how to set up SSH access for your IoT devices, let's talk about how to keep it secure. Security is key when it comes to remote device management, so here are a few best practices to keep in mind:
1. Use Strong Passwords
It might sound obvious, but using strong passwords is one of the easiest ways to protect your SSH connection. Avoid using common passwords like "password" or "123456" and opt for something more complex. A good rule of thumb is to use a mix of uppercase and lowercase letters, numbers, and special characters.
2. Enable Two-Factor Authentication (2FA)
Two-factor authentication adds an extra layer of security to your SSH connection by requiring a second form of verification in addition to your password. This could be something like a text message code or an authentication app. While it might take a bit more effort to set up, it's definitely worth it for the added peace of mind.
3. Keep Your Software Up to Date
Finally, make sure you're keeping your SSH software up to date. Software updates often include important security patches that can help protect your devices from vulnerabilities. Set up automatic updates if possible, or at least make it a habit to check for updates regularly.
Troubleshooting Common SSH Issues
Even with the best-laid plans, things can go wrong sometimes. Here are a few common SSH issues you might encounter and how to fix them:
1. Connection Refused
If you're getting a "connection refused" error, it could mean that SSH isn't enabled on your device or that there's a firewall blocking the connection. Double-check that SSH is enabled and make sure your firewall settings allow incoming connections on port 22 (the default SSH port).
2. Permission Denied
A "permission denied" error usually means that your username or password is incorrect. Double-check that you're using the right credentials and try again. If the problem persists, you might need to reset your password or check your device's user permissions.
3. Timeout Errors
Timeout errors can be frustrating, but they're often caused by network issues. Make sure your device is connected to the internet and try restarting your router if necessary. If the problem continues, you might need to adjust your SSH settings or try using a different client.
SSH Access for IoT Devices: The Future of Remote Management
As IoT continues to evolve, the need for secure remote access will only become more important. SSH offers a powerful solution that's both secure and cost-effective, making it the perfect choice for managing IoT devices. Whether you're a tech enthusiast or a business owner, learning how to set up SSH access for your IoT devices is a skill that will serve you well in the years to come.
Conclusion: Take Control of Your IoT Devices with SSH
And there you have it—a comprehensive guide to setting up free SSH access for your IoT devices. From understanding the basics of SSH to troubleshooting common issues, we've covered everything you need to know to take control of your IoT setup. Remember, security is key when it comes to remote device management, so make sure you're following best practices to keep your devices safe.
So, what are you waiting for? Dive in, start tinkering, and unlock the full potential of your IoT devices with SSH. And if you found this article helpful, don't forget to share it with your friends and leave a comment below. Happy tinkering!


