How To Remote Manage IoT Over Internet Raspberry Pi: Your Ultimate Guide
Managing IoT devices remotely through the internet using a Raspberry Pi is becoming a game-changer for tech enthusiasts and professionals alike. As more gadgets get connected to the web, controlling them from afar has never been more crucial. Whether you're setting up a smart home or automating industrial processes, this guide will walk you step-by-step through the process. Let’s dive right in and see how it all works, mate!
Let’s face it, we live in an era where everything is getting smarter. From fridges that know when you're running low on milk to security cameras that detect suspicious activity, the Internet of Things (IoT) is everywhere. But what happens when you’re not physically near your IoT setup? That’s where remote management comes into play. With the right tools and a bit of know-how, you can control your IoT devices from anywhere in the world.
Now, if you’ve been wondering how to remote manage IoT over the internet with Raspberry Pi, you’re in the right place. This guide is packed with practical tips, step-by-step instructions, and insights that’ll help you set up a reliable system. Whether you’re a beginner or a seasoned pro, there’s something here for everyone. So, let’s get started!
Read also:Unveiling Movierulz Kannada Your Ultimate Guide To The World Of Kannada Movies
Why Remote IoT Management Matters
Imagine being able to tweak your home’s thermostat or check your security feeds while lounging on a beach in Bali. Sounds pretty sweet, right? Remote IoT management offers flexibility, convenience, and peace of mind. But it’s not just about personal comfort; businesses can also benefit significantly from this technology. For instance, factory owners can monitor machinery performance in real-time, reducing downtime and improving efficiency.
Key Benefits of Managing IoT Devices Remotely
- Increased accessibility: Control your devices from anywhere with an internet connection.
- Enhanced security: Regularly update and patch IoT devices to protect against cyber threats.
- Cost savings: Automate tasks and reduce the need for physical site visits.
- Scalability: Easily add more devices to your network as your needs grow.
And let’s not forget the environmental impact. By optimizing energy usage through remote management, you can reduce your carbon footprint. It’s a win-win situation for both you and the planet.
Understanding Raspberry Pi in IoT
Raspberry Pi is not just a tiny computer; it’s a powerhouse for IoT projects. Its affordability, versatility, and ease of use make it a favorite among hobbyists and developers. The Pi’s ability to interface with various sensors and actuators makes it perfect for building IoT systems.
What Makes Raspberry Pi Ideal for IoT?
- Compact size: Fits into almost any project setup.
- Low power consumption: Ideal for battery-powered devices.
- Wide community support: Tons of tutorials and forums to help you out.
- Compatibility: Works with numerous programming languages and platforms.
Whether you’re building a weather station, a home automation system, or an industrial monitoring solution, Raspberry Pi has got you covered. Its GPIO pins allow you to connect all sorts of peripherals, making it a versatile platform for innovation.
Setting Up Your Raspberry Pi for IoT
Before you can start managing IoT devices remotely, you’ll need to set up your Raspberry Pi. Don’t worry; it’s not as complicated as it sounds. Follow these simple steps, and you’ll be up and running in no time.
Step 1: Install the Operating System
Begin by installing an operating system on your Raspberry Pi. Raspbian is a popular choice, but you can also opt for other lightweight OSes like Ubuntu Server. Make sure to update the system once it’s installed to ensure you have the latest features and security patches.
Read also:Vegamovies In 2025 Your Ultimate Guide To The Future Of Streaming
Step 2: Configure Wi-Fi and Networking
Next, set up your Wi-Fi connection. You can do this either through the graphical interface or by editing the wpa_supplicant.conf file. Once connected, test your internet access to confirm everything’s working fine.
Step 3: Enable SSH for Remote Access
SSH (Secure Shell) allows you to control your Raspberry Pi from another computer. Enable it by running the following command in the terminal:
sudo raspi-config
Then navigate to Interfacing Options > SSH and select Enable.
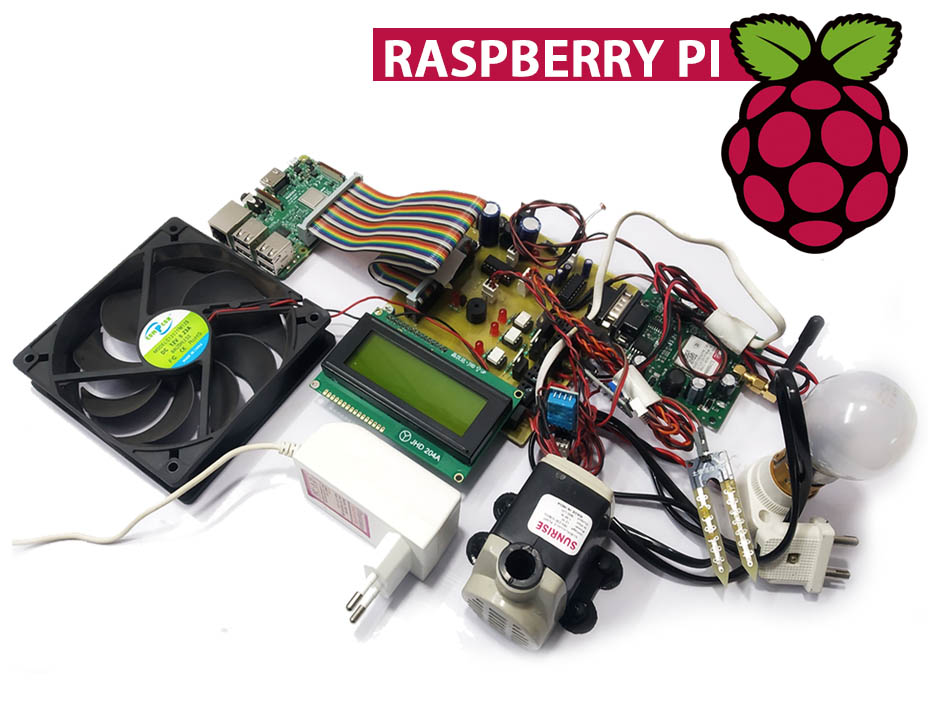
Connecting IoT Devices to Raspberry Pi
Now that your Raspberry Pi is ready, it’s time to connect your IoT devices. This step involves wiring up sensors, actuators, and other components to your Pi. Depending on your project, you might use GPIO pins, USB ports, or even wireless communication modules like Bluetooth or Zigbee.
Popular IoT Sensors and Actuators
- DHT11/DHT22: Temperature and humidity sensors.
- DS18B20: High-accuracy temperature sensor.
- Relay modules: Used to control high-power devices.
- RGB LED strips: For mood lighting or status indicators.
Remember to check the voltage requirements of your devices to avoid damaging your Pi or peripherals.
Remote Access Solutions for Raspberry Pi
There are several ways to access your Raspberry Pi remotely. While SSH is the most common method, it’s not the only one. Let’s explore some alternatives that might suit your needs better.
Option 1: VNC Viewer
VNC (Virtual Network Computing) lets you view and interact with your Raspberry Pi’s desktop interface from another computer. It’s great for troubleshooting or when you need a graphical interface.
Option 2: Web-Based Interfaces
Setting up a web server on your Raspberry Pi allows you to control your IoT devices through a browser. This method is particularly useful for sharing access with others or accessing your setup from mobile devices.
Option 3: Cloud Platforms
For more advanced projects, consider integrating cloud services like AWS IoT, Microsoft Azure, or Google Cloud Platform. These platforms offer robust features for data processing, analytics, and remote management.
Securing Your IoT Setup
Security should always be a top priority when managing IoT devices remotely. With so many devices connected to the internet, the risk of cyberattacks increases exponentially. Follow these best practices to keep your setup safe:
- Use strong, unique passwords for all devices.
- Enable two-factor authentication whenever possible.
- Regularly update firmware and software.
- Limit access to trusted networks and IP addresses.
Investing in a hardware firewall or using a secure tunnel like OpenVPN can also provide an extra layer of protection.
Troubleshooting Common Issues
Even the best-laid plans can hit a snag. Here are some common issues you might encounter and how to fix them:
- Lost connection: Check your network settings and restart your router if necessary.
- Device not responding: Ensure your devices are properly connected and powered.
- Slow performance: Optimize your code and reduce unnecessary processes running on your Pi.
Don’t be afraid to seek help from online forums or communities if you’re stuck. Chances are, someone else has faced the same problem and found a solution.
Future Trends in Remote IoT Management
The field of IoT is evolving rapidly, and so are the tools for managing it remotely. Some exciting developments to watch out for include:
- Edge computing: Processing data closer to the source for faster response times.
- AI integration: Using machine learning algorithms to predict and automate tasks.
- 5G networks: Enabling faster and more reliable connections for IoT devices.
As technology advances, the possibilities for remote IoT management will only grow. Stay informed and keep experimenting to make the most of these innovations.
Conclusion
In conclusion, learning how to remote manage IoT over the internet with Raspberry Pi opens up a world of possibilities. From automating your home to streamlining business operations, the applications are endless. By following the steps outlined in this guide, you’ll be well on your way to creating a robust and secure IoT setup.
So, what are you waiting for? Grab your Raspberry Pi, roll up your sleeves, and start building. And don’t forget to share your experience in the comments below. Who knows, you might inspire someone else to take the plunge into the exciting world of IoT!
Table of Contents
- Why Remote IoT Management Matters
- Understanding Raspberry Pi in IoT
- Setting Up Your Raspberry Pi for IoT
- Connecting IoT Devices to Raspberry Pi
- Remote Access Solutions for Raspberry Pi
- Securing Your IoT Setup
- Troubleshooting Common Issues
- Future Trends in Remote IoT Management
- Conclusion

