How To Use Remote IoT Behind Router: Your Ultimate Guide
Imagine this: you’ve got a bunch of IoT devices at home, but you want to access them from anywhere in the world. Sounds cool, right? But here’s the catch—your router is standing in the way, acting like a security guard who doesn’t let just anyone in. Don’t worry, though. Learning how to use remote IoT behind router is totally doable, and we’re about to break it down for you step by step.
Nowadays, IoT (Internet of Things) devices are everywhere. From smart thermostats to security cameras, they make life easier. But what happens when you’re not home and still need to check on things? That’s where remote access comes in. The only problem? Your router can sometimes be a bit of a pain if you don’t know how to set it up properly.
This guide isn’t just another tech mumbo jumbo article. We’re going to keep it real, easy to follow, and packed with actionable tips. So, whether you’re a tech enthusiast or someone who’s just dipping their toes into the IoT world, you’ll walk away with the knowledge you need to get your devices talking to you from anywhere.
Read also:Unlock The Power Of Moverulz Your Ultimate Guide To Mastering The Game
What Does It Mean to Use Remote IoT Behind Router?
Alright, let’s start with the basics. When we talk about using remote IoT behind router, we’re essentially talking about accessing your IoT devices from outside your local network. Your router acts as a gateway between your internal network and the internet. It’s like a bouncer at a club—only letting in the right connections while keeping the bad ones out.
But here’s the thing: by default, most routers block incoming connections for security reasons. This is great for keeping hackers out, but not so great if you want to control your smart lights from the other side of the planet. That’s why you need to tweak some settings to make it work.
Why Should You Care About Remote IoT Access?
Let’s be honest—remote IoT access isn’t just a nice-to-have feature; it’s becoming essential. Here are a few reasons why:
- Convenience: Imagine being able to adjust your thermostat or check your security cameras while you’re on vacation. Life just got a whole lot easier.
- Security: Monitoring your home remotely can help you catch potential intruders or issues before they escalate.
- Efficiency: Automating tasks and controlling devices remotely can save you time and energy.
And let’s not forget the peace of mind that comes with knowing you can keep an eye on things no matter where you are.
Setting Up Your Router for Remote IoT Access
Before we dive into the nitty-gritty, it’s important to understand that every router is different. However, most routers will have similar settings that you can tweak to enable remote access. Here’s a general guide to get you started:
Step 1: Log Into Your Router
The first thing you need to do is access your router’s admin panel. To do this:
Read also:Unlocking The Secrets Of Masa49 A Comprehensive Dive
- Open a web browser on your computer.
- Type in your router’s IP address. This is usually something like 192.168.0.1 or 192.168.1.1, but check your router’s manual if you’re not sure.
- Enter your login credentials. If you haven’t changed them, they might still be the default ones (e.g., admin/admin).
Don’t panic if you’ve forgotten your login details. Most routers have a reset button that can restore the default settings.
Step 2: Enable Port Forwarding
Port forwarding is like giving your IoT devices a VIP pass to bypass the router’s security. Here’s how you do it:
- Look for the “Port Forwarding” or “Virtual Servers” section in your router’s settings.
- Create a new rule and assign it to the specific device you want to access remotely.
- Set the external and internal ports to match the ones your device uses. For example, if your security camera uses port 8080, forward that port to the device’s local IP address.
Make sure you save your changes after setting this up!
Choosing the Right IoT Devices
Not all IoT devices are created equal when it comes to remote access. Some are easier to configure than others. Here are a few things to consider:
Key Features to Look For
- Cloud Connectivity: Devices that connect to a cloud server often have built-in remote access capabilities.
- Mobile Apps: A good mobile app can simplify the process of accessing your devices from anywhere.
- Security Features: Always prioritize devices with strong encryption and two-factor authentication to keep your data safe.
Do your research before buying. Reading reviews and checking forums can help you find the best options for your needs.
Securing Your IoT Network
Security should always be at the top of your list when setting up remote IoT access. Here are some tips to keep your network safe:
Change Default Credentials
Never leave your router or device passwords as the default ones. Change them to something strong and unique. A good password should include a mix of letters, numbers, and symbols.
Use a Strong Encryption Protocol
Make sure your router is using WPA3 or, at the very least, WPA2 encryption. This will protect your network from unauthorized access.
Regularly Update Firmware
Manufacturers often release updates to fix security vulnerabilities. Keep your router and devices up to date to stay protected.
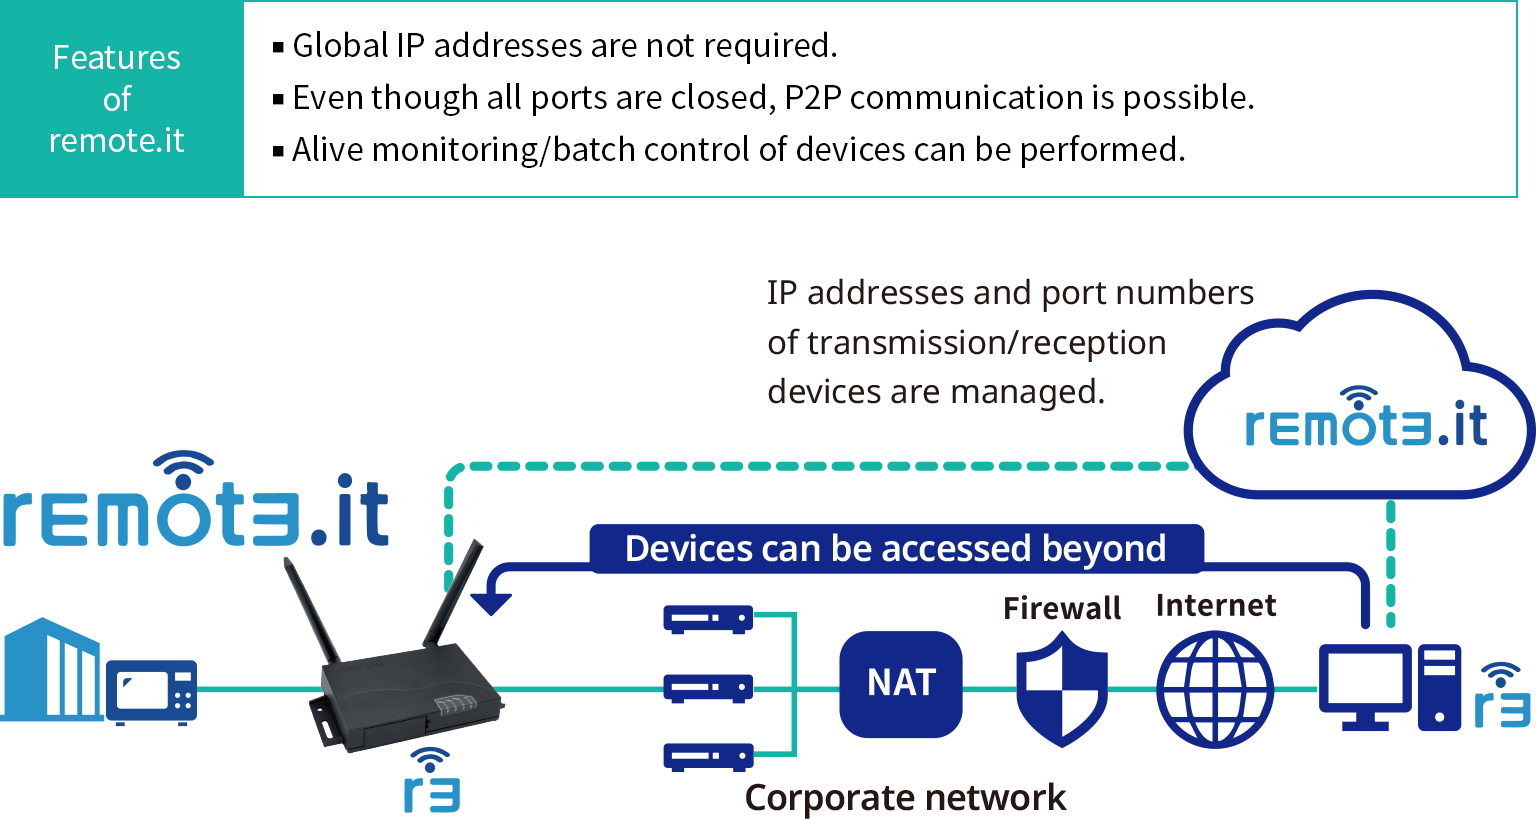
Understanding NAT and Its Role in Remote IoT
NAT (Network Address Translation) is a protocol that allows multiple devices on your network to share a single public IP address. It’s what lets you connect multiple devices to the internet without needing a separate IP for each one.
However, NAT can sometimes cause issues with remote access. To overcome this, you might need to configure NAT traversal settings on your router or use a service that supports it.
Troubleshooting NAT Problems
- Check if your router supports UPnP (Universal Plug and Play). This can automatically configure port forwarding for you.
- Try disabling any firewalls that might be blocking incoming connections.
- Consider using a third-party NAT traversal tool if your router doesn’t support it natively.
Remember, every router is different, so you might need to experiment a bit to find the right solution.
Using Dynamic DNS for Remote IoT
Your router’s public IP address can change from time to time, which can make remote access tricky. That’s where Dynamic DNS (DDNS) comes in. DDNS services assign a hostname to your router that updates automatically whenever your IP changes.
How to Set Up DDNS
- Sign up for a DDNS service like No-IP or DuckDNS.
- Follow the instructions to create a hostname for your router.
- Configure your router to update the DDNS service with your current IP address.
Once set up, you can use the hostname instead of the IP address to access your devices remotely.
Exploring Third-Party Tools for Remote IoT
If you’re not comfortable tweaking your router’s settings, there are plenty of third-party tools that can simplify the process. Some popular options include:
TeamViewer IoT
TeamViewer IoT is a cloud-based platform that allows you to securely connect to your devices from anywhere. It’s easy to set up and offers a range of features, including remote monitoring and management.
OpenVPN
OpenVPN is a popular open-source solution for creating secure connections between devices. It’s a bit more technical to set up, but it offers a high level of security and flexibility.
Common Mistakes to Avoid
Setting up remote IoT access can be tricky, and there are a few common mistakes you’ll want to avoid:
- Not Securing Your Network: Always prioritize security to protect your devices and data.
- Ignoring Router Limits: Some routers have limitations on the number of simultaneous connections they can handle. Make sure yours can support all your devices.
- Overcomplicating Things: Stick to simple, proven solutions rather than trying to reinvent the wheel.
By avoiding these pitfalls, you’ll save yourself a lot of headaches down the line.
Final Thoughts and Next Steps
So there you have it—your ultimate guide to using remote IoT behind router. Whether you’re a tech wizard or a complete beginner, you now have the tools and knowledge to take control of your IoT devices from anywhere in the world.
Here’s a quick recap of what we covered:
- Understanding the basics of remote IoT access.
- Setting up your router for remote access.
- Choosing the right IoT devices.
- Securing your network.
- Exploring third-party tools and services.
Now it’s your turn to take action. Start by experimenting with your router’s settings and see what works best for you. And don’t forget to share this article with your friends and family who might find it useful. Together, let’s make the world of IoT a little more accessible!
Table of Contents
What Does It Mean to Use Remote IoT Behind Router?
Setting Up Your Router for Remote IoT Access
Choosing the Right IoT Devices
Understanding NAT and Its Role in Remote IoT
Using Dynamic DNS for Remote IoT
Exploring Third-Party Tools for Remote IoT


