Mastering Remote SSH Raspberry Pi Behind Firewall On Ubuntu Server
So, you're diving into the world of remote access and wondering how to SSH into your Raspberry Pi when it's hiding behind a firewall? Well, buckle up, because we're about to take you through the ultimate guide to setting this up on Ubuntu Server. Remote SSH Raspberry Pi behind firewall Ubuntu Server is not just some tech buzzword—it's a powerful tool that can transform how you manage your devices from anywhere in the world. Let's break it down step by step so you can get your setup running smoothly.
Now, if you're thinking this is gonna be some complex jargon-filled journey, don't sweat it. We've got your back. This guide is crafted to be easy-peasy, even for those who aren’t tech wizards. By the end of it, you'll have everything you need to securely access your Raspberry Pi remotely, no matter where you are. Whether you're tinkering with home automation or managing a remote server, this is the setup you need.
But before we dive into the nitty-gritty, let’s quickly address why mastering remote SSH Raspberry Pi behind firewall Ubuntu Server is such a big deal. In today’s interconnected world, having secure and reliable remote access to your devices is crucial. It’s not just about convenience—it’s about control. So, let’s get started and make your Raspberry Pi work for you, no matter the distance!
Read also:Kannada Movies On Movierulz Your Ultimate Guide To Streaming And Downloading
Table of Contents:
- Setup Overview
- Raspberry Pi Basics
- Ubuntu Server Essentials
- Firewall Configuration
- Securing Your SSH
- Port Forwarding Magic
- Dynamic DNS for the Win
- Testing Your Connection
- Troubleshooting Tips
- Wrapping It Up
Setup Overview
Alright, let’s kick things off with a quick overview of what we’re aiming for here. When we talk about remote SSH Raspberry Pi behind firewall Ubuntu Server, we’re essentially discussing how to connect to your Raspberry Pi from anywhere, even when it’s tucked safely behind a firewall. The beauty of SSH (Secure Shell) is that it gives you a secure way to manage your device remotely, but firewalls can sometimes complicate things. That’s where this guide comes in—to help you navigate those complications.
In a nutshell, here’s what we’ll cover:
- Setting up SSH on your Raspberry Pi running Ubuntu Server.
- Configuring your router’s firewall to allow SSH traffic.
- Using port forwarding to direct incoming connections to your Raspberry Pi.
- Securing your setup with strong passwords and SSH keys.
- Setting up dynamic DNS to make your connection easier to manage.
Each step is crucial, so stick with us as we dive deeper into the details. Trust me, by the end of this, you’ll feel like a remote access pro!
Raspberry Pi Basics
What You Need to Know About Your Pi
Before we jump into the tech-heavy stuff, let’s make sure you’re familiar with your Raspberry Pi. This little device is a powerhouse, capable of running a full-fledged Ubuntu Server. But to get the most out of it, you need to know the basics. First up, ensure your Raspberry Pi is running the latest version of Ubuntu Server. This ensures you have all the necessary security updates and features.
Here’s a quick checklist:
Read also:Hdhub4uphd The Ultimate Guide To Your Movie Streaming Needs
- Make sure your Raspberry Pi is connected to your local network.
- Verify that SSH is enabled on your Pi. You can do this by running
sudo systemctl status ssh. - Take note of your Raspberry Pi’s local IP address using
ifconfigorip addr.
Ubuntu Server Essentials
Why Ubuntu Server Fits the Bill
Ubuntu Server is the perfect choice for running SSH services on your Raspberry Pi. It’s lightweight, secure, and packed with features that make remote management a breeze. Plus, its compatibility with Raspberry Pi makes it a no-brainer for this setup.
To ensure everything runs smoothly:
- Install the OpenSSH server package using
sudo apt install openssh-server. - Check that SSH is running with
sudo systemctl status ssh. - Configure your SSH settings by editing the
/etc/ssh/sshd_configfile.
These steps will lay the foundation for a secure and reliable SSH connection.
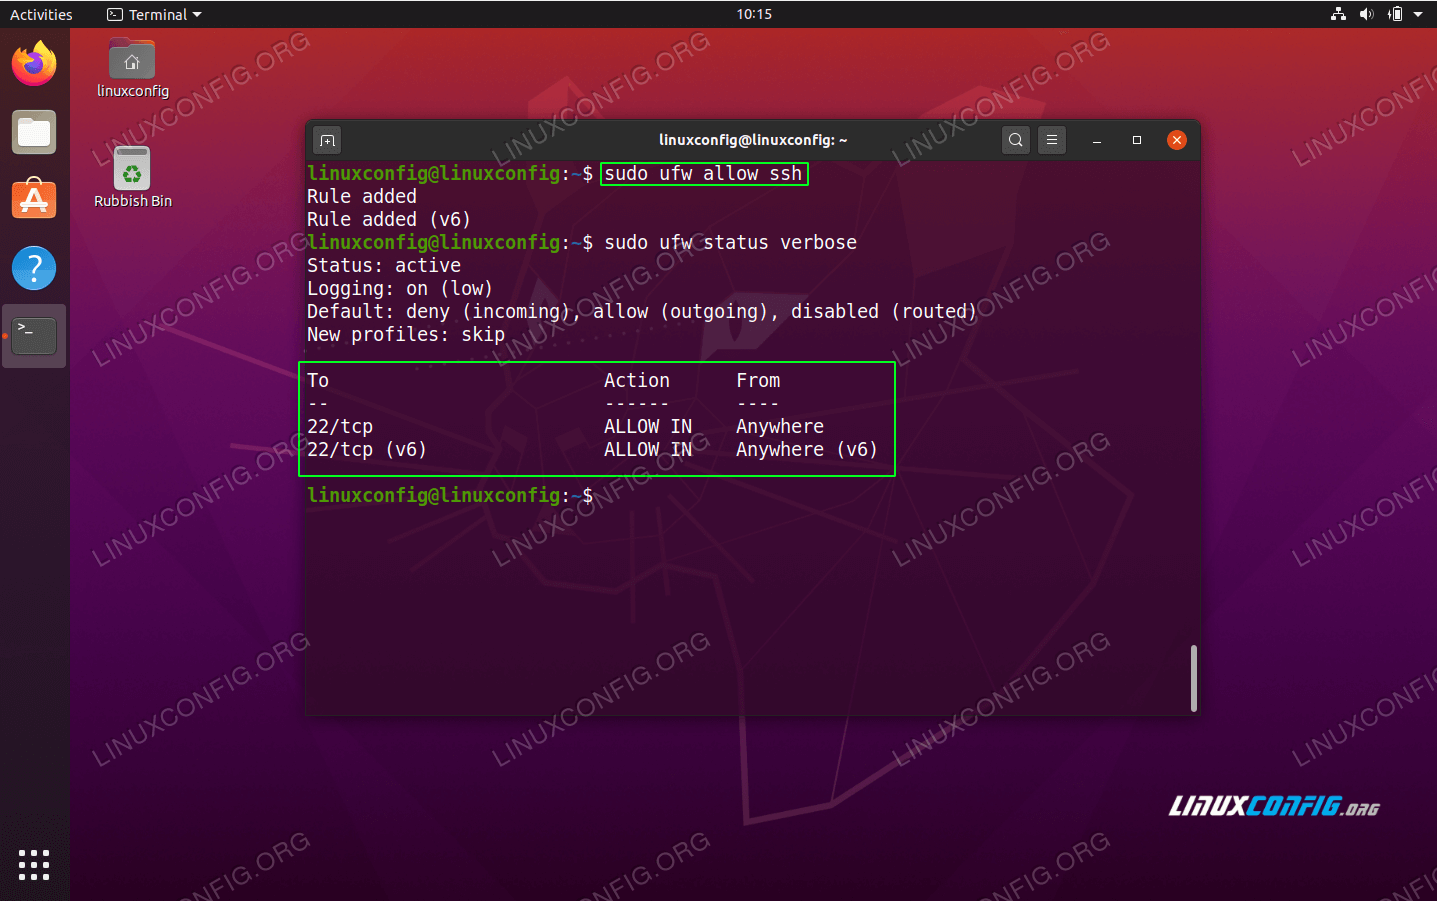
Firewall Configuration
Dealing with the Firewall
Now, let’s tackle the firewall. Firewalls are designed to protect your network from unauthorized access, but they can also block legitimate connections if not configured correctly. To allow SSH access to your Raspberry Pi, you’ll need to adjust your router’s firewall settings.
Here’s how:
- Log in to your router’s admin interface.
- Find the firewall or security settings section.
- Add a rule to allow incoming traffic on port 22 (the default SSH port).
Some routers might refer to this as "port triggering" or "application rules." Just make sure you’re allowing traffic on port 22 to reach your Raspberry Pi’s local IP address.
Securing Your SSH
Keep the Bad Guys Out
Security should always be a top priority when setting up remote SSH Raspberry Pi behind firewall Ubuntu Server. While SSH is inherently secure, there are steps you can take to make it even more robust.
Here are some tips:
- Change the default SSH port from 22 to something less obvious, like 2222.
- Disable password authentication and use SSH keys instead.
- Limit access to specific IP addresses if possible.
These measures will significantly reduce the risk of unauthorized access to your Raspberry Pi.
Port Forwarding Magic
Making SSH Work Through the Firewall
Port forwarding is the magic that allows you to connect to your Raspberry Pi from outside your local network. It directs incoming traffic on a specific port to a device within your network—in this case, your Raspberry Pi.
To set up port forwarding:
- Log in to your router’s admin interface.
- Go to the port forwarding or virtual server settings.
- Add a new rule that forwards traffic on your chosen SSH port (e.g., 2222) to your Raspberry Pi’s local IP address.
Once this is done, you’ll be able to connect to your Raspberry Pi using your public IP address and the forwarded port.
Dynamic DNS for the Win
Say Goodbye to IP Address Hassles
Your public IP address might change periodically, which can make it tricky to connect to your Raspberry Pi remotely. That’s where dynamic DNS (DDNS) comes in. DDNS services automatically update your domain name to point to your current IP address, ensuring you can always reach your Pi.
Popular DDNS providers include:
- No-IP
- DuckDNS
- FreeDNS
Sign up for one of these services, configure it on your router, and you’ll have a consistent domain name to use for remote connections.
Testing Your Connection
Time to Put It to the Test
Now that everything is set up, it’s time to test your connection. Open your terminal or SSH client and try connecting to your Raspberry Pi using its public IP address or DDNS domain name. If everything is configured correctly, you should be able to log in without any issues.
Here’s an example command:
ssh user@your-domain.com -p 2222
If you encounter any problems, don’t worry—we’ve got troubleshooting tips coming up next!
Troubleshooting Tips
When Things Go Wrong
Even with the best planning, issues can arise. Here are some common problems and how to fix them:
- Can’t connect to the SSH server: Double-check your port forwarding settings and ensure your router’s firewall allows SSH traffic.
- Connection refused: Verify that SSH is running on your Raspberry Pi and that the correct port is being used.
- IP address changes: If your public IP changes frequently, consider using a DDNS service to keep your domain name updated.
With these tips, you should be able to resolve most issues and get your remote SSH Raspberry Pi setup running smoothly.
Wrapping It Up
And there you have it—a comprehensive guide to setting up remote SSH Raspberry Pi behind firewall Ubuntu Server. By following the steps outlined here, you’ve now got the tools and knowledge to securely access your Raspberry Pi from anywhere in the world. Whether you’re managing a home server, running automation scripts, or just tinkering with your Pi, this setup will make your life a whole lot easier.
So, what’s next? Why not share this article with your tech-savvy friends or drop a comment below with your thoughts? And if you’re hungry for more, check out our other guides on all things Raspberry Pi and Ubuntu Server. Happy tinkering, and stay secure out there!


