Remote IoT Behind Router Raspberry Pi: Your Ultimate Guide To Secure And Efficient Setup
Imagine this—you’re sitting in your living room, sipping coffee, and suddenly you realize you’ve left the garage door open. Now, wouldn’t it be amazing if you could control it from your phone without needing to get up? This is where Remote IoT Behind Router Raspberry Pi comes in. It’s not just about convenience; it’s about creating a smarter, more connected world right from your home. But let’s face it, setting up IoT devices behind a router can be tricky. That’s why we’ve crafted this ultimate guide to help you navigate the process with ease.
Remote IoT is no longer just a buzzword—it’s a reality that’s transforming how we interact with technology. From smart homes to industrial automation, the possibilities are endless. But if you’re like most people, you might be wondering, “How do I set up my Raspberry Pi to control IoT devices behind my router?” Don’t worry; we’ve got you covered. This guide will walk you through everything you need to know.
Before we dive into the nitty-gritty, let’s set the stage. Whether you’re a tech enthusiast or just someone looking to automate their life, understanding the basics of remote IoT and Raspberry Pi is crucial. This article isn’t just about theory—it’s about practical solutions that you can implement today. So grab your Raspberry Pi, a cup of coffee, and let’s get started.
Read also:5movierulz Telugu 2024 Your Ultimate Guide To Telugu Movies
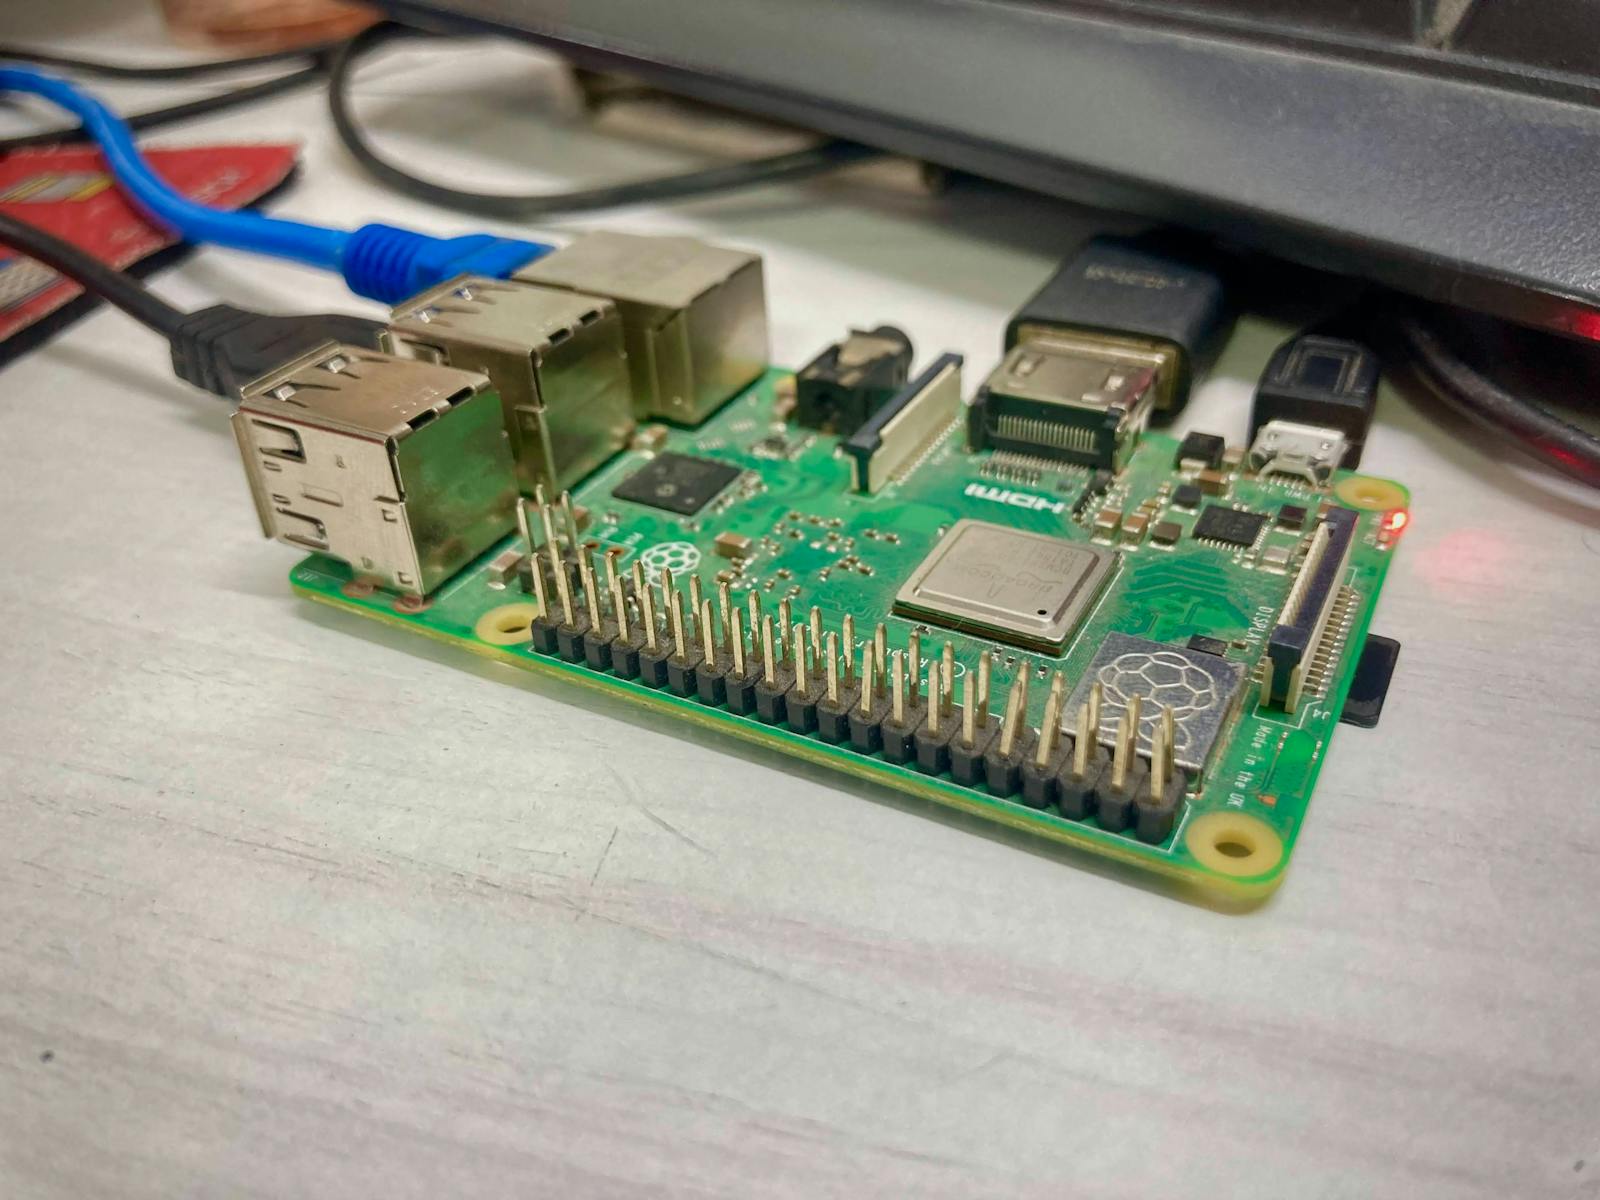
What is Remote IoT Behind Router Raspberry Pi?
Let’s break it down. Remote IoT refers to the ability to control or monitor Internet of Things (IoT) devices from anywhere in the world. When we talk about setting this up behind a router, we’re essentially talking about making your IoT devices accessible over the internet while keeping them secure. And guess what? The Raspberry Pi is the perfect tool for this job.
The Raspberry Pi is a small, affordable computer that can be used for a wide range of projects, including remote IoT setups. By placing your IoT devices behind a router and connecting them via a Raspberry Pi, you create a secure and efficient network that allows you to control everything from your lights to your thermostat remotely.
Here’s the kicker—setting up a remote IoT system with a Raspberry Pi isn’t as complicated as it sounds. With a bit of patience and the right steps, you’ll be up and running in no time. Let’s take a closer look at why this setup is so powerful.
Why Choose Raspberry Pi for Remote IoT?
Raspberry Pi has become the go-to device for hobbyists and professionals alike when it comes to IoT projects. Here are a few reasons why:
- Cost-Effective: Raspberry Pi is incredibly affordable compared to other single-board computers.
- Community Support: With a massive community of developers, finding tutorials and support is a breeze.
- Flexibility: You can use Raspberry Pi for a wide range of projects, from home automation to data logging.
- Scalability: Whether you’re building a small project or a large-scale system, Raspberry Pi can handle it.
But here’s the thing—just having a Raspberry Pi isn’t enough. You need to know how to configure it properly to ensure your IoT devices are both accessible and secure. Let’s explore the steps to make that happen.
Setting Up Your Raspberry Pi for Remote IoT
The first step in setting up your Raspberry Pi for remote IoT is getting the basics right. Here’s what you need to do:
Read also:Unleashing The Power Of Dogxxxxx Your Ultimate Companion Guide
1. Install the Right Operating System
Raspberry Pi OS is the official operating system for Raspberry Pi, and it’s perfect for IoT projects. You can download it from the official Raspberry Pi website and install it on an SD card. Once installed, boot up your Raspberry Pi and make sure everything is working as expected.
2. Configure Your Network Settings
For remote access, you’ll need to configure your Raspberry Pi to connect to your router. This involves setting up a static IP address so that your Raspberry Pi always has the same address on your network. Here’s how you can do it:
- Open the terminal on your Raspberry Pi.
- Edit the dhcpcd.conf file using the command: sudo nano /etc/dhcpcd.conf.
- Add the following lines to the file:
interface eth0
static ip_address=192.168.1.100/24
static routers=192.168.1.1
static domain_name_servers=192.168.1.1 - Save and exit the file, then restart your Raspberry Pi.
Now your Raspberry Pi has a static IP address, making it easier to access remotely.
Securing Your Remote IoT Setup
Security is a top priority when setting up remote IoT devices. After all, you don’t want unauthorized access to your home network. Here are some steps you can take to secure your setup:
1. Use SSH for Remote Access
SSH (Secure Shell) allows you to securely connect to your Raspberry Pi from anywhere. To enable SSH, simply run the command: sudo raspi-config and navigate to Interfacing Options > SSH > Enable.
2. Set Up a Firewall
A firewall can help protect your Raspberry Pi from unauthorized access. You can use a tool like ufw (Uncomplicated Firewall) to set up a basic firewall. Here’s how:
- Install ufw using the command: sudo apt-get install ufw.
- Allow SSH access with: sudo ufw allow ssh.
- Enable the firewall with: sudo ufw enable.
With these steps, you’ll have a secure and protected remote IoT setup.
Connecting IoT Devices to Your Raspberry Pi
Now that your Raspberry Pi is set up, it’s time to connect your IoT devices. Whether you’re using sensors, cameras, or smart home devices, the process is relatively straightforward. Here’s what you need to do:
1. Choose the Right IoT Devices
There are countless IoT devices available, so it’s important to choose ones that are compatible with Raspberry Pi. Some popular options include:
- Temperature and humidity sensors.
- Smart bulbs and switches.
- Security cameras.
2. Connect Your Devices
Connecting IoT devices to your Raspberry Pi usually involves installing the appropriate drivers and libraries. For example, if you’re using a DHT22 temperature sensor, you’ll need to install the Adafruit_DHT library. Here’s how:
- Install the library with: sudo pip3 install Adafruit_DHT.
- Write a Python script to read data from the sensor.
With your devices connected, you’re ready to start controlling them remotely.
Automating Your IoT Setup
Automation is where the real magic happens. By automating your IoT devices, you can create a truly smart home. Here are a few ideas to get you started:
- Set up a schedule to turn off lights at a specific time.
- Create rules to adjust the thermostat based on temperature readings.
- Send alerts to your phone when motion is detected by a security camera.
Automation can be achieved using tools like Node-RED or Python scripts. The possibilities are endless, so get creative!
Monitoring Your IoT Devices
Monitoring your IoT devices is essential for ensuring everything is working as expected. You can use tools like Grafana and InfluxDB to visualize data from your sensors and devices. Here’s how:
1. Install InfluxDB
InfluxDB is a time-series database that’s perfect for storing sensor data. Install it with:
- sudo apt-get install influxdb.
2. Install Grafana
Grafana allows you to create beautiful dashboards to visualize your data. Install it with:
- sudo apt-get install grafana.
With these tools, you’ll have a clear picture of what’s happening in your smart home.
Troubleshooting Common Issues
Even the best-laid plans can go awry. Here are some common issues you might encounter and how to fix them:
- Unable to Connect to Raspberry Pi: Check your network settings and ensure SSH is enabled.
- IoT Devices Not Responding: Verify that the devices are properly connected and powered.
- Data Not Updating: Check your scripts and ensure they’re running correctly.
If you run into any issues, don’t hesitate to reach out to the Raspberry Pi community for help.
Conclusion
Remote IoT behind router Raspberry Pi is a powerful tool that can transform the way you interact with technology. By following the steps outlined in this guide, you can create a secure and efficient setup that allows you to control your IoT devices from anywhere in the world.
So what are you waiting for? Dive in and start building your smart home today. And don’t forget to share your experiences and projects in the comments below. We’d love to hear from you!
Table of Contents:
- Remote IoT Behind Router Raspberry Pi: Your Ultimate Guide to Secure and Efficient Setup
- What is Remote IoT Behind Router Raspberry Pi?
- Why Choose Raspberry Pi for Remote IoT?
- Setting Up Your Raspberry Pi for Remote IoT
- Securing Your Remote IoT Setup
- Connecting IoT Devices to Your Raspberry Pi
- Automating Your IoT Setup
- Monitoring Your IoT Devices
- Troubleshooting Common Issues
- Conclusion