Deploying IoT With Raspberry Pi: A Beginner's Guide To Smart Solutions
Imagine this: you’re sitting in your living room, sipping a cup of coffee, and suddenly you realize that you can control every aspect of your home with just a few taps on your phone. Sounds futuristic? Well, it’s not anymore. The deployment of IoT with Raspberry Pi is making this dream a reality for tech enthusiasts and hobbyists worldwide. Whether you’re building a smart home system, automating your garden irrigation, or creating a weather station, IoT projects with Raspberry Pi offer endless possibilities.
But wait, what exactly does deploying IoT with Raspberry Pi entail? Simply put, it’s about connecting everyday devices to the internet and enabling them to communicate with each other. This technology allows you to monitor, control, and gather data from various sensors and actuators, all powered by the versatile Raspberry Pi. In this article, we’ll dive deep into the world of IoT and show you how to get started with your own Raspberry Pi-based projects.
Whether you’re a complete beginner or someone looking to expand their knowledge, this guide will walk you through everything you need to know. From setting up your Raspberry Pi to integrating it with IoT platforms, we’ve got you covered. So, grab your Pi, and let’s get started!
Read also:Best Buy Fargo Your Ultimate Shopping Destination
Table of Contents
- What is IoT and Why Raspberry Pi?
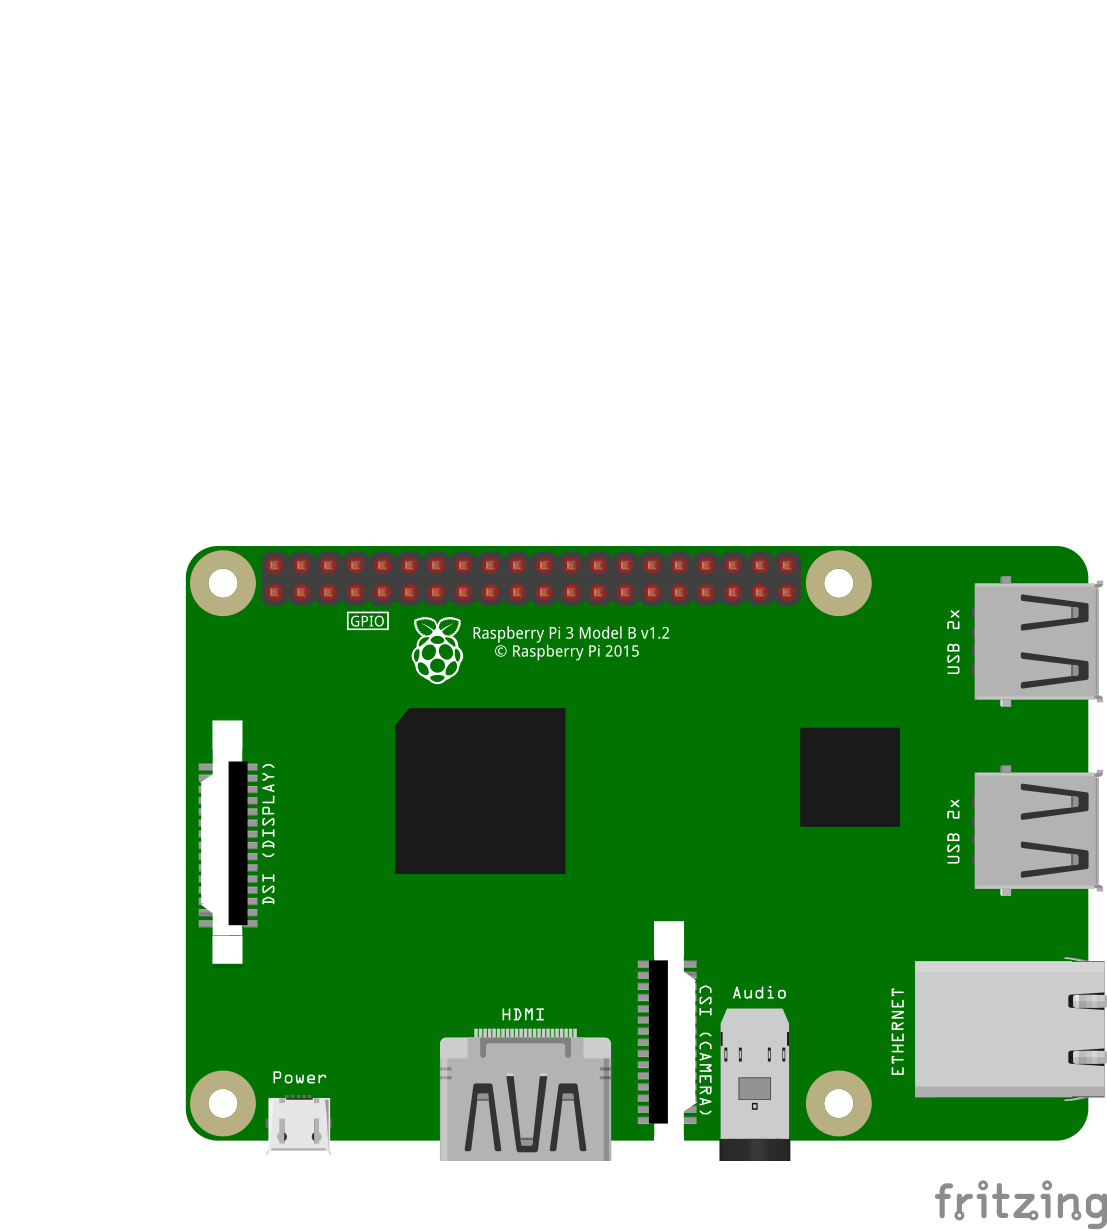
- Raspberry Pi: The Heart of Your IoT Project
- Choosing the Right IoT Platform
- Setting Up Your Raspberry Pi for IoT
- Working with Sensors and Actuators
- Network Considerations for IoT Deployment
- Securing Your IoT Devices
- Creative IoT Project Ideas with Raspberry Pi
- Common Issues and How to Fix Them
- Wrapping It Up: Your Next Steps
What is IoT and Why Raspberry Pi?
First things first, let’s break down what IoT really means. IoT, or the Internet of Things, is all about connecting physical objects to the internet. These objects could be anything from your fridge to your car, and once they’re connected, they can send and receive data, making them “smart.”
Now, why Raspberry Pi? Well, the Raspberry Pi is like the Swiss Army knife of single-board computers. It’s affordable, powerful, and super easy to use for both beginners and pros. Plus, it has a massive community of developers who are constantly creating new tools and resources to help you with your IoT projects.
For those of you who are just starting out, the deployment of IoT with Raspberry Pi is a fantastic way to learn about hardware and software integration. You’ll get hands-on experience with programming, networking, and data handling, all while building something cool and functional.
Raspberry Pi: The Heart of Your IoT Project
Why Raspberry Pi is Perfect for IoT
Let’s talk about why Raspberry Pi is such a popular choice for IoT projects. First off, it’s compact and energy-efficient, making it ideal for applications where space and power consumption are critical. It also comes with a range of GPIO (General Purpose Input/Output) pins, which allow you to connect various sensors and actuators.
Another big plus is the operating system. Raspberry Pi runs on Raspbian, a Linux-based OS that’s specifically designed for IoT applications. This means you can easily install and configure software packages like Node-RED, MQTT brokers, and more, which are essential for building IoT solutions.
Lastly, the community support for Raspberry Pi is unbeatable. There are tons of tutorials, forums, and libraries available that can help you troubleshoot issues and optimize your projects. It’s like having a whole team of experts at your fingertips!
Read also:Why Immigration Civil Surgeon Is Your Key To A Stressfree Green Card Journey
Choosing the Right IoT Platform
Popular IoT Platforms for Raspberry Pi
When it comes to deploying IoT with Raspberry Pi, choosing the right platform is crucial. Here are a few popular options that you might want to consider:
- Node-RED: A visual programming tool that makes it easy to connect hardware devices, APIs, and online services. It’s perfect for beginners who want to create complex workflows without writing too much code.
- Mosquitto: An open-source MQTT broker that allows devices to communicate securely over the internet. It’s lightweight and ideal for IoT projects that require real-time data exchange.
- Adafruit IO: A cloud-based platform that provides pre-built dashboards and integrations for your IoT projects. It’s great for those who want to focus on the hardware side of things without worrying about the backend.
Each platform has its own strengths and weaknesses, so it’s important to choose one that aligns with your project goals and skill level.
Setting Up Your Raspberry Pi for IoT
Step-by-Step Guide to IoT Deployment
Now that you know what IoT is and why Raspberry Pi is the best choice, let’s talk about how to set it up. Here’s a step-by-step guide to get you started:
- Install Raspbian: Download the latest version of Raspbian from the official website and flash it onto an SD card using a tool like BalenaEtcher.
- Connect to Wi-Fi: Edit the wpa_supplicant.conf file to add your Wi-Fi network details. This will ensure that your Pi connects to the internet automatically after booting up.
- Enable SSH: Create an empty file named “ssh” on the boot partition of your SD card. This will enable SSH access, allowing you to control your Pi remotely.
- Install IoT Software: Depending on the platform you choose, install the necessary software packages. For example, if you’re using Node-RED, you can install it by running the command “sudo apt-get install nodered.”
Once you’ve completed these steps, you’re ready to start building your IoT project!
Working with Sensors and Actuators
Essential Components for IoT Projects
Sensors and actuators are the building blocks of any IoT project. Sensors allow your Raspberry Pi to gather data from the environment, while actuators enable it to interact with the physical world. Here are some common sensors and actuators you might want to use:
- Temperature and Humidity Sensor: Perfect for monitoring weather conditions or indoor environments.
- Light Sensor: Useful for automating lighting systems based on ambient light levels.
- Relay Module: Allows you to control high-power devices like fans or lamps.
- LED Strip: Great for creating mood lighting or visual notifications.
When working with these components, make sure to follow proper wiring practices and use appropriate resistors to avoid damaging your Pi or the sensors.
Network Considerations for IoT Deployment
Ensuring Reliable Connectivity
One of the biggest challenges in deploying IoT with Raspberry Pi is ensuring reliable network connectivity. Here are a few tips to help you overcome common issues:
- Use a Static IP Address: Assign a static IP to your Raspberry Pi so that it always connects to the same address, making it easier to access remotely.
- Optimize Wi-Fi Settings: If you’re using Wi-Fi, consider switching to a 5GHz band for better performance and less interference.
- Set Up Port Forwarding: If you need to access your Pi from outside your local network, configure port forwarding on your router.
By taking these steps, you can ensure that your IoT devices stay connected and function smoothly.
Securing Your IoT Devices
Best Practices for IoT Security
Security is a major concern when it comes to IoT deployment. Here are some best practices to keep your devices safe:
- Use Strong Passwords: Change the default passwords for your Raspberry Pi and any connected devices.
- Enable Firewall: Install and configure a firewall to protect your Pi from unauthorized access.
- Keep Software Updated: Regularly update your operating system and software packages to patch any security vulnerabilities.
By following these guidelines, you can minimize the risk of cyberattacks and protect your IoT ecosystem.
Creative IoT Project Ideas with Raspberry Pi
Inspiration for Your Next IoT Project
Now that you have the basics down, here are a few project ideas to inspire you:
- Smart Home Automation: Control lights, thermostats, and security systems from your phone.
- Weather Station: Monitor temperature, humidity, and air pressure in real-time.
- Plant Watering System: Automate the watering of your plants based on soil moisture levels.
- Personal Assistant: Build your own voice-activated assistant using tools like Google Assistant or Alexa.
The possibilities are endless, so don’t be afraid to experiment and come up with your own unique ideas!
Common Issues and How to Fix Them
Debugging Your IoT Setup
No matter how careful you are, things can still go wrong. Here are some common issues you might encounter and how to fix them:
- Device Not Connecting to Wi-Fi: Check your Wi-Fi credentials and make sure the SSID and password are correct.
- GPIO Pins Not Working: Double-check your wiring and ensure that the pins are properly connected.
- Software Not Installing: Update your package list by running “sudo apt-get update” before installing new software.
With a little patience and persistence, you’ll be able to overcome any obstacles and bring your IoT projects to life.
Wrapping It Up: Your Next Steps
So there you have it, a comprehensive guide to deploying IoT with Raspberry Pi. From setting up your Pi to building exciting projects, we’ve covered everything you need to know to get started. Remember, the key to success in IoT is experimentation and learning from your mistakes.
Now it’s your turn to take action. Why not start with one of the project ideas we mentioned earlier? Or maybe you have your own idea that you want to bring to life. Whatever it is, don’t forget to share your experiences and results in the comments below. Who knows, you might inspire someone else to embark on their own IoT journey!
And before you go, don’t forget to check out our other articles for more tips and tricks on all things tech. Happy building, and see you in the next one!


