How To Use SSH Remote IoT On Mac For Free: A Beginner's Guide
Are you ready to dive into the world of SSH remote IoT on your Mac without spending a dime? Whether you're a tech enthusiast or a complete beginner, this guide is packed with everything you need to know. SSH might sound intimidating, but trust me, it’s easier than you think.
SSH, or Secure Shell, is like a secret tunnel that lets you access remote devices securely. If you’re working on IoT projects or need to manage servers from afar, SSH is your best friend. The best part? You can do all this on your Mac for free. No fancy software or expensive tools required.
This guide will walk you through setting up SSH, connecting to remote IoT devices, and troubleshooting common issues. By the end of this, you’ll be a pro at managing IoT devices from the comfort of your Mac. So grab a coffee, and let’s get started!
Read also:Habersham Cinema The Ultimate Movie Experience Yoursquove Been Dreaming Of
Table of Contents
- What is SSH and Why Use It?
- System Requirements for SSH on Mac
- Setting Up SSH on Your Mac
- How to Connect to a Remote IoT Device
- Ensuring SSH Security
- Common Issues and Troubleshooting
- Alternative Tools for SSH
- Advanced SSH Tips and Tricks
- Automating SSH Connections
- Final Thoughts and Next Steps
What is SSH and Why Use It?
SSH, or Secure Shell, is like a superpower for remote device management. Think of it as a secure way to communicate with another computer or device over the internet. Whether you’re managing servers, controlling IoT devices, or just tinkering with tech, SSH is the go-to method.
Why use SSH? Well, it’s secure, reliable, and widely supported. Plus, it’s free! You don’t need fancy software or expensive subscriptions. Just your Mac and a little know-how, and you’re good to go. And hey, who doesn’t love free stuff, right?
Benefits of Using SSH
- Secure communication between devices
- No need for expensive software
- Easy to set up and use
- Wide range of applications, from IoT to server management
System Requirements for SSH on Mac
Before we dive into the nitty-gritty, let’s make sure your Mac is ready for SSH action. Luckily, Macs come with SSH pre-installed, so you’re already halfway there. Here’s what you need:
- A Mac running macOS (any recent version will do)
- A remote IoT device with SSH enabled
- A basic understanding of terminal commands (don’t worry, we’ll guide you through it)
That’s it! No fancy downloads or complicated setups. Your Mac is already equipped to handle SSH like a champ.
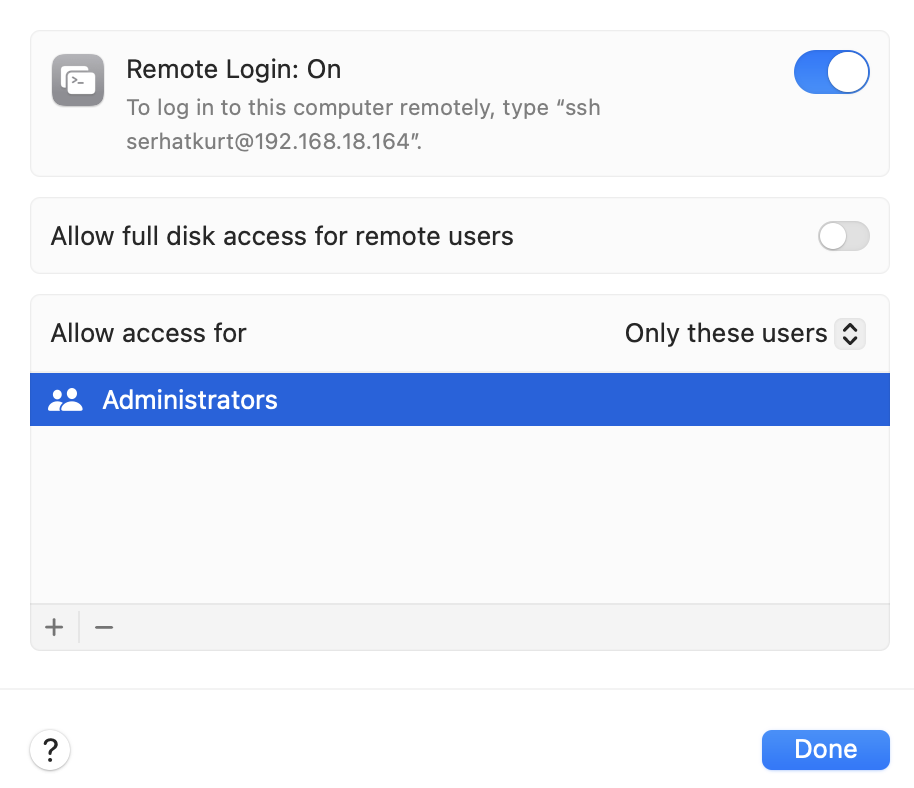
Setting Up SSH on Your Mac
Setting up SSH on your Mac is as easy as pie. Follow these steps, and you’ll be good to go:
- Open the Terminal app on your Mac. You can find it in Applications > Utilities or just search for it using Spotlight.
- Once Terminal is open, you’re ready to start connecting to remote devices. No additional setup required!
That’s it! Your Mac is now ready to handle SSH connections. Easy, right?
Read also:Ayushi Jaiswal The Rising Star Of Indian Cinema
Tips for Terminal Beginners
If you’re new to Terminal, don’t sweat it. Here are a few tips to get you started:
- Terminal is just a command-line interface. Think of it as a way to talk directly to your computer.
- Don’t be afraid to experiment. Most commands won’t break anything, and you can always undo if needed.
- Use online resources if you’re stuck. There’s a wealth of information out there to help you along the way.
How to Connect to a Remote IoT Device
Now that your Mac is ready, let’s connect to a remote IoT device. Here’s how you do it:
- Open Terminal on your Mac.
- Type the following command:
ssh username@ip_address. Replaceusernamewith the username of the remote device andip_addresswith the IP address of the device. - Hit Enter. You’ll be prompted to enter the password for the remote device. Type it in (note: your password won’t show as you type, but it’s being entered).
- Once you’re connected, you’ll see a prompt indicating you’re now on the remote device.
Boom! You’re now connected to your remote IoT device via SSH. Pretty cool, huh?
Common Connection Issues
Sometimes, things don’t go as planned. Here are a few common issues and how to fix them:
- Connection Refused: Make sure the remote device’s SSH service is running and that the IP address is correct.
- Permission Denied: Double-check your username and password. Also, ensure the remote device’s firewall isn’t blocking your connection.
- Timeout: This usually happens if the IP address is incorrect or if there’s a network issue. Verify the IP and check your internet connection.
Ensuring SSH Security
Security is key when using SSH, especially for IoT devices. Here are a few tips to keep your connections safe:
- Use strong passwords or SSH keys for authentication.
- Disable password authentication and use only SSH keys if possible.
- Change the default SSH port (22) to something less common to deter attackers.
- Regularly update your devices and software to patch any vulnerabilities.
By following these tips, you’ll ensure your SSH connections are as secure as possible.
Using SSH Keys
SSH keys are like digital keys that let you access remote devices without needing a password. Here’s how to set them up:
- Generate an SSH key pair by running
ssh-keygenin Terminal. - Copy your public key to the remote device using
ssh-copy-id username@ip_address. - Test the connection by running
ssh username@ip_address. You should now be able to log in without entering a password.
SSH keys are a game-changer for security and convenience. Give them a try!
Common Issues and Troubleshooting
Even the best-laid plans can go awry. Here are some common SSH issues and how to fix them:
- Can’t Connect: Verify the IP address, ensure the remote device’s SSH service is running, and check for firewall issues.
- Password Not Accepted: Double-check your credentials and ensure the remote device’s password policy is correct.
- Slow Connection: This could be due to network issues or a busy remote device. Try connecting at a different time or from a different network.
Still stuck? Don’t hesitate to reach out to the community or consult the official SSH documentation.
Alternative Tools for SSH
While SSH is powerful and free, there are other tools you might want to explore:
- PuTTY: A popular SSH client for Windows users.
- Mosh: A mobile shell that improves on SSH by handling intermittent connectivity.
- TunnelBear: A secure tunneling app that can enhance SSH connections.
Experiment with these tools to find what works best for you and your projects.
Advanced SSH Tips and Tricks
Ready to take your SSH skills to the next level? Here are a few advanced tips:
- SSH Tunnels: Use SSH tunnels to securely access services behind firewalls.
- SSH Config File: Set up a config file to simplify connection commands.
- Port Forwarding: Forward ports to access specific services on remote devices.
These tips will make your SSH experience smoother and more efficient.
Automating SSH Connections
Automation is where SSH really shines. Here’s how you can automate SSH connections:
- Use scripts to automate repetitive tasks.
- Create cron jobs to schedule SSH commands.
- Set up SSH keys to eliminate the need for passwords in automated scripts.
With automation, you can save time and reduce manual errors. It’s a win-win!
Final Thoughts and Next Steps
There you have it—everything you need to know about using SSH for remote IoT on your Mac for free. From setting up SSH to troubleshooting common issues, you’re now equipped to manage IoT devices like a pro.
Remember, practice makes perfect. The more you use SSH, the more comfortable you’ll become with it. Don’t be afraid to experiment and explore new features. And hey, if you run into any issues, the SSH community is always there to help.
So what are you waiting for? Fire up your Terminal and start connecting to those IoT devices. And don’t forget to share your experiences in the comments below. Happy SSH-ing!


