Raspberry Pi VPC IoT Tutorial: Your Ultimate Guide To Building A Cloud-Connected Smart Device
So you're diving into the world of Raspberry Pi VPC IoT projects, huh? Welcome to the future of smart technology where your tiny single-board computer can connect to the cloud and perform some seriously cool stuff. Whether you're a hobbyist looking to build your first IoT device or a tech enthusiast wanting to expand your skills, this tutorial will walk you through everything you need to know. Let's get started, shall we?
Imagine this: you have a Raspberry Pi sitting on your desk, ready to be transformed into a smart device that communicates with the cloud. With the power of VPC (Virtual Private Cloud) and IoT, you can create projects that range from home automation systems to real-time data monitoring tools. Sounds exciting, right? Well, it totally is.
Before we dive deep into the nitty-gritty details, let me assure you that this Raspberry Pi VPC IoT tutorial is designed to be beginner-friendly. Even if you're new to the world of IoT, you'll find everything explained in a way that’s easy to understand. So grab a cup of coffee, sit back, and let’s make your Raspberry Pi dream a reality.
Read also:How Old Is Ilana Glazer Discover The Age And Journey Of A Comedy Icon
What is Raspberry Pi VPC IoT and Why Should You Care?
Alright, let’s break it down. Raspberry Pi is essentially a small, affordable computer that you can use for all sorts of projects. When you combine it with VPC (Virtual Private Cloud) and IoT (Internet of Things), you get a powerful setup that allows your device to communicate with the cloud. This means you can control your Raspberry Pi remotely, monitor data in real-time, and even integrate it with other smart devices.
Here are a few reasons why Raspberry Pi VPC IoT is a game-changer:
- Cost-Effective: Raspberry Pi is super affordable, making it accessible for hobbyists and professionals alike.
- Highly Customizable: You can tailor your IoT projects to suit your specific needs, whether it's building a smart home system or creating a weather station.
- Cloud Integration: By using VPC, you can securely connect your Raspberry Pi to the cloud, enabling remote access and data storage.
Now that you know what Raspberry Pi VPC IoT is, let’s talk about why it matters. In today’s tech-driven world, having devices that can communicate with each other and the cloud is becoming increasingly important. From improving efficiency in businesses to enhancing convenience in our daily lives, IoT projects powered by Raspberry Pi are leading the way.
Setting Up Your Raspberry Pi for VPC IoT
Alright, let’s get our hands dirty. The first step in your Raspberry Pi VPC IoT journey is setting up your device. Here’s what you’ll need:
Hardware Requirements
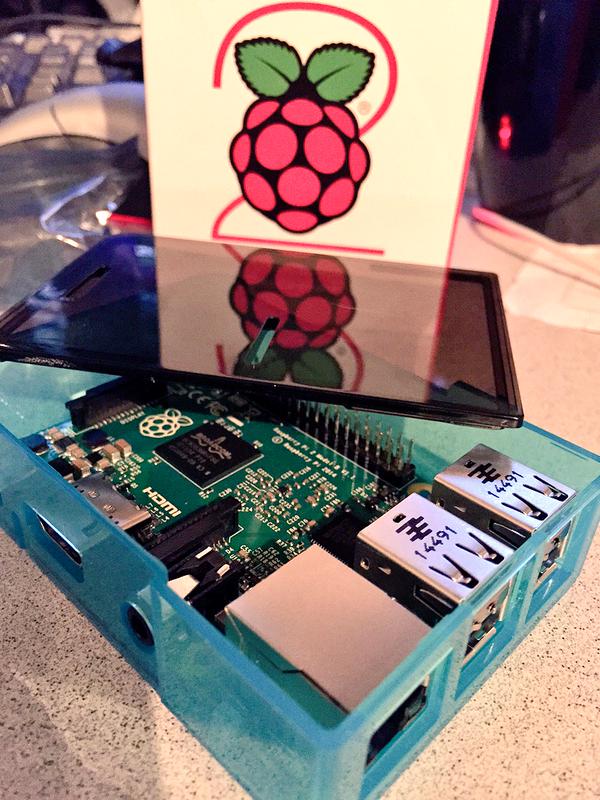
- Raspberry Pi (any model will do, but newer models like the Raspberry Pi 4 are recommended)
- MicroSD card (at least 16GB)
- Power supply (make sure it’s compatible with your Raspberry Pi model)
- Network connection (Wi-Fi or Ethernet)
Once you have all the hardware, it’s time to install the operating system. The easiest way to do this is by using Raspberry Pi Imager. Simply download it from the official Raspberry Pi website, plug in your microSD card, and follow the instructions to install the latest version of Raspberry Pi OS.
Software Setup
After installing the OS, boot up your Raspberry Pi and make sure it’s connected to the internet. Next, you’ll want to enable SSH (Secure Shell) so you can remotely access your device. You can do this by navigating to the Raspberry Pi Configuration menu and enabling SSH under the Interfaces tab.
Read also:What Is Blue Cross Blue Shield Your Ultimate Guide To Understanding The Network
Now, let’s talk about setting up your VPC. If you’re using AWS (Amazon Web Services), you can create a VPC by logging into your AWS account and navigating to the VPC dashboard. From there, you can create a new VPC and configure it according to your needs. Make sure to note down the VPC ID and other relevant details, as you’ll need them later.
Understanding IoT Protocols
When it comes to Raspberry Pi VPC IoT projects, understanding IoT protocols is crucial. These protocols allow your device to communicate with the cloud and other devices. Here are a few of the most commonly used protocols:
- MQTT: A lightweight protocol ideal for low-bandwidth environments.
- HTTP: A widely used protocol for web-based communication.
- CoAP: A protocol designed for constrained devices and networks.
For most Raspberry Pi VPC IoT projects, MQTT is the go-to choice due to its efficiency and reliability. You can use libraries like Paho MQTT to easily implement MQTT in your Python scripts.
Connecting Raspberry Pi to VPC
Now that your Raspberry Pi is set up and you have a basic understanding of IoT protocols, it’s time to connect your device to the VPC. Here’s how you can do it:
Step 1: Install Necessary Libraries
First, you’ll need to install the libraries required for connecting to your VPC. Open the terminal on your Raspberry Pi and run the following commands:
sudo apt update
sudo apt install python3-pip
pip3 install boto3
Boto3 is the AWS SDK for Python, which allows you to interact with AWS services like VPC.
Step 2: Configure AWS Credentials
Next, you’ll need to configure your AWS credentials on your Raspberry Pi. Run the following command to set up your credentials:
aws configure
Enter your AWS Access Key ID, Secret Access Key, region, and output format when prompted.
Step 3: Connect to VPC
With everything set up, you can now write a Python script to connect your Raspberry Pi to the VPC. Here’s a simple example:
import boto3
vpc = boto3.resource('ec2', region_name='your-region')
vpc.create_instances(ImageId='ami-your-image-id', MinCount=1, MaxCount=1)
Replace 'your-region' and 'ami-your-image-id' with the appropriate values for your VPC.
Building Your First Raspberry Pi VPC IoT Project
Alright, let’s put everything we’ve learned so far into practice by building your first Raspberry Pi VPC IoT project. For this example, we’ll create a simple temperature monitoring system.
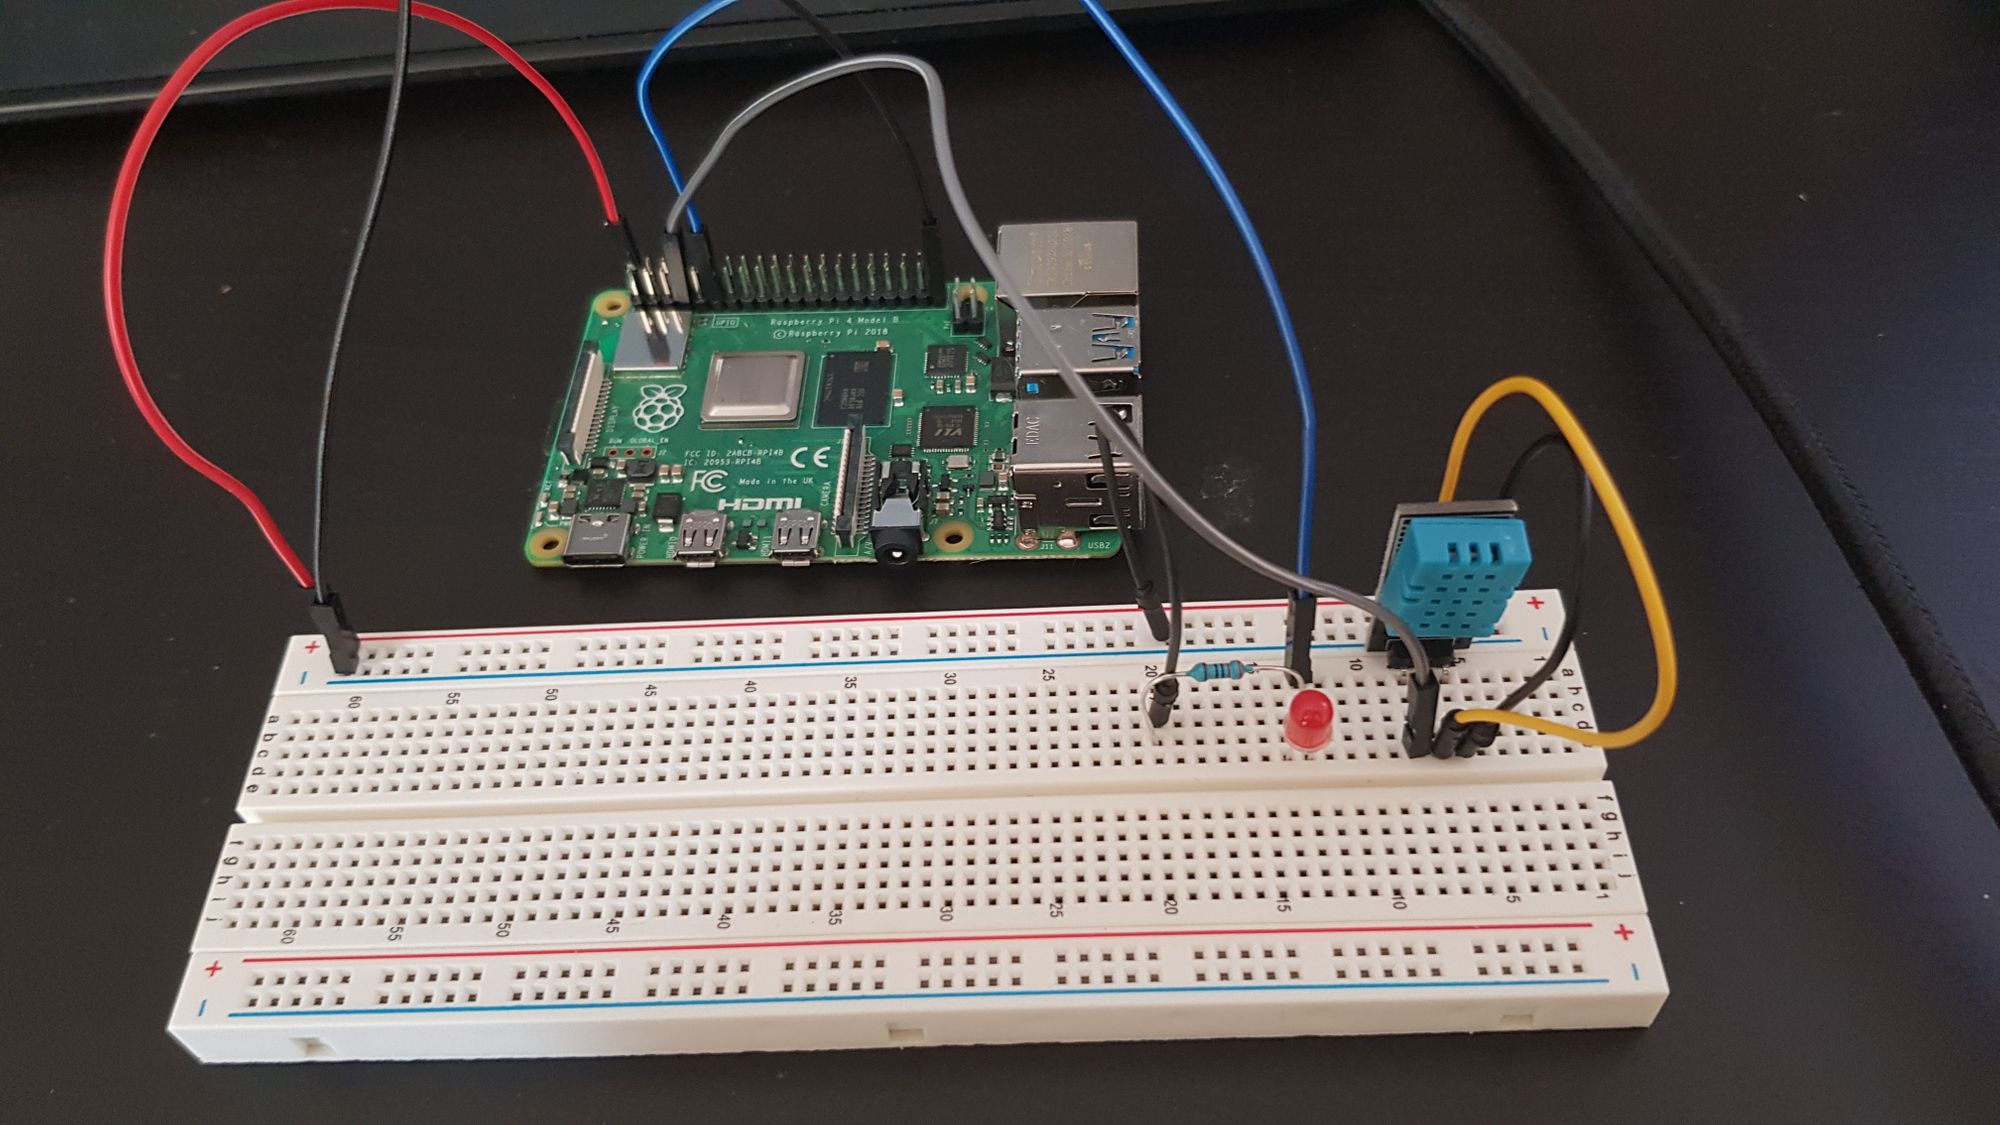
Hardware Setup
You’ll need a temperature sensor (like the DHT11 or DHT22) and a breadboard to connect it to your Raspberry Pi. Follow the wiring diagram provided in the sensor’s documentation to connect everything properly.
Software Setup
Install the Adafruit_DHT library to read data from the temperature sensor:
sudo pip3 install Adafruit_DHT
Next, write a Python script to read the temperature data and send it to your VPC:
import Adafruit_DHT
import boto3
sensor = Adafruit_DHT.DHT11
pin = 4
humidity, temperature = Adafruit_DHT.read_retry(sensor, pin)
vpc = boto3.resource('ec2', region_name='your-region')
vpc.create_instances(ImageId='ami-your-image-id', MinCount=1, MaxCount=1)
This script reads the temperature and humidity data from the sensor and sends it to your VPC for further processing.
Securing Your Raspberry Pi VPC IoT Project
Security is a top priority when it comes to IoT projects. Here are a few tips to keep your Raspberry Pi VPC IoT setup secure:
- Use Strong Passwords: Make sure to set strong passwords for your Raspberry Pi and AWS account.
- Enable Firewall: Use tools like UFW (Uncomplicated Firewall) to control incoming and outgoing traffic.
- Keep Software Updated: Regularly update your Raspberry Pi OS and installed libraries to patch any security vulnerabilities.
By following these best practices, you can ensure that your Raspberry Pi VPC IoT project remains secure and protected from potential threats.
Advanced Raspberry Pi VPC IoT Projects
Once you’ve mastered the basics, you can move on to more advanced Raspberry Pi VPC IoT projects. Here are a few ideas to inspire you:
- Smart Home Automation: Use Raspberry Pi to control smart devices in your home, such as lights, thermostats, and security systems.
- Environmental Monitoring: Create a system that monitors air quality, humidity, and temperature in real-time.
- Industrial IoT: Implement IoT solutions in industrial settings to improve efficiency and reduce downtime.
The possibilities are endless, and with Raspberry Pi VPC IoT, you have the power to bring your ideas to life.
Troubleshooting Common Issues
Every project comes with its own set of challenges, and Raspberry Pi VPC IoT projects are no exception. Here are a few common issues you might encounter and how to solve them:
Issue 1: Connection Problems
If you’re having trouble connecting your Raspberry Pi to the VPC, make sure your AWS credentials are correctly configured and your VPC settings are properly set up.
Issue 2: Sensor Not Reading Data
If your temperature sensor isn’t reading data, double-check your wiring and ensure that the sensor is properly connected to your Raspberry Pi.
Issue 3: Security Concerns
If you’re worried about security, review your firewall settings and ensure that all software is up to date.
Future Trends in Raspberry Pi VPC IoT
As technology continues to evolve, the future of Raspberry Pi VPC IoT looks bright. Here are a few trends to watch out for:
- Edge Computing: With the rise of edge computing, more processing power is being pushed to the edge of the network, making IoT devices even more powerful.
- AI Integration: Integrating AI into IoT projects will enable smarter decision-making and more efficient operations.
- 5G Connectivity: The rollout of 5G networks will enhance the speed and reliability of IoT communications.
By staying up to date with these trends, you can ensure that your Raspberry Pi VPC IoT projects remain cutting-edge and relevant.
Conclusion: Take Action and Start Building
And there you have it – a comprehensive Raspberry Pi VPC IoT tutorial to help you build amazing projects. From setting up your Raspberry Pi to connecting it to the cloud and implementing IoT protocols, you now have all the knowledge you need to get started.
So what are you waiting for? Grab your Raspberry Pi, roll up your sleeves, and start building. And don’t forget to share your projects with the world – who knows, you might just inspire someone else to join the IoT revolution.
Call to Action: Leave a comment below sharing your favorite Raspberry Pi VPC IoT project or any questions you might have. Happy building!
Table of Contents
- What is Raspberry Pi VPC IoT and Why Should You Care?
- Setting Up Your Raspberry Pi for VPC IoT
- Understanding IoT Protocols
- Connecting Raspberry Pi to VPC
- Building Your First Raspberry Pi VPC IoT Project
- Securing Your Raspberry Pi VPC IoT Project
- Advanced Raspberry Pi VPC IoT Projects
- Troubleshooting Common Issues
- Future Trends in Raspberry Pi VPC IoT
- Conclusion: Take Action and Start Building


