Revolutionize Your Remote IoT Monitoring With SSH: The Ultimate Guide
Ever wondered how you can monitor your IoT devices from anywhere in the world? Well, let me tell ya, remote IoT monitoring with SSH is like having a superpower in your pocket. It’s not just about controlling your gadgets remotely; it’s about ensuring they’re secure, efficient, and running like clockwork. Whether you’re a tech enthusiast, a small business owner, or even a DIY home automator, mastering remote IoT monitoring with SSH can change the game for you. Let’s dive in and see how this powerful combo works its magic.
Imagine this: you’re chilling on a beach in Bali, sipping a cold drink, while your smart farm back home is humming along smoothly. How? Because you’ve set up remote IoT monitoring with SSH, and it’s keeping an eye on everything for you. No need to worry about your devices malfunctioning or your data getting compromised. This setup gives you peace of mind like no other.
Now, before we get into the nitty-gritty, let’s clear the air. Remote IoT monitoring with SSH isn’t just some buzzword. It’s a practical solution that’s been around for a while, but it’s gaining traction as more people realize its potential. So, whether you’re a seasoned pro or a newbie in the IoT world, this guide is here to help you understand, set up, and optimize your remote monitoring game. Let’s get started, shall we?
Read also:What Is Blue Cross Blue Shield Your Ultimate Guide To Understanding The Network
Why Remote IoT Monitoring with SSH Matters
Let’s face it: IoT devices are everywhere these days. From smart thermostats to industrial sensors, they’re transforming the way we live and work. But here’s the catch—managing these devices manually can be a nightmare, especially when you’ve got dozens, if not hundreds, of them. That’s where remote IoT monitoring with SSH comes in.
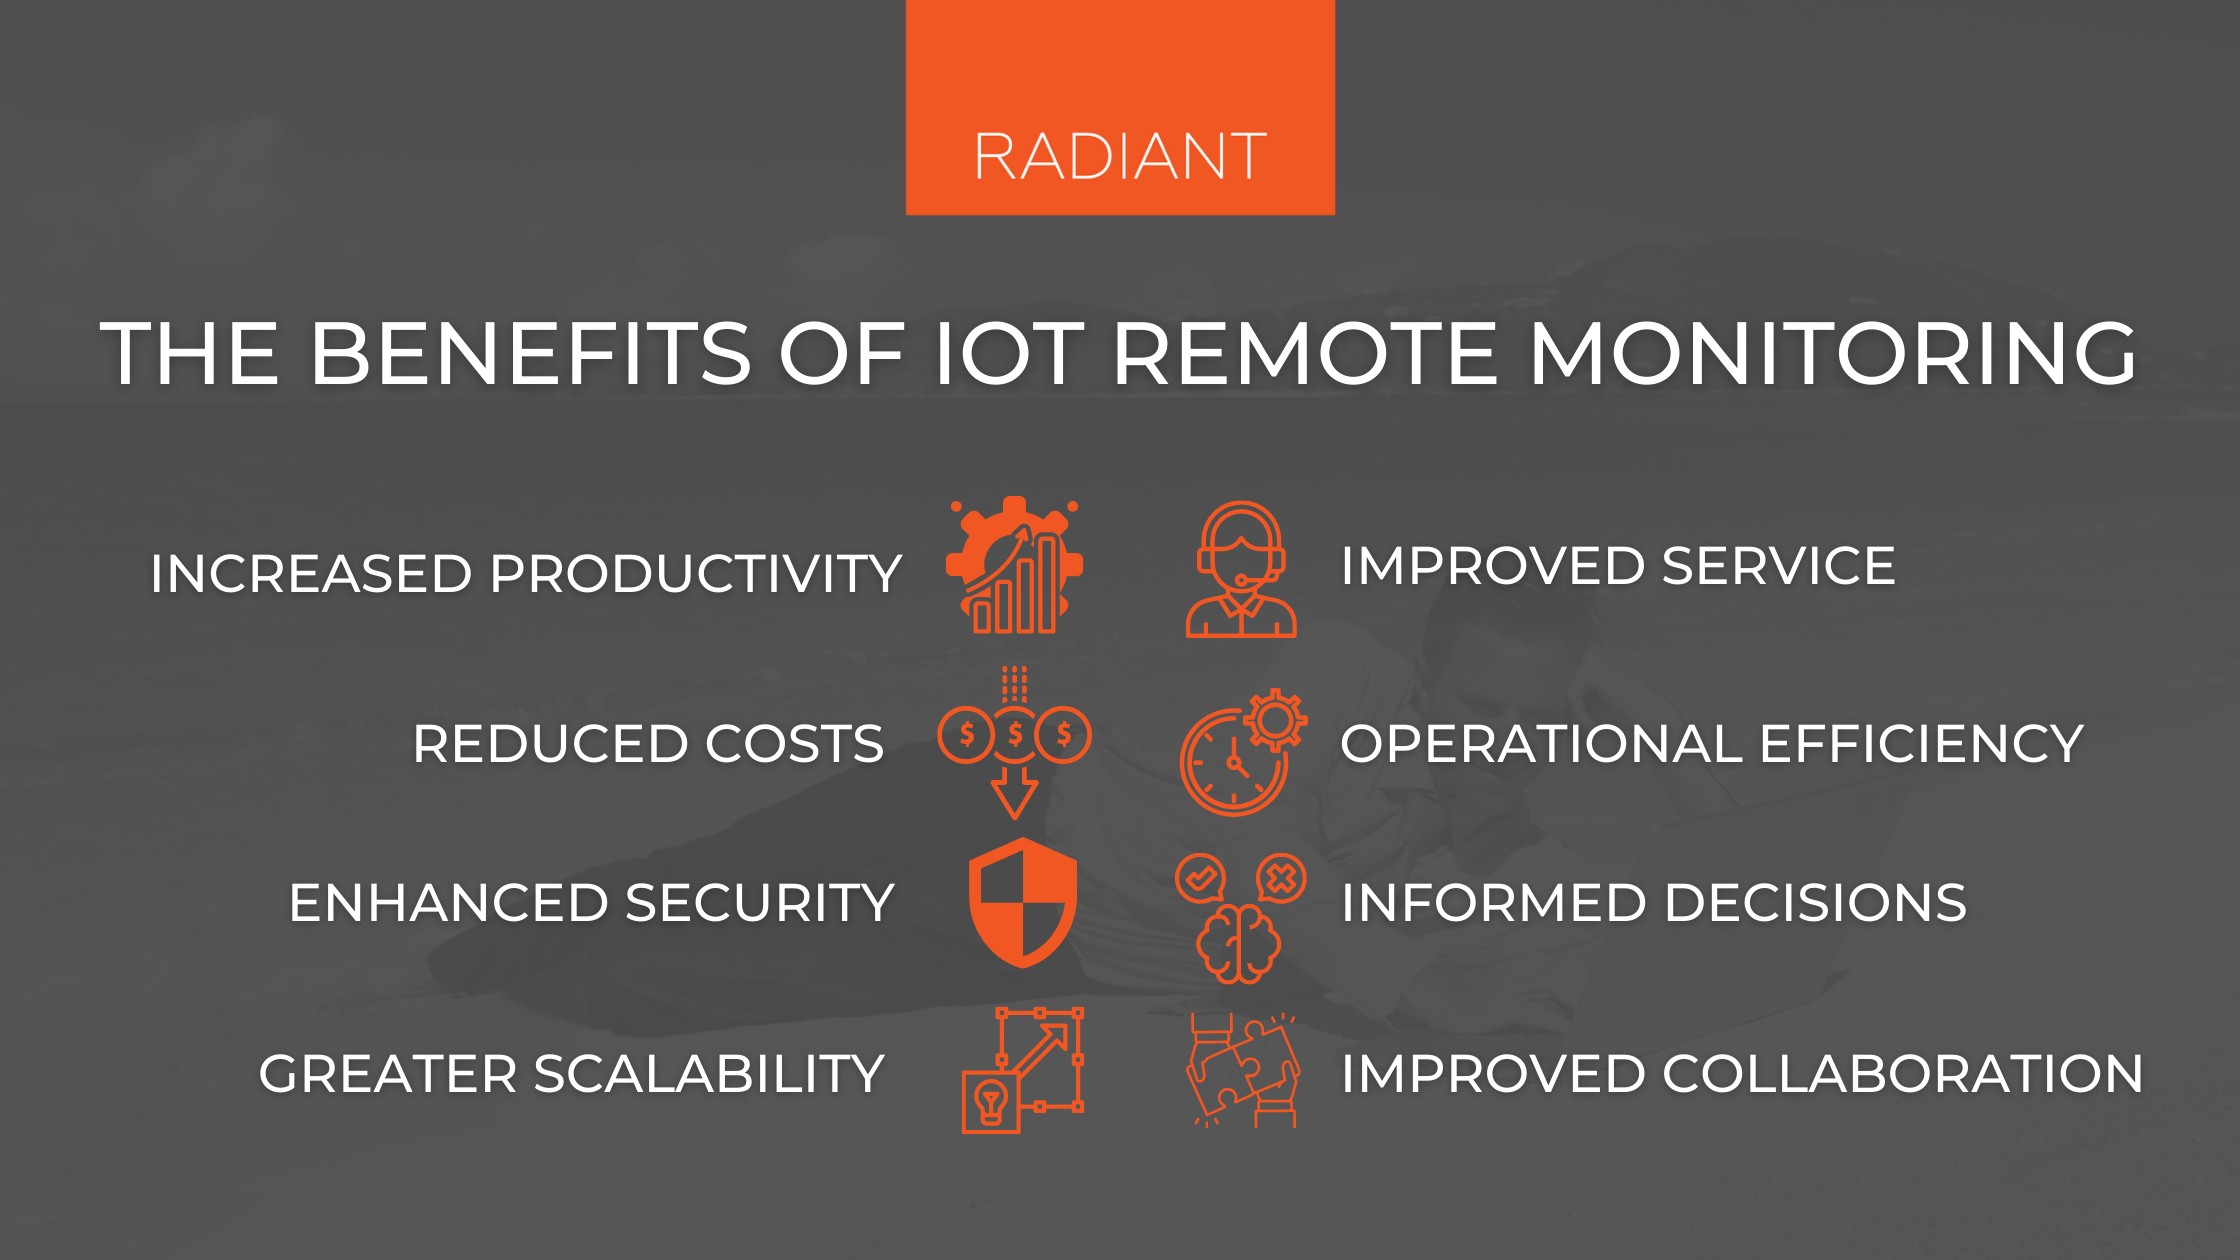
SSH, or Secure Shell, is like a secret tunnel that lets you access your devices securely from anywhere. It encrypts your data, ensuring that prying eyes can’t sneak in and mess things up. Plus, it’s super reliable and easy to set up once you get the hang of it. For businesses, this means reduced downtime, lower costs, and increased productivity. For individuals, it means convenience, security, and peace of mind.
Key Benefits of Using SSH for Remote IoT Monitoring
- Security: SSH encrypts all communication between you and your devices, keeping your data safe from hackers.
- Reliability: SSH connections are stable and can handle even the most complex tasks without breaking a sweat.
- Scalability: Whether you’ve got one device or a hundred, SSH can handle it all without compromising performance.
- Cost-Effective: You don’t need expensive hardware or software to set up SSH. Most devices already support it out of the box.
So, if you’re looking for a way to keep your IoT devices in check without breaking the bank, SSH is your go-to solution. Let’s explore how to make it work for you.
Setting Up Remote IoT Monitoring with SSH: Step by Step
Alright, let’s get our hands dirty. Setting up remote IoT monitoring with SSH isn’t rocket science, but it does require a bit of technical know-how. Don’t worry, though—I’ve got you covered. Here’s a step-by-step guide to help you get started.
What You’ll Need
- An IoT device with SSH support
- A computer or smartphone with SSH client software (like PuTTY for Windows or Terminal for Mac)
- A stable internet connection
- Your device’s IP address and login credentials
Once you’ve got all that, you’re ready to roll. Let’s move on to the next step.
Step 1: Enable SSH on Your IoT Device
Most modern IoT devices come with SSH enabled by default, but it’s always a good idea to double-check. Log in to your device’s admin panel and look for the SSH settings. If it’s not enabled, turn it on and make sure you’ve got the right port number (usually 22). Easy peasy, right?
Read also:Nikolas Cassadine Father Unveiling The Legacy Behind The Character
Step 2: Connect to Your Device
Now that SSH is up and running, it’s time to connect. Open your SSH client and enter your device’s IP address, port number, and login credentials. Hit enter, and voilà! You’re now connected to your device from anywhere in the world. Pretty cool, huh?
Best Practices for Remote IoT Monitoring with SSH
Setting up SSH is just the beginning. To make sure your remote IoT monitoring setup is as secure and efficient as possible, here are some best practices you should follow:
1. Use Strong Passwords
Weak passwords are like leaving your front door wide open. Use strong, unique passwords for each of your devices, and consider enabling two-factor authentication for an extra layer of security.
2. Keep Your Software Updated
Software updates often include important security patches. Make sure you’re running the latest version of your device’s firmware and SSH client to avoid vulnerabilities.
3. Monitor Your Logs
Logs can tell you a lot about what’s going on with your devices. Regularly check them for any suspicious activity and take action if something seems off.
4. Limit Access
Not everyone needs access to your IoT devices. Restrict SSH access to only those who absolutely need it, and use firewalls to block unauthorized connections.
Common Challenges and How to Overcome Them
Like any technology, remote IoT monitoring with SSH isn’t without its challenges. Here are some common issues you might face and how to tackle them:
1. Connectivity Problems
Sometimes, your SSH connection might drop unexpectedly. This could be due to network issues or firewall settings. Make sure your internet connection is stable and check your firewall rules to ensure they’re not blocking SSH traffic.
2. Security Breaches
Even with SSH, your devices aren’t completely immune to attacks. Regularly update your passwords, monitor your logs, and consider using tools like fail2ban to block repeated login attempts.
3. Performance Issues
If your devices are running slowly, it could be due to resource-heavy processes or outdated firmware. Optimize your setup by closing unnecessary programs and keeping your software up to date.
Tools and Resources for Remote IoT Monitoring with SSH
There are plenty of tools and resources out there to help you streamline your remote IoT monitoring with SSH. Here are a few worth checking out:
1. PuTTY
A popular SSH client for Windows users, PuTTY is free, easy to use, and packed with features.
2. Terminal
Mac users have it easy with the built-in Terminal app. It’s simple, efficient, and gets the job done.
3. fail2ban
This tool automatically blocks IP addresses that show suspicious activity, like repeated login attempts. It’s a must-have for anyone serious about security.
Real-World Applications of Remote IoT Monitoring with SSH
So, how exactly is remote IoT monitoring with SSH being used in the real world? Let’s take a look at a few examples:
1. Smart Agriculture
Farmers are using IoT sensors to monitor soil moisture, temperature, and other environmental factors. With SSH, they can access this data remotely and make informed decisions about irrigation, fertilization, and pest control.
2. Industrial Automation
Manufacturers are leveraging IoT devices to monitor production lines and equipment performance. SSH allows them to troubleshoot issues and optimize processes from anywhere in the world.
3. Home Automation
DIY enthusiasts are using SSH to control smart home devices like lights, thermostats, and security systems. It’s a great way to add convenience and security to your everyday life.
Future Trends in Remote IoT Monitoring with SSH
The future of remote IoT monitoring with SSH looks bright. As more devices become connected, the demand for secure, efficient monitoring solutions will only increase. Here are a few trends to watch out for:
1. Edge Computing
Edge computing brings processing power closer to the devices themselves, reducing latency and improving performance. This could revolutionize how we monitor and manage IoT devices.
2. AI Integration
Artificial intelligence is already being used to analyze IoT data and predict potential issues. As AI technology advances, we can expect even more sophisticated monitoring and automation capabilities.
3. Blockchain Security
Blockchain could provide an additional layer of security for IoT devices, ensuring that data is tamper-proof and transparent. This could be a game-changer for industries where security is paramount.
Conclusion
There you have it—the ultimate guide to remote IoT monitoring with SSH. From setting up your devices to overcoming common challenges, we’ve covered everything you need to know to get started. Remember, the key to success is staying secure, staying updated, and staying informed. So, what are you waiting for? Dive in and take control of your IoT devices today!
Before you go, don’t forget to leave a comment and let me know what you think. Have you tried remote IoT monitoring with SSH? What challenges did you face, and how did you overcome them? Share your thoughts, and let’s keep the conversation going. And if you found this guide helpful, be sure to check out our other articles for more tips and tricks on all things tech. Happy monitoring!
Table of Contents
- Why Remote IoT Monitoring with SSH Matters
- Setting Up Remote IoT Monitoring with SSH: Step by Step
- Best Practices for Remote IoT Monitoring with SSH
- Common Challenges and How to Overcome Them
- Tools and Resources for Remote IoT Monitoring with SSH
- Real-World Applications of Remote IoT Monitoring with SSH
- Future Trends in Remote IoT Monitoring with SSH
- Conclusion

