Unlocking The Power Of Remote SSH Into Raspberry Pi
Hey there, tech enthusiasts and Raspberry Pi lovers! Let me tell you something cool that might change the way you interact with your Raspberry Pi forever. Remote SSH into Raspberry Pi is like giving your Pi superpowers—it lets you control your tiny computer from anywhere in the world. Imagine being able to access your files, run scripts, or manage projects without even touching your Pi's physical hardware. Sounds awesome, right? Well, stick around because we’re diving deep into this game-changing technology.
Now, before we get too carried away, let’s break it down for those who might be new to this concept. SSH, or Secure Shell, is basically a protocol that allows you to securely connect to another computer over a network. When it comes to Raspberry Pi, enabling remote SSH means you can control it from your laptop, phone, or any device as long as they're connected to the internet. Pretty neat, huh?
And guess what? It’s not as complicated as it sounds. Even if you're a beginner in the world of Raspberry Pi, by the end of this guide, you'll have all the knowledge you need to set up remote SSH like a pro. So grab your favorite drink, sit back, and let’s get started!
Read also:Mydesinet Your Ultimate Guide To Indian Fashion And Beyond
Why You Should Care About Remote SSH into Raspberry Pi
Alright, so why exactly should you care about remote SSH into Raspberry Pi? Let me paint you a picture. Imagine you're working on a home automation project, and you want to monitor your system's performance while you're out of town. Or maybe you're building a media server and need to tweak some settings without being physically present. Remote SSH is your ultimate solution for these kinds of scenarios.
Here’s the deal: SSH provides a secure way to access your Raspberry Pi remotely, whether it’s across your home network or over the internet. It's not just about convenience—it’s about having full control over your device no matter where you are. Plus, it's free, easy to set up, and incredibly powerful once you get the hang of it.
Getting Started: What You Need to Know
Before we dive into the nitty-gritty of setting up remote SSH, let’s make sure you’ve got everything you need. First things first, you’ll obviously need a Raspberry Pi. Any model will do, but newer ones like the Raspberry Pi 4 or 5 will give you better performance. Secondly, you’ll need a stable internet connection—preferably wired for maximum reliability.
Now, here’s the kicker: you’ll also need a device to connect from, like a laptop or smartphone. Don’t worry if you’re not a tech wizard; I’ll walk you through every step of the process. Oh, and one more thing—make sure your Raspberry Pi is updated and running the latest version of Raspberry Pi OS. Trust me, it’ll save you a ton of headaches later on.
Setting Up SSH on Your Raspberry Pi
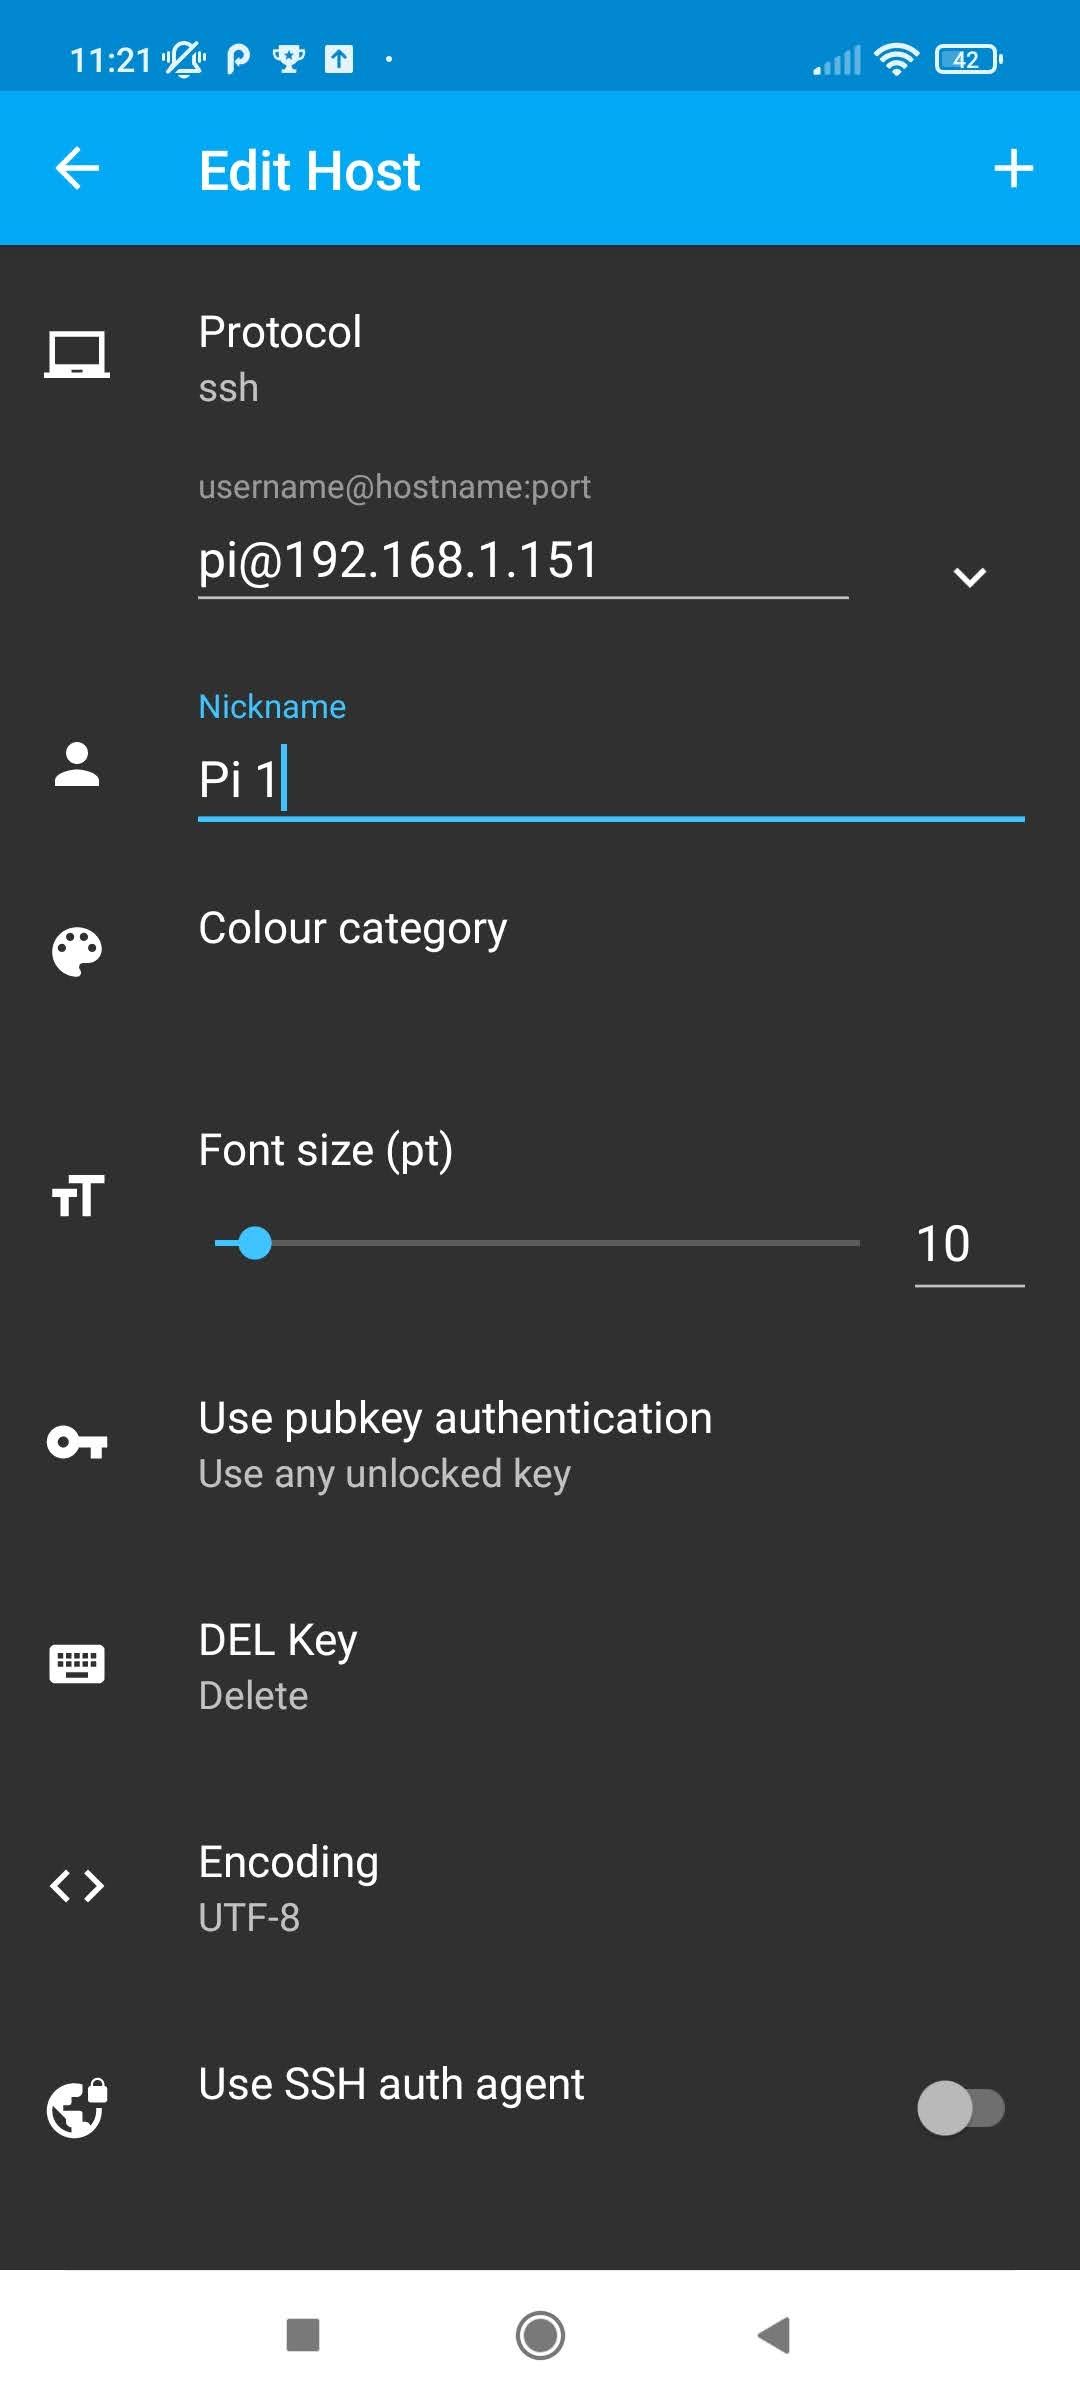
Alright, let’s get our hands dirty. The first step is enabling SSH on your Raspberry Pi. Now, depending on which version of Raspberry Pi OS you’re running, the process might vary slightly. But don’t sweat it; I’ve got you covered. For those using Raspberry Pi OS with a desktop interface, it’s as simple as going to the Raspberry Pi Configuration menu, selecting the Interfaces tab, and enabling SSH.
If you’re running a headless setup (no monitor or keyboard), you can still enable SSH by creating an empty file called "ssh" in the boot directory of your SD card. Yeah, it’s that easy. Once you’ve done that, reboot your Pi, and SSH will be good to go. Piece of cake, right?
Read also:Hdhub4u Nl Your Ultimate Guide To Streaming Movies And Series
Understanding SSH Keys for Enhanced Security
Now, here’s where things get interesting. If you want to take your security game to the next level, you should definitely consider using SSH keys instead of passwords. Why? Well, SSH keys are way more secure and eliminate the risk of brute-force attacks. Plus, once you’ve set them up, you won’t have to enter your password every time you connect—win-win situation.
Creating SSH keys is a breeze. All you need to do is open up a terminal on your device and run the command "ssh-keygen." Follow the prompts, and you’ll have a shiny new pair of public and private keys. From there, you just need to copy your public key to your Raspberry Pi using the "ssh-copy-id" command. Voila! You’re now connecting with the power of SSH keys.
Connecting to Your Raspberry Pi from Anywhere
So, you’ve got SSH up and running on your Raspberry Pi. Great! But what if you want to access it from outside your local network? That’s where port forwarding comes into play. Port forwarding allows you to direct incoming traffic from the internet to a specific device on your local network—in this case, your Raspberry Pi.
To set up port forwarding, you’ll need to log in to your router’s admin interface. Once you’re in, look for the port forwarding section and add a new rule. Set the external port to 22 (the default SSH port), and point it to the local IP address of your Raspberry Pi. Easy peasy. Now, whenever you connect to your router’s external IP address on port 22, you’ll be directed straight to your Pi.
Using Dynamic DNS for a Simplified Experience
But wait, there’s more! If you’re tired of memorizing long IP addresses, you can use a service called Dynamic DNS to assign a friendly domain name to your router. Services like No-IP or DuckDNS offer free plans that’ll make your life a whole lot easier. Just sign up, configure the service on your router, and boom—you’ve got a domain name that always points to your Pi.
And here’s the best part: most routers support automatic updates, so even if your IP address changes, your domain name will stay the same. Talk about convenience!
Top Tools for Managing Remote SSH Connections
Now that you’ve got remote SSH set up, let’s talk about some tools that’ll make your life even easier. First up, we’ve got PuTTY—a popular SSH client for Windows users. It’s lightweight, free, and super easy to use. Just enter your Pi’s IP address, hit connect, and you’re good to go.
For macOS and Linux users, you’re already set with the built-in terminal. Simply type "ssh pi@your_pi_ip" and you’ll be connected in no time. But if you’re looking for something more advanced, check out tools like MobaXterm or Termius. They offer tons of extra features like file transfers, multiple sessions, and even GUI interfaces for easier management.
Securing Your Remote SSH Connection
Security is always a top priority when it comes to remote access. Luckily, there are several things you can do to make your SSH connection as secure as possible. First, consider changing the default SSH port from 22 to something less obvious. This simple tweak can deter a lot of automated attacks.
Next, disable password authentication altogether and rely solely on SSH keys. It’s a bit more work upfront, but it’s well worth it in the long run. And finally, keep your software updated. Whether it’s your Raspberry Pi OS or your SSH client, staying up to date ensures you’ve got the latest security patches.
Troubleshooting Common SSH Issues
Even the best-laid plans can hit a snag sometimes. If you’re having trouble connecting to your Raspberry Pi via SSH, don’t panic. Here are a few common issues and how to fix them:
- Connection Refused: Make sure SSH is enabled on your Pi and that your firewall isn’t blocking port 22.
- Wrong IP Address: Double-check that you’re using the correct IP address for your Pi.
- Authentication Failed: If you’re using passwords, ensure you’re entering the right credentials. If you’re using SSH keys, verify that the public key is correctly copied to your Pi.
If none of these solutions work, try restarting your Pi and router. Sometimes a simple reboot can work wonders.
Advanced Tips for Power Users
For those of you looking to take things to the next level, here are a few advanced tips:
- Tunneling: Use SSH tunnels to securely access other services running on your Pi, like a web server or database.
- Automation: Set up scripts to automate tasks like backups or updates over SSH.
- Monitoring: Use tools like Netdata or Prometheus to monitor your Pi’s performance remotely.
These techniques might require a bit more effort, but they’ll definitely pay off in the long run.
Real-World Applications of Remote SSH into Raspberry Pi
So, now that you’ve got remote SSH up and running, what can you actually do with it? The possibilities are endless. Here are just a few ideas:
- Home Automation: Control smart devices, monitor sensors, and manage your home’s environment from anywhere.
- Media Server: Stream movies, music, and photos to all your devices without needing to be home.
- Development Environment: Use your Pi as a remote development server for coding projects or testing applications.
These are just the tip of the iceberg. With a little creativity, you can use your Raspberry Pi to automate just about anything in your life.
Case Study: Building a Remote-Controlled Camera
Let me share a quick case study to inspire you. A friend of mine recently built a remote-controlled camera using a Raspberry Pi and SSH. He mounted a camera module on his Pi, set up SSH, and now he can capture images and videos from his backyard remotely. It’s perfect for keeping an eye on wildlife or just capturing some cool time-lapse footage.
The best part? He can access his camera from anywhere in the world as long as he’s got an internet connection. Talk about convenience!
Final Thoughts and Next Steps
Alright, that’s a wrap, folks! I hope this guide has given you everything you need to set up remote SSH into your Raspberry Pi and unlock its full potential. Whether you’re a beginner or a seasoned pro, there’s always something new to learn and explore in the world of Raspberry Pi.
So, what’s next? Well, why not take what you’ve learned and start experimenting? Try setting up a project, automate a task, or just play around with the possibilities. The more you practice, the better you’ll get. And don’t forget to share your experiences with the community—there’s nothing more rewarding than helping others learn and grow.
Thanks for reading, and happy tinkering!
Table of Contents
- Why You Should Care About Remote SSH into Raspberry Pi
- Getting Started: What You Need to Know
- Setting Up SSH on Your Raspberry Pi
- Understanding SSH Keys for Enhanced Security
- Connecting to Your Raspberry Pi from Anywhere
- Using Dynamic DNS for a Simplified Experience
- Top Tools for Managing Remote SSH Connections
- Securing Your Remote SSH Connection
- Troubleshooting Common SSH Issues
- Advanced Tips for Power Users
- Real-World Applications of Remote SSH into Raspberry Pi
- Case Study: Building a Remote-Controlled Camera
- Final Thoughts and Next Steps


