How To Remote Connect Raspberry Pi Behind Firewall For Free On Mac
Connecting your Raspberry Pi remotely behind a firewall without breaking the bank can sound intimidating, but trust me, it’s totally doable! If you’ve ever wanted to access your Raspberry Pi from anywhere using your Mac, this guide will walk you through the process step by step. We’re going to focus on how to set up a free remote connection, even when your Pi is behind a firewall. So, buckle up, because we’re diving deep into the world of remote connections and making it work for you.
Let’s face it—technology can sometimes feel like a maze, especially when dealing with firewalls, routers, and remote access. But don’t sweat it! With the right tools and a little patience, you can easily connect to your Raspberry Pi from your Mac, even if your Pi is sitting comfortably behind a firewall. This article isn’t just about throwing fancy words at you; it’s about giving you practical steps to get the job done.
Whether you’re a beginner or a seasoned pro, this guide is designed to make your life easier. By the end of this, you’ll be able to access your Raspberry Pi remotely, manage files, run scripts, and more—all without spending a dime. Let’s get started!
Read also:Telugu Movierulz 2025 Ndash Download Your Ultimate Guide To Telugu Movies
Why Remote Connect Raspberry Pi Behind Firewall?
Before we dive into the nitty-gritty, let’s talk about why you’d want to remote connect your Raspberry Pi behind a firewall. For starters, remote access allows you to control your Pi from anywhere in the world, which is super handy if you’re running servers, managing home automation systems, or even just tinkering with projects. Plus, who doesn’t love the convenience of being able to access your devices without physically being there?
But here’s the catch: firewalls can make things tricky. They’re there to protect your network, but they also block unauthorized access. That’s where our guide comes in. We’ll show you how to bypass these restrictions safely and securely, so you can enjoy the freedom of remote access without compromising your network’s security.
Understanding Firewalls and Their Impact
Firewalls are like bouncers at a club—they decide who gets in and who stays out. In the context of networking, firewalls block unauthorized access to your devices, which is great for security but not so great when you want to connect remotely. When your Raspberry Pi is behind a firewall, it’s essentially hidden from the outside world, making it impossible to connect unless you configure your network properly.
Here’s the good news: you don’t need to disable your firewall or compromise your security to access your Pi. Instead, you can use a few clever techniques to establish a secure connection. Think of it like whispering a secret code to the bouncer so they let you in without causing a scene.
Common Firewall Types and Their Effects
There are different types of firewalls, each with its own strengths and weaknesses. The most common ones include:
- Software Firewalls: These run on individual devices and control incoming and outgoing traffic.
- Hardware Firewalls: Found in routers, these protect entire networks by filtering traffic at the gateway level.
- Cloud Firewalls: These are managed by service providers and offer advanced protection for online services.
Understanding the type of firewall you’re dealing with is crucial because it affects how you’ll configure your remote connection. Don’t worry—we’ll cover all the bases in this guide!
Read also:Hdmovieshub 300 The Ultimate Guide To Streaming Movies In 2023
Setting Up Raspberry Pi for Remote Access
Now that we’ve covered the basics, let’s talk about setting up your Raspberry Pi for remote access. The first step is ensuring that your Pi is properly configured to accept incoming connections. Here’s what you need to do:
Step 1: Enable SSH on Your Raspberry Pi
SSH (Secure Shell) is the backbone of remote connections. It allows you to securely access your Pi’s terminal from another device. To enable SSH on your Raspberry Pi, follow these steps:
- Open the Raspberry Pi Configuration tool by typing
sudo raspi-configin the terminal. - Select
Interfacing Optionsand then enable SSH. - Reboot your Pi to apply the changes.
With SSH enabled, your Pi is ready to accept remote connections. But wait—there’s more!
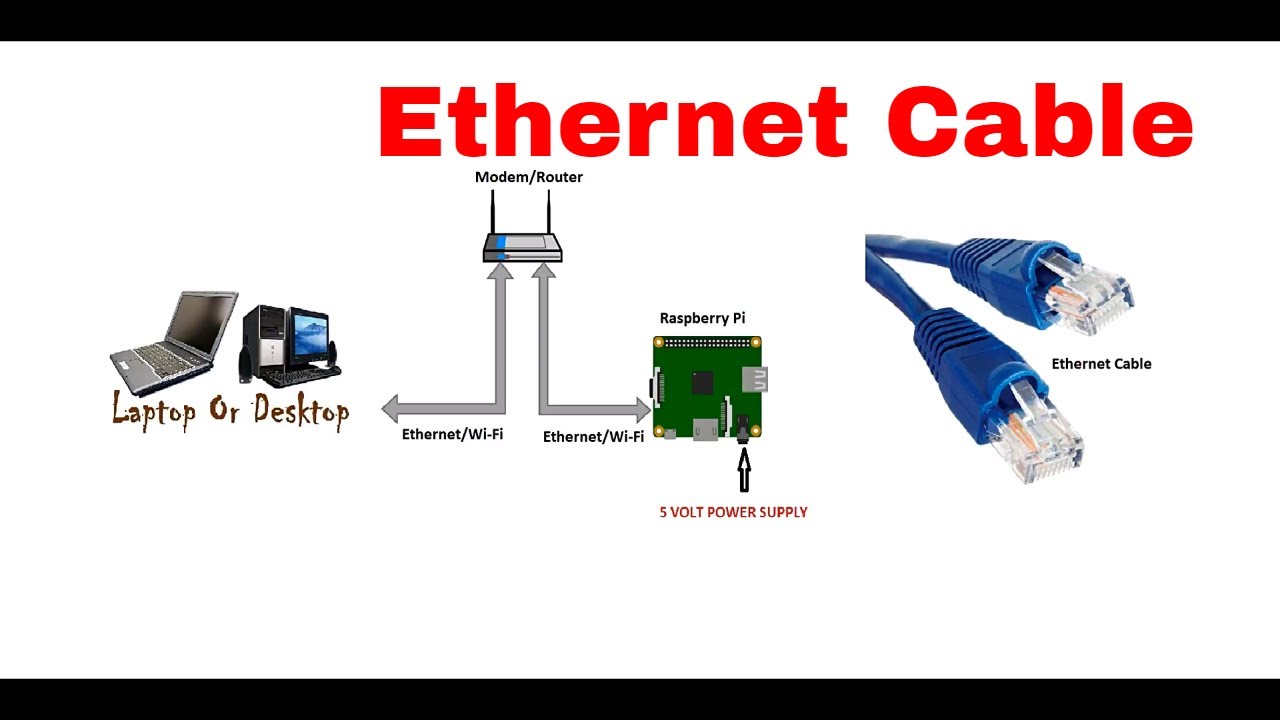
Step 2: Find Your Pi’s IP Address
To connect to your Pi, you’ll need its IP address. You can find this by typing hostname -I in the terminal. This will give you the local IP address of your Pi, which you’ll use to establish the connection.
Connecting Through a Firewall
Now comes the tricky part: connecting through a firewall. Fortunately, there are several methods you can use to achieve this without spending a dime. Let’s explore some of the most popular options.
Method 1: Port Forwarding
Port forwarding is a common technique used to bypass firewalls. It involves configuring your router to forward incoming traffic on a specific port to your Raspberry Pi. Here’s how you can set it up:
- Log in to your router’s admin panel (usually accessible via
192.168.0.1or192.168.1.1). - Find the port forwarding section and create a new rule.
- Set the external port to match the internal port (usually 22 for SSH).
- Enter your Pi’s local IP address as the destination.
With port forwarding configured, you can now connect to your Pi using its public IP address and the forwarded port number.
Method 2: Using a Reverse SSH Tunnel
Another effective method is creating a reverse SSH tunnel. This allows your Pi to initiate the connection to your Mac, effectively bypassing the firewall. Here’s how it works:
- On your Pi, run the command
ssh -R 2222:localhost:22 user@your-mac-ip. - From your Mac, connect to your Pi using
ssh -p 2222 pi@localhost.
This method is especially useful if you can’t configure port forwarding on your router.
Free Tools for Remote Access
There are several free tools you can use to simplify the process of remote connecting your Raspberry Pi. Let’s take a look at some of the best ones:
Tool 1: ngrok
ngrok is a powerful tool that creates secure tunnels to your local servers. It’s super easy to set up and works like a charm for remote SSH connections. Just download the ngrok binary, run ./ngrok tcp 22, and you’ll be good to go.
Tool 2: PageKite
PageKite is another excellent option for creating public URLs for your local services. It supports SSH and other protocols, making it a versatile choice for remote access.
Troubleshooting Common Issues
Even with the best-laid plans, things can sometimes go wrong. Here are some common issues you might encounter and how to fix them:
- Connection Refused: Double-check your IP addresses and port numbers.
- Timeout Errors: Ensure that your firewall rules are correctly configured.
- Authentication Failed: Verify that your SSH keys are properly set up.
Security Best Practices
While remote access is convenient, it’s important to prioritize security. Here are a few tips to keep your Pi safe:
- Use strong passwords or SSH keys for authentication.
- Enable two-factor authentication whenever possible.
- Regularly update your Pi’s software to patch vulnerabilities.
Conclusion
Remote connecting your Raspberry Pi behind a firewall for free on Mac might seem daunting at first, but with the right tools and techniques, it’s completely achievable. Whether you choose to use port forwarding, reverse SSH tunnels, or third-party tools like ngrok, the key is to stay persistent and patient.
Remember, security should always be a top priority. By following the best practices outlined in this guide, you can enjoy the convenience of remote access without compromising your network’s safety.
Now that you’ve got the knowledge, it’s time to put it into action! Try setting up a remote connection and see how it works for you. And don’t forget to share your experience in the comments below. Happy tinkering!


