Mastering RemoteIoT Device SSH Tutorial: Your Ultimate Guide
Imagine this: You're miles away from your IoT device, but you need to access it like you're standing right next to it. Sounds impossible? Not with RemoteIoT device SSH! This game-changing technology lets you control and manage your devices remotely, saving you time, effort, and headaches. Whether you're a tech enthusiast or a beginner, understanding how to use SSH for remote IoT devices is a skill worth mastering.
Let’s face it—IoT devices are everywhere these days. From smart homes to industrial automation, they’re revolutionizing the way we live and work. But what happens when you need to troubleshoot or configure one of these devices from afar? That's where SSH comes in. It's like having a virtual handshake with your device, allowing you to connect securely and make changes as if you were physically there.
In this guide, we’ll walk you through everything you need to know about using SSH for remote IoT devices. From setting up SSH on your device to troubleshooting common issues, we’ve got you covered. So grab a coffee, sit back, and let’s dive into the world of remote IoT device management!
Read also:Parks Mall Theater The Ultimate Entertainment Hub You Need To Visit
Table of Contents
- What is SSH and Why Does It Matter?
- Understanding RemoteIoT Devices
- Setting Up SSH on Your RemoteIoT Device
- Securing Your SSH Connection
- Connecting to Your RemoteIoT Device via SSH
- Common Issues and How to Fix Them
- Advanced Techniques for Power Users
- Tools You’ll Need for RemoteIoT Device SSH
- Best Practices for RemoteIoT SSH Management
- The Future of RemoteIoT Device SSH
What is SSH and Why Does It Matter?
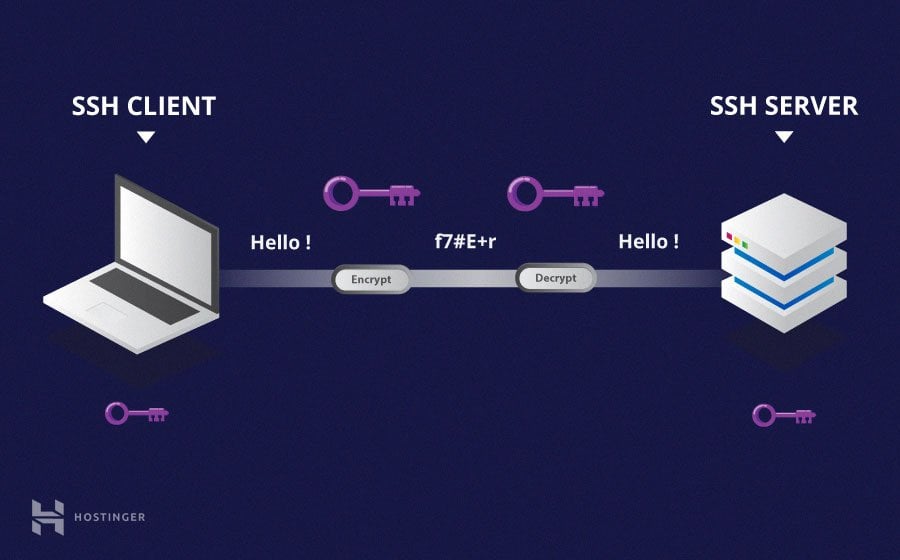
SSH, or Secure Shell, is like a digital key that lets you access your devices securely over the internet. Think of it as a secret tunnel that only you and your device can use to communicate. Unlike other methods, SSH encrypts all data exchanged between you and your device, keeping prying eyes at bay.
So, why does SSH matter for RemoteIoT devices? Well, IoT devices are often scattered across different locations, making physical access a challenge. With SSH, you can manage them from anywhere in the world, ensuring they’re always up and running. Plus, SSH is not just about convenience—it’s also about security. In a world where cyber threats are on the rise, having a secure way to access your devices is more important than ever.
Here’s a quick rundown of why SSH is a must-have for RemoteIoT devices:
- Secure and encrypted communication
- Remote access from anywhere
- Easy to set up and use
- Supports automation and scripting
Understanding RemoteIoT Devices
Before we dive deeper into SSH, let’s take a moment to understand what RemoteIoT devices are all about. Simply put, RemoteIoT devices are any Internet of Things devices that can be accessed and managed remotely. These could be anything from smart thermostats and security cameras to industrial sensors and robotics.
Why RemoteIoT Devices Are Important
The rise of IoT has transformed industries, making it possible to monitor and control systems in real-time. RemoteIoT devices take this a step further by allowing you to manage them from afar. This is particularly useful in scenarios where physical access is limited or impractical.
Here are some examples of RemoteIoT devices:
Read also:Ragdoll Archery The Ultimate Guide To This Unique Sport
- Smart home devices
- Industrial IoT sensors
- Remote weather stations
- Medical monitoring equipment
Setting Up SSH on Your RemoteIoT Device
Now that you know what SSH is and why it matters, let’s talk about how to set it up on your RemoteIoT device. Don’t worry—it’s easier than it sounds. Follow these steps, and you’ll be up and running in no time:
Step 1: Enable SSH on Your Device
Most modern IoT devices come with SSH pre-installed, but you’ll need to enable it first. Check your device’s documentation for specific instructions, but here’s a general guide:
- Log in to your device’s web interface
- Navigate to the settings or admin panel
- Look for the SSH option and enable it
Step 2: Install an SSH Client
Once SSH is enabled on your device, you’ll need an SSH client to connect to it. There are plenty of options out there, but some popular ones include:
- Putty (Windows)
- Terminal (Mac/Linux)
- MobileSSH (for smartphones)
Securing Your SSH Connection
Security should always be a top priority when dealing with RemoteIoT devices. While SSH is inherently secure, there are still steps you can take to make it even more robust.
Use Strong Passwords
Weak passwords are a hacker’s best friend. Make sure you use a strong, unique password for your SSH connection. Better yet, consider using SSH keys instead of passwords. They’re more secure and eliminate the risk of brute-force attacks.
Limit Access
Not everyone needs access to your RemoteIoT devices. Restrict SSH access to trusted users only. You can do this by configuring firewall rules or using SSH’s built-in access controls.
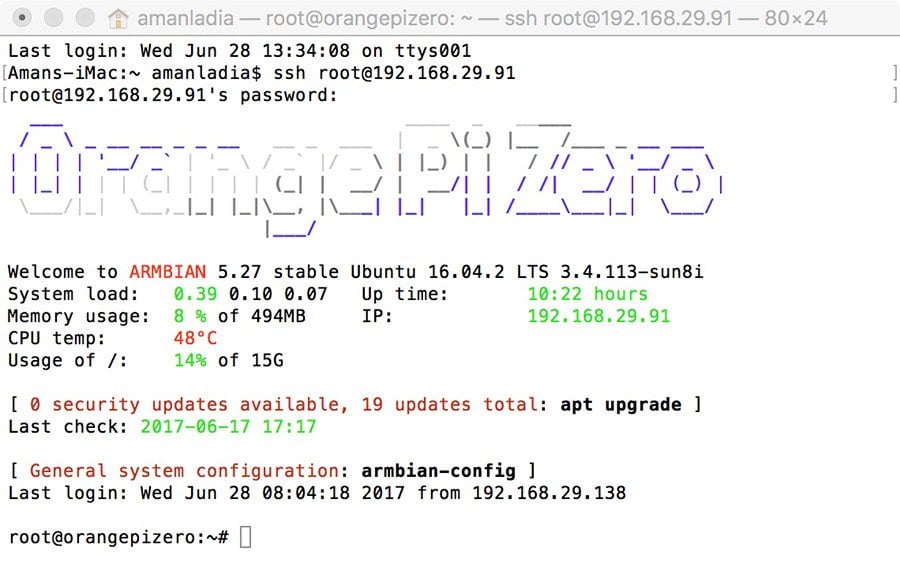
Connecting to Your RemoteIoT Device via SSH
Alright, let’s connect to your RemoteIoT device using SSH. It’s as simple as typing a few commands into your terminal or SSH client:
Here’s what you need:
- Your device’s IP address
- Your username and password (or SSH key)
Once you have these details, open your SSH client and type the following command:
ssh username@device_ip_address
That’s it! If everything is set up correctly, you should now be connected to your device.
Common Issues and How to Fix Them
Even the best-laid plans can go awry. Here are some common issues you might encounter when using SSH for RemoteIoT devices and how to fix them:
Connection Refused
If you’re getting a “connection refused” error, it could mean that SSH is not enabled on your device or that your firewall is blocking the connection. Double-check your settings and make sure SSH is enabled and properly configured.
Authentication Failed
This usually happens when you’re using the wrong username or password. Double-check your credentials and try again. If you’re using SSH keys, make sure they’re correctly set up on both your client and server.
Advanced Techniques for Power Users
Once you’ve mastered the basics, it’s time to take your SSH skills to the next level. Here are a few advanced techniques to explore:
SSH Tunneling
SSH tunneling allows you to securely access services on your RemoteIoT device that are not normally exposed to the internet. This is particularly useful for accessing databases or web interfaces.
Automated Tasks
Use SSH to automate repetitive tasks on your RemoteIoT device. You can write scripts that perform tasks like data backups, system updates, and more—all without lifting a finger.
Tools You’ll Need for RemoteIoT Device SSH
Having the right tools can make all the difference when working with SSH. Here are some essential tools to consider:
- SSH client (Putty, Terminal, etc.)
- Network monitoring tools
- Security software (firewalls, antivirus, etc.)
Best Practices for RemoteIoT SSH Management
Here are some best practices to keep in mind when managing RemoteIoT devices with SSH:
- Regularly update your device’s firmware and software
- Monitor your device’s activity for suspicious behavior
- Document your SSH setup and configurations
The Future of RemoteIoT Device SSH
As IoT continues to evolve, so will the tools and technologies we use to manage it. SSH will undoubtedly remain a cornerstone of remote device management, but we can expect to see new features and advancements in the future. From AI-powered automation to quantum encryption, the possibilities are endless.
So, whether you’re a seasoned pro or just starting out, mastering RemoteIoT device SSH is a skill that will serve you well in the years to come.
Conclusion
There you have it—your ultimate guide to mastering RemoteIoT device SSH. From setting up SSH on your device to securing your connection and troubleshooting common issues, we’ve covered everything you need to know. Remember, the key to success is practice and perseverance. The more you use SSH, the more comfortable you’ll become with it.
So, what are you waiting for? Dive in and start exploring the world of RemoteIoT device management. And don’t forget to leave a comment or share this article if you found it helpful. Happy SSH-ing!


